
Learning how to clean acrylic paint brushes properly is one of those skills that separates casual painters from folks who actually care about their tools. I’ve ruined more brushes by being lazy about cleanup than I care to admit, and trust me—it’s a painful lesson when you realize a $30 brush is now a stiff, crusty stick. The good news? Once you nail the technique, keeping your brushes in pristine condition takes maybe five minutes per session.
Table of Contents
Why Brush Care Matters
Acrylic paint dries fast—that’s both a blessing and a curse. The moment paint hits your brush and air gets to it, a chemical reaction starts turning that bristle into a permanent sculpture. Unlike oil paints that stay workable for hours, acrylics start hardening within minutes. Neglect your brush cleanup, and you’ll watch quality bristles transform into something resembling a toothbrush that’s seen better days.
Proper maintenance extends brush life by years. A $50 professional brush can last a decade with care, or become garbage in a single careless afternoon. Beyond economics, well-maintained brushes deliver better paint application, smoother strokes, and more consistent results on your canvas. Your artwork deserves tools that perform, not crusty rejects.
Gather Your Supplies First
Before you even dip a brush in paint, set up a cleaning station. You’ll need lukewarm water—not hot, which damages bristles. A bucket or container works fine; I use an old yogurt container. Grab some mild dish soap (Dawn works great) and have paper towels nearby. For stubborn dried paint, keep a brush comb or old toothbrush handy. Some folks swear by specialized brush cleaners, but honestly, soap and water handle 95% of situations.
Having everything within arm’s reach means you’ll actually use it. I learned this the hard way—when my cleaning supplies were scattered across the studio, I’d skip steps. Now everything sits right next to my painting station, making proper cleanup the path of least resistance.
Immediate Rinse Technique
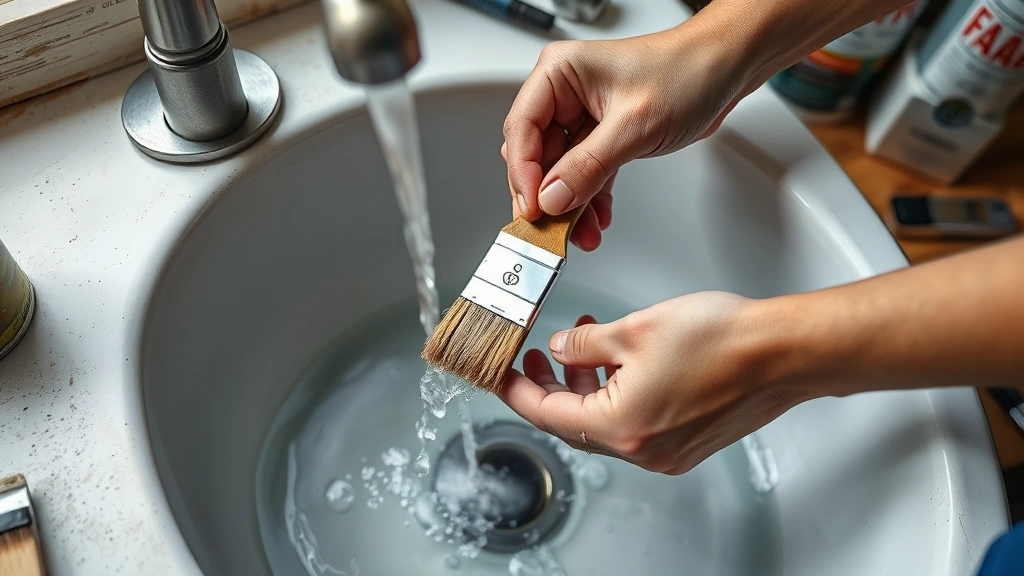
The moment you finish painting, rinse your brush under running water. Don’t wait. Fill a cup with lukewarm water and swish the brush around, letting water flow through the bristles. You’re flushing out wet paint before it starts setting. Work from the ferrule (the metal part) toward the bristle tips, never squeezing or twisting aggressively—that damages the bristles permanently.
Do this initial rinse 2-3 times until the water runs mostly clear. You’ll still see some color, and that’s fine. The goal is removing bulk paint while it’s still workable. This step takes maybe 30 seconds but prevents 80% of brush problems. Seriously, don’t skip it.
Deep Cleaning Method
After your initial rinse, it’s time for the real cleaning. Fill your bucket with lukewarm water and add a small squirt of dish soap. Swirl your brush in this soapy water, working the bristles against the bottom of the container. You’ll see paint clouds release into the water—that’s exactly what should happen.
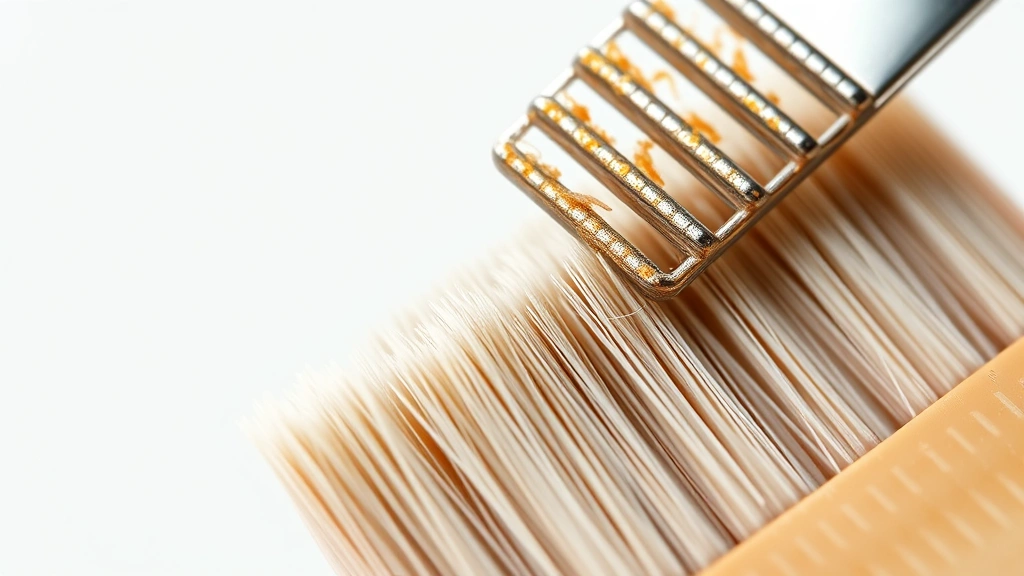
Keep swirling for about 30 seconds, then rinse under clean running water again. Repeat this soap-and-water cycle 2-3 times until the water stays clear and you don’t see any paint residue. Pay special attention to the base of the bristles near the ferrule, where paint loves to hide and harden.
For quality brushes with natural bristles, consider using a brush cleaner solution designed for acrylics. These work faster and more thoroughly than soap alone. However, they’re optional—disciplined soap-and-water cleaning works just fine. The key is consistency and speed. Acrylic paint waits for no one.
Drying and Storage Matters
After your final rinse, gently squeeze excess water from the bristles using your fingers or a clean cloth. Never wring or twist—you’re just removing water, not wringing out a dishrag. Reshape the bristles to their original form while damp. This takes two seconds but determines how your brush performs next time.
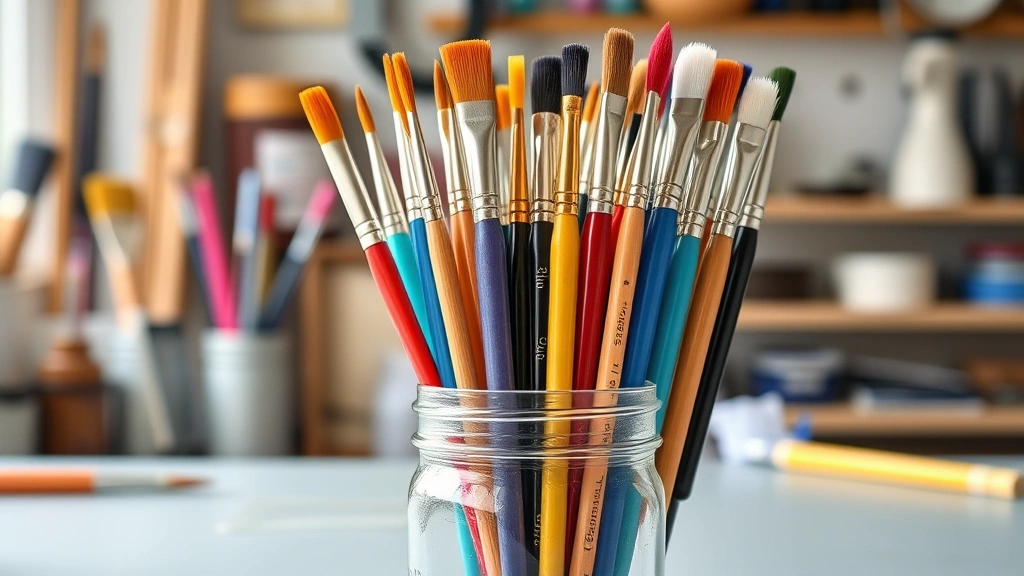
Store brushes bristle-up in a cup or jar. Gravity helps water drain away from the ferrule, preventing rust and bristle damage. Never store brushes bristle-down in water—that’s a shortcut to permanently bent or warped bristles. Let them air-dry completely before using again, usually 2-4 hours depending on humidity and brush size.
Keep brushes away from direct heat sources and sunlight. A cool, dry spot in your studio works perfectly. Some artists use brush guards or old plastic cups to protect bristles during storage—that’s smart if you have expensive brushes.
Rescue Dried Brushes
Sometimes life happens. You get distracted, forget a brush in your studio, and suddenly you’re staring at a paint-crusted casualty. Don’t panic—there’s still hope. Fill a cup with hot (not boiling) water and add a tablespoon of fabric softener or a commercial brush cleaner. Soak the brush for 15-30 minutes, letting the solution soften the dried paint.
After soaking, use a brush comb or old toothbrush to gently work the softened paint out of the bristles. Work from ferrule to tip, using gentle circular motions. Rinse thoroughly under running water, repeating the soak-and-comb process if necessary. Stubborn cases might need multiple rounds, but patience usually wins.
For severely dried brushes, you might need to repeat this process over several hours or even days. It’s tedious, but cheaper than replacing expensive brushes. Prevention is obviously better—that’s why immediate cleanup matters so much.
Common Mistakes to Avoid
Don’t use hot water. It opens up the bristles too much and can cause permanent damage. Lukewarm is your sweet spot. Don’t squeeze or twist bristles aggressively during cleaning—this breaks bristles and ruins the brush’s shape forever. Don’t leave brushes soaking in water for extended periods. Even clean water can damage bristles if they sit too long.
Avoid storing brushes bristle-down in containers. This bends bristles permanently and invites mold growth. Don’t mix acrylic and oil paints on the same brush—they’re chemically incompatible, and you’ll end up with a ruined brush. Keep separate brushes for each medium. Don’t assume all “brush cleaner” products work the same. Some are specifically formulated for acrylics; others work better with oils. Check the label.
Brush Maintenance Tips
Invest in quality brushes if you paint regularly. Cheap brushes shed bristles, don’t hold paint well, and fall apart faster anyway. Mid-range professional brushes from brands like Winsor & Newton or Grumbacher deliver excellent value. Label your brushes by size and type so you grab the right one without hunting. Use a permanent marker on the handle.
Keep a dedicated brush for each paint color if you’re working on detailed pieces. This prevents color mixing and saves cleaning time. Some artists use water containers with multiple compartments—one for initial rinses, one for deeper cleaning. This approach works great and uses less water overall. Check This Old House’s guide to paint supplies for additional brush recommendations.
Clean your brushes immediately after finishing each session. Don’t tell yourself you’ll do it later—you won’t. Make cleanup part of your painting routine, just like washing dishes after cooking. It takes five minutes and saves hours of frustration later.
Frequently Asked Questions
Can I use hot water to clean acrylic brushes?
No. Stick with lukewarm water. Hot water can damage bristles, especially natural hair brushes. It opens the bristle structure too much and can cause permanent warping or loss of elasticity. Lukewarm water works just as effectively without the risk.
How often should I replace my brushes?
With proper care, quality brushes last years—sometimes a decade or more. Replace brushes when bristles start shedding significantly, lose their shape permanently, or stop holding paint properly. Regular cleaning extends this timeline dramatically.
What’s the difference between synthetic and natural bristle brushes?
Natural bristles (usually hog hair) hold more paint and work beautifully with acrylics. Synthetic bristles are cheaper, shed less, and work well for beginners. Both types clean the same way. Choose based on your budget and painting style.
Can I use regular soap instead of dish soap?
Dish soap works best because it’s designed to cut through oils and paint residue. Bar soap or hand soap can leave residue in the bristles. Stick with mild dish soap—it’s cheap and effective.
Why do my brushes feel stiff after cleaning?
You’re probably not rinsing thoroughly enough or using water that’s too hot. Make sure you rinse 3-4 times after soaping, and use lukewarm water. Some stiffness is normal while drying—it should soften as the brush dries completely.
Is it okay to store brushes in a sealed container?
No. Sealed containers trap moisture and encourage mold growth. Store brushes in open air where they can breathe. A cup or jar with bristles pointing up is perfect. Make sure your storage area has decent air circulation.
Final Thoughts
Cleaning acrylic paint brushes isn’t rocket science, but it does require consistency and attention. The real secret isn’t some special technique—it’s doing it immediately after painting, every single time. Five minutes of cleanup today saves you from ruined brushes and frustration tomorrow. Your future self will thank you when you’re still using the same quality brushes five years from now. Get into the habit, keep your supplies organized, and your brushes will reward you with years of reliable performance.


