
Learning how to clean a self cleaning oven might sound like an oxymoron, but here’s the truth: even self-cleaning ovens need maintenance and strategic cleaning to work their best. The self-cleaning cycle is powerful, but it’s not a total hands-off solution. I’ve spent years helping folks get the most out of their kitchen appliances, and I’m here to walk you through exactly what you need to know to keep your oven running smoothly and looking great.
Table of Contents
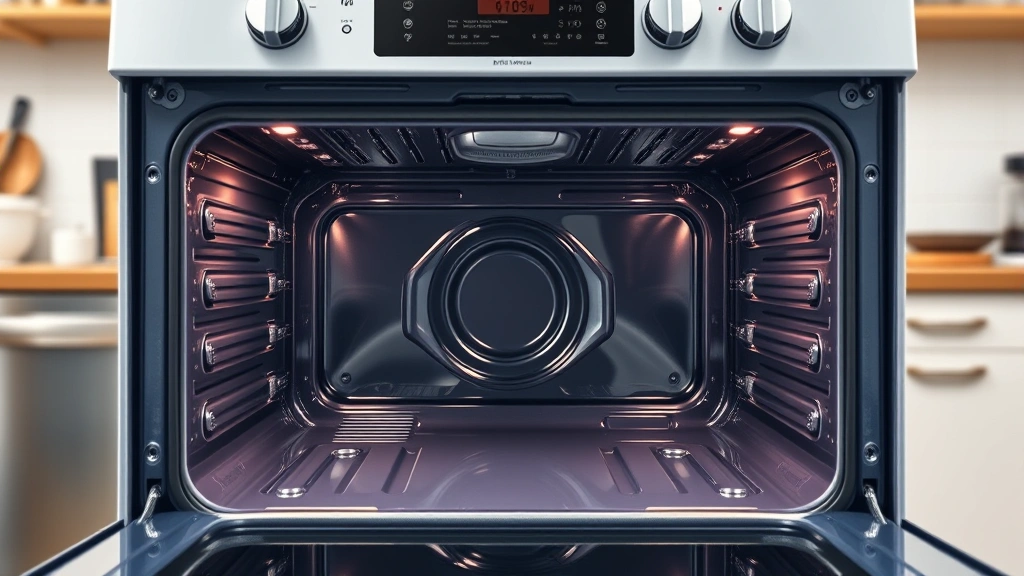
Understanding Self-Cleaning Technology
Self-cleaning ovens work by heating the interior to extremely high temperatures—typically between 900 and 1000 degrees Fahrenheit. This intense heat essentially incinerates food residue, grease, and buildup into fine ash that you can wipe away. It’s a clever system, but it’s not magic. The process works best when you remove large debris first and understand what the cycle can and cannot handle.
The self-cleaning mechanism reduces most organic matter to ash, but it won’t eliminate mineral deposits, discoloration, or stubborn stains that have bonded to the enamel. That’s where your post-cycle cleaning comes in. Think of the self-cleaning cycle as doing the heavy lifting, and your manual cleaning as the finishing work.
Prep Your Oven Before the Cycle
Before you start the self-cleaning cycle, take 15 minutes to prepare. Remove the oven racks—most self-cleaning cycles will damage the protective coating on racks, so check your manual first. Some newer models have racks rated for the cycle, but when in doubt, take them out.
Wipe out large food particles, spills, and obvious debris with a damp cloth or paper towel. You don’t need to be thorough here; just remove the big stuff. Close the oven door and make sure nothing is blocking the heating elements. Check that the oven is completely empty except for the permanent thermometer (if your model has one).
Lock the oven door if your model has an automatic lock feature. This is crucial for safety and proper operation. The door will remain locked throughout the entire cycle and cool-down period, which can last 4-6 hours total.
Running the Self-Cleaning Cycle
Locate the self-cleaning button or setting on your oven’s control panel. Most models offer cycle options: a standard 3-4 hour cycle for moderate buildup or an extended 4-5 hour cycle for heavy grime. Choose based on how dirty your oven is. If you’re unsure, start with the standard cycle.
Press the button and step back. Your oven will begin heating up, and you’ll hear the door lock engage with a mechanical click. The heating process is loud—don’t be alarmed. You’ll smell a burning odor as the residue incinerates; this is completely normal. Open windows and turn on your kitchen exhaust fan to ventilate the space.
Never attempt to open the door during the cycle. The internal temperature is dangerously hot, and the door lock prevents access for your safety. Let the cycle run its full course. Most ovens will automatically shut off when complete, but some require manual shutdown. Check your manual to know what to expect.
Remove Ash and Residue
After the cycle finishes, the oven needs to cool completely. This typically takes 2-4 hours. Don’t rush this—the interior is still extremely hot even though the heating elements have stopped. Once it’s cool enough to touch the door without discomfort, you can proceed.
The door will unlock automatically once the temperature drops below a safe threshold. Open it carefully and look inside. You’ll see a layer of fine ash coating the interior. This ash is the incinerated remains of all that buildup, and it wipes away easily.
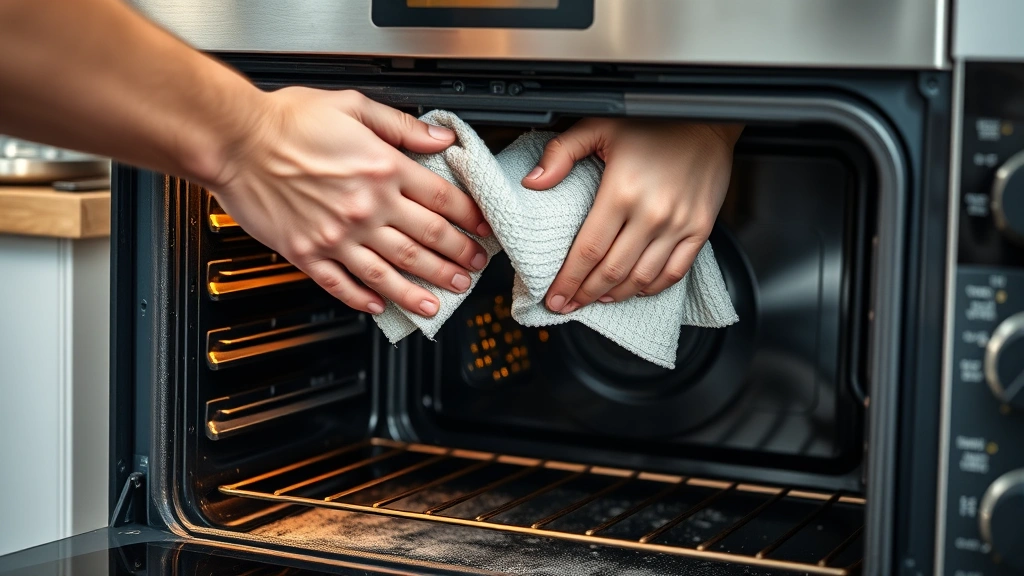
Use a damp cloth, sponge, or soft brush to wipe down the interior walls, floor, and ceiling. Work systematically from top to bottom so gravity helps you. The ash comes off with minimal effort—if you’re scrubbing hard, you’re working too hard. For stubborn spots, dampen your cloth more and let it sit for a minute before wiping.
Pay special attention to corners and crevices where ash accumulates. Use a slightly stiff brush or old toothbrush for tight spots around the heating elements and vents. Avoid scratching the enamel with harsh abrasives.
Spot Clean Tough Spots
Even after the self-cleaning cycle, some spots may remain—discolored areas, mineral deposits, or stains that bonded before the cycle ran. This is where gentle spot cleaning makes a difference. Mix baking soda with a small amount of water to create a paste.
Apply this paste to stubborn spots and let it sit for 10-15 minutes. The mild abrasive action of baking soda combined with moisture helps lift these marks without damaging the enamel. Wipe away with a damp cloth. For particularly tough stains, you can use a non-abrasive scrubbing sponge, but avoid steel wool or harsh scouring pads.
If you’re dealing with heavy discoloration, a commercial oven cleaner designed for self-cleaning ovens can work, but use sparingly and only on small areas. Read the label carefully and ensure it’s safe for your oven’s interior material. Always ventilate well when using chemical cleaners.
Maintenance Between Cycles
The key to keeping your self-cleaning oven in top shape is preventing excessive buildup between cycles. Wipe up spills immediately after the oven cools—don’t let them bake on repeatedly. A quick wipe with a damp cloth after cooking prevents residue from hardening.
Clean your oven racks separately while they’re out. Soak them in hot, soapy water in your bathtub or shower for 30 minutes, then scrub with a brush and rinse. This keeps them looking new and extends their life. Let them dry completely before reinserting them into the oven.
Run the self-cleaning cycle every 3-6 months depending on your cooking frequency and how much splatter occurs. Heavy daily cooking might warrant quarterly cycles, while light occasional use might only need biannual cleaning. Find the rhythm that works for your household.
Common Mistakes to Avoid
Don’t leave racks in the oven during the self-cleaning cycle unless your manual explicitly states they’re rated for it. The high heat will damage most rack coatings, leaving them discolored and prone to rust. Taking them out adds only a minute of prep time.
Avoid using the self-cleaning feature immediately after cooking. Wait until the oven has cooled to room temperature, then remove large debris. This prevents thermal shock and gives the oven time to stabilize. Never run the self-cleaning cycle more than once per week, as this can stress the heating elements.
Don’t assume the cycle will remove everything. Mineral deposits from hard water, discoloration from high-heat cooking, and stubborn stains may require manual attention. Have baking soda and a damp cloth ready for post-cycle cleanup. Also, when learning how to clean a self cleaning oven, don’t ignore your manual—different brands have different requirements and safety features.
Safety Considerations Matter
The self-cleaning cycle reaches temperatures that can cause serious burns. Never attempt to open the door, reach inside, or let children near the oven during operation. The exterior can also get hot, so keep the area around the oven clear during the cycle.
Ensure your kitchen is well-ventilated. Open windows and run exhaust fans throughout the cycle. The burning smell is normal, but proper ventilation prevents the odor from lingering for hours. If you have respiratory sensitivities, you might want to leave the kitchen during the cycle.
If your oven has a glass door, inspect it before running the cycle. Thermal shock from extreme temperature changes can crack glass, especially if there are existing small cracks or chips. If you notice any damage, have it inspected before using the self-cleaning feature.
Keep the area around your oven clear of flammable materials. While the self-cleaning cycle is contained within the oven, safety margins matter. Don’t store dish towels, paper products, or cleaning supplies directly next to the oven during operation.
Frequently Asked Questions
How often should I run the self-cleaning cycle?
For most households, running the self-cleaning cycle every 3-6 months is ideal. If you cook frequently and generate lots of splatter, quarterly cycles work better. Light cooking might only need biannual cycles. Monitor buildup and adjust based on your needs. Running it more than once weekly can strain the heating elements unnecessarily.
Can I use the oven while it’s cooling after the cycle?
No. The oven door remains locked, and the interior is dangerously hot for several hours after the cycle completes. The door will unlock automatically once the temperature drops to a safe level. Plan your cooking around this downtime—typically 2-4 hours total from cycle start to usable oven.
What’s that smell during the self-cleaning cycle?
That’s the smell of organic matter incinerating at extreme temperatures. It’s completely normal and not dangerous, though it can be unpleasant. Good ventilation eliminates the odor quickly. If the smell is overwhelming or accompanied by smoke, turn off the oven and contact a technician—this could indicate a problem.
Will the self-cleaning cycle damage my oven?
No, when used as intended, the self-cleaning cycle won’t damage your oven. It’s a built-in feature designed to withstand the process repeatedly. However, removing racks beforehand prevents damage to them, and ensuring proper ventilation protects your kitchen. Follow your manual’s guidelines for best results.
Can I clean the glass door during the self-cleaning cycle?
Never open the door or attempt to clean it during the cycle. Wait until the oven has completely cooled and the door unlocks automatically. After the cycle, you can wipe the interior glass with a damp cloth to remove ash residue. For stubborn stains on the glass, use a baking soda paste.
What if my oven doesn’t have a self-cleaning feature?
If you’re interested in learning more about cooking efficiently in a standard oven, check out our guides on how long to cook chicken at 400 and how long to bake ribs in oven. For cleaning, use a commercial oven cleaner or the baking soda paste method. You’ll need to clean more frequently with manual methods, but it’s entirely manageable.
Conclusion
Knowing how to clean a self cleaning oven is about understanding that the cycle does the heavy lifting, but you provide the finishing touches. The self-cleaning feature is a genuine time-saver when used correctly—no harsh chemicals, no scrubbing for hours, just heat doing the work. Your job is simple: prep the oven, run the cycle, and wipe away the ash.
The maintenance between cycles keeps everything running smoothly. Quick wipe-ups after cooking, regular rack cleaning, and strategic cycle timing mean your oven stays in excellent condition year after year. If you’re planning meals that use your oven frequently, you might also explore our guides on how long to bake chicken drumsticks, crockpot recipes as alternatives, and griddle recipes to diversify your cooking methods.
Remember, every oven is different, so always consult your specific manual for model-specific instructions. The principles here apply broadly, but your manufacturer’s guidance takes priority. With these steps and a little regular attention, your self-cleaning oven will deliver reliable performance and stay looking great for years to come.


