
Your mouse pad is basically a magnet for dust, dead skin cells, coffee spills, and whatever else your desk decides to collect. Over time, a grimy mouse pad doesn’t just look gross—it actually messes with your mouse tracking and makes your whole workspace feel neglected. The good news? Learning how to clean a mouse pad is stupidly easy, takes maybe 10 minutes, and requires nothing fancy. Whether you’ve got a fabric pad that’s seen better days or a hard surface that’s accumulated a film of gunk, we’re going to walk you through exactly what to do.
Why Your Mouse Pad Actually Needs Cleaning
Think of your mouse pad like a sponge—it’s sitting right under your hand for hours every day, absorbing sweat, dust, and whatever else gets tracked across your desk. A dirty mouse pad doesn’t just feel gross under your palm; it actually creates friction that throws off your mouse’s sensor accuracy. If you’ve noticed your cursor stuttering or your mouse feeling sluggish, the culprit might be a filthy pad rather than your hardware.
Beyond performance, there’s the hygiene angle. Your hands spend more time on that pad than almost anything else at your desk. Bacteria and dust mites love that environment. According to Family Handyman’s guide on computer maintenance, regular cleaning of input devices is part of basic workspace hygiene. It’s not complicated, but it matters.
Pro Tip: Clean your mouse pad every 2-4 weeks if you use it daily. If you eat at your desk or have pets, bump that up to weekly.
How to Clean Fabric Mouse Pads
Fabric pads are the most common type, and they’re also the easiest to mess up if you’re not careful. The material is usually a woven polyester or microfiber that can handle water, but you need to be gentle.
Quick Surface Clean (2 minutes)
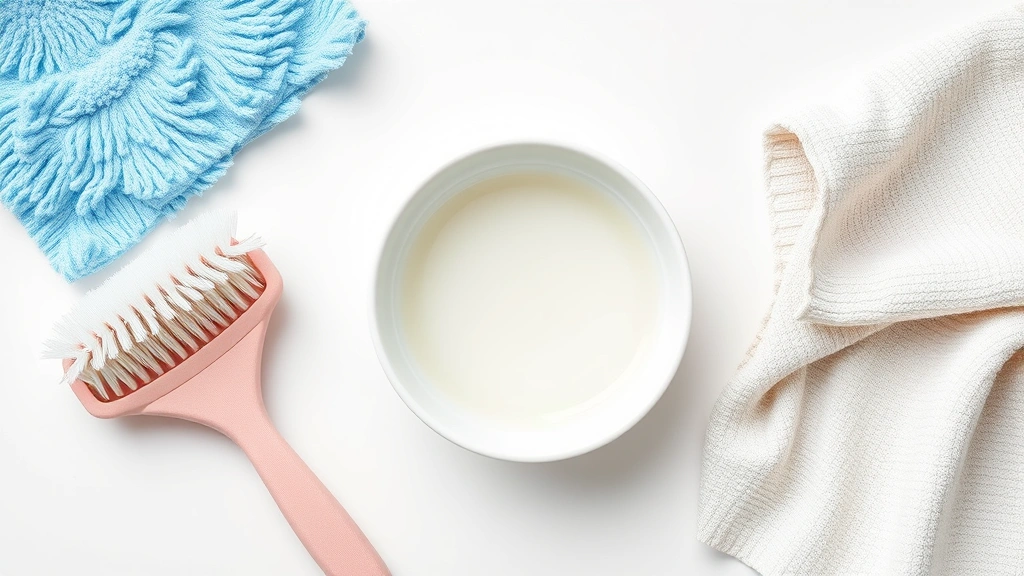
- Grab a dry brush or microfiber cloth. Use something soft—a old toothbrush works great, or those little cleaning brushes that come with electronics. The goal is to loosen surface dust without pushing it deeper into the fibers.
- Brush in one direction. Don’t scrub aggressively. Think of it like brushing hair, not scrubbing a floor. Work from top to bottom or side to side, not in circles.
- Use a dry cloth to wipe. A microfiber cloth or even a clean t-shirt works. This picks up the dust you just loosened.
Wet Cleaning (5 minutes)
- Mix lukewarm water with a tiny drop of dish soap. We’re talking a bowl of water with maybe 1/4 teaspoon of soap. Too much soap is worse than too little—you’ll spend forever rinsing.
- Dip a soft cloth into the solution. Don’t soak the cloth; wring it out so it’s damp, not wet. Your goal is moisture, not a soaking pad.
- Wipe the entire surface gently. Go slow. Let the moisture do the work. If there are stubborn spots (like a coffee splash), let the damp cloth sit on it for 10-15 seconds before wiping.
- Use a second damp cloth with plain water to rinse. This removes soap residue, which is important because soap left behind makes the pad feel sticky and attracts more dust.
- Blot with a dry cloth. Don’t wring it; just press gently to absorb water.
According to This Old House’s recommendations on microfiber cloths, using the right cloth makes a huge difference in cleaning effectiveness without damaging surfaces. The same principle applies to your mouse pad.
Cleaning Hard Surface & Rubber Mouse Pads
Hard surface pads—usually made from plastic, rubber, or aluminum—are tougher and more forgiving than fabric. You can be more aggressive here.
Standard Cleaning
- Wipe with a damp microfiber cloth. Use the same water-and-soap mixture as above, but you can make it slightly stronger since the surface won’t absorb it.
- For stubborn spots, use a soft-bristled brush. A toothbrush or an old keyboard brush works perfectly. Scrub gently in circles.
- Rinse with a cloth dampened in plain water. Make sure no soap residue remains.
- Dry immediately with a clean cloth. Hard pads can show water spots if you let them air dry.
Dealing with Sticky Residue
If your hard pad has accumulated sticky gunk (spilled energy drink, dried adhesive from a sticker, etc.), you need a slightly different approach:
- Try rubbing alcohol on a cloth first. It evaporates quickly and won’t damage most hard surfaces. Test a corner first if you’re nervous.
- For really stubborn spots, a magic eraser (like a Mr. Clean Magic Eraser) works wonders on hard pads. Just use light pressure and rinse thoroughly afterward.
- If the pad has a textured surface, a soft-bristled brush helps get into the grooves.
Safety Warning: Never use harsh chemicals like bleach, acetone, or strong solvents on any mouse pad. They can damage the surface, discolor it, or create toxic fumes in your workspace. Stick to mild soap, water, and rubbing alcohol.
Deep Cleaning Methods for Stubborn Grime
Sometimes your mouse pad needs more than a quick wipe. Maybe it’s been months, or maybe you spilled something nasty on it.
For Fabric Pads: The Washing Machine Method
Yes, you can actually throw a fabric mouse pad in the washing machine, but you need to be smart about it. This is similar to how you’d wash other delicate items—think of it like the process you’d use for maintaining your washing machine by running it with care.
- Place the pad in a mesh laundry bag. This protects it from getting tangled or damaged by the agitator.
- Use cold water and the delicate cycle. Warm or hot water can damage the rubber backing or cause colors to fade.
- Use a tiny amount of mild detergent. Seriously, less than you think. Too much soap is the enemy.
- Skip the dryer entirely. Air dry only. Machine drying can warp the pad or damage the rubber base.
For Hard Pads: Soaking Method
- Fill a sink or bucket with warm water and a drop of dish soap. Let it sit for a minute so the soap dissolves.
- Submerge the pad and let it soak for 10-15 minutes. This loosens baked-on grime without you having to scrub aggressively.
- Use a soft brush to gently scrub. Now that the grime has softened, it comes off much easier.
- Rinse thoroughly under running water. Get all the soap out.
- Dry with a cloth immediately. Air drying can leave spots on hard surfaces.
For Odor Issues
If your pad smells like old gym socks, that’s bacteria and mold. Here’s what works:
- White vinegar soak: For fabric pads, soak in a solution of 1 part white vinegar to 3 parts water for 20 minutes. The vinegar kills odor-causing bacteria. Rinse thoroughly and air dry.
- Baking soda: Sprinkle baking soda on a fabric pad, let it sit for a few hours (or overnight), then vacuum it up. This absorbs odors without introducing moisture.
- For hard pads: Wipe with a cloth dampened in white vinegar, then rinse and dry.
According to Bob Vila’s guide on mold removal, vinegar is one of the safest and most effective natural solutions for killing mold and mildew, making it perfect for this application.
Prevention: Keep Your Pad Cleaner Longer
An ounce of prevention is worth a pound of cleaning. These habits will keep your pad in better shape and reduce how often you need to deep clean.
Daily Habits
- Wash your hands before using your computer. I know, your mom told you this 20 years ago, but it actually matters. Clean hands mean less stuff transferring to your pad.
- Don’t eat at your desk. Or if you do, keep food away from your mouse pad. Crumbs and spills are the enemy.
- Keep a microfiber cloth nearby. A quick 30-second wipe every few days prevents grime from building up.
Weekly Maintenance
- Brush off dust with a dry cloth or soft brush. This takes literally 1 minute and prevents dust from settling deeper into the fibers.
- Check for spills immediately. The longer something sits, the harder it is to remove. Blot spills right away with a dry cloth, then follow up with a damp one.
Monthly Deep Clean
- Do a proper wet clean once a month. Even if it doesn’t look dirty, a monthly cleaning keeps bacteria at bay and keeps the surface feeling fresh.
Drying & Storage Tips
How you dry your mouse pad matters almost as much as how you clean it. Improper drying can lead to mold, mildew, or a warped pad.
Air Drying (The Right Way)
- Lay the pad flat on a clean surface. A drying rack, a clean table, or even a towel works. The key is flat, not folded or bunched.
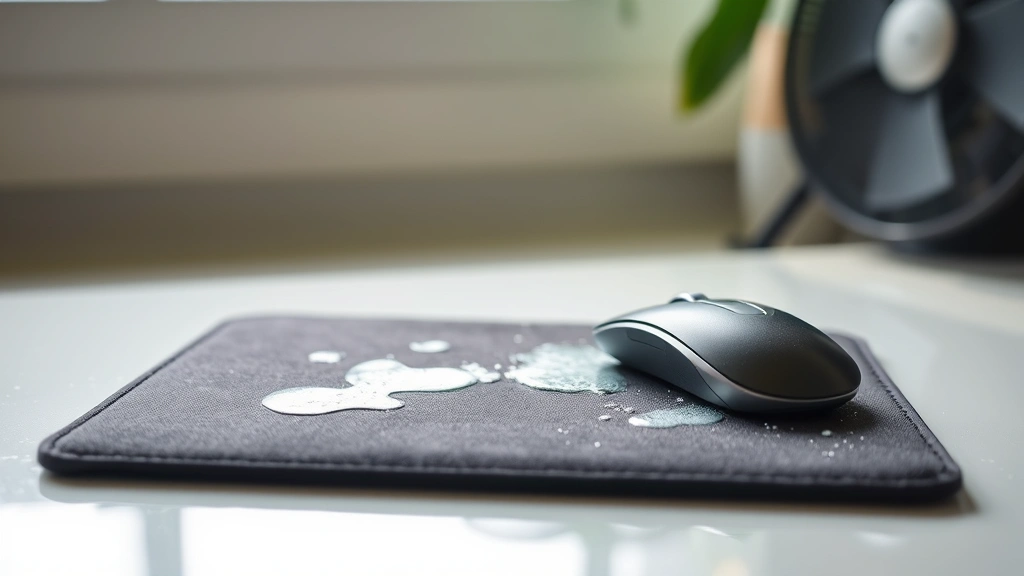
- Ensure good air circulation. If you have a fan, point it at the pad. Open a window if possible. Good airflow speeds up drying and prevents mold.
- Don’t use direct heat. No hair dryer, no radiator, no sunny windowsill. Heat can warp the rubber base or damage the fabric.
- Be patient. Fabric pads usually take 2-4 hours to fully dry. Hard pads dry faster, usually within 30 minutes to an hour.
Pro Tip: If your pad still feels slightly damp after a few hours, stand it up vertically to allow water to drain and air to reach the bottom. This is especially important for pads with rubber bases, which can trap moisture underneath.
Storage
- Store in a cool, dry place. Moisture and heat are the enemies. A drawer in your desk is perfect.
- Don’t fold or crease fabric pads. Store them flat or rolled loosely. Creases can become permanent.
- Keep away from direct sunlight. UV exposure can fade colors and degrade materials over time.
Frequently Asked Questions
Can I use Lysol or disinfectant spray on my mouse pad?
– You can, but it’s not ideal. Lysol and similar sprays can leave residue and might damage certain materials, especially fabric. If you want to disinfect, a cloth dampened with rubbing alcohol or a diluted vinegar solution is safer and just as effective. Spray it on the cloth first, not directly on the pad.
What if my mouse pad has a non-skid rubber base?
– The rubber base is actually pretty durable. You can clean it the same way you clean the top surface. Just make sure to dry it thoroughly, as moisture trapped under the rubber can cause mold. If the rubber is peeling, that’s a sign the pad is reaching the end of its life—consider replacing it.
Is it okay to use a pressure washer or hose on my mouse pad?
– Absolutely not. Way too much force. You’ll damage the fibers, potentially rip the pad, or force water into areas where it shouldn’t go. Stick to gentle hand washing with a damp cloth.
How often should I replace my mouse pad?
– With proper care, a good mouse pad lasts 2-3 years. If it’s visibly worn, stained beyond cleaning, or the surface is peeling, it’s time for a new one. If you’re concerned about your computer setup’s overall health, you might also want to check your CPU temperature to ensure your system is running cool while you’re working.
Can I clean a gaming mouse pad with RGB lights?
– Yes, but be extra careful around the edges and any seams where electronics might be. Stick to a barely damp cloth, avoid soaking, and never submerge it. Let it air dry completely before plugging it in. If the pad has a USB cable, disconnect it before cleaning.
What’s the best way to remove pen marks or permanent marker from a mouse pad?
– For fabric pads, rubbing alcohol works better than soap and water. Dab the mark gently with a cloth dampened in alcohol, let it sit for 30 seconds, then wipe. For hard pads, try a magic eraser first, then rubbing alcohol if that doesn’t work. Test in a corner first to make sure the alcohol doesn’t discolor the pad.
My mouse pad smells like mildew even after cleaning. What do I do?
– This means mold or mildew is growing inside the pad, usually because it wasn’t dried properly after cleaning or it’s been in a humid environment. Try soaking it in a vinegar solution (1 part vinegar to 3 parts water) for 20-30 minutes, then air dry it in direct sunlight if possible. The UV light helps kill remaining mold spores. If the smell persists, the pad is probably done for—replace it.
Can I use bleach on a white mouse pad to whiten it?
– Don’t do it. Bleach is too harsh and can damage the material, create toxic fumes, and leave chemical residue. For stubborn stains on a white pad, try a magic eraser or a paste of baking soda and water. Apply, let sit for 10 minutes, then rinse thoroughly.
Is it safe to clean my mouse pad while it’s still connected to my mouse?
– It depends. If your mouse pad has a USB cable (like RGB gaming pads), disconnect it first. If it’s just a regular pad with no electronics, you can clean it with your mouse still on it, but it’s easier to clean if you remove the mouse. Either way, avoid getting water near the mouse itself.


