
Learning how to clean a humidifier is one of those maintenance tasks that’ll save you money and keep your indoor air quality in check. A dirty humidifier doesn’t just lose effectiveness—it can actually spread bacteria and mold spores around your home instead of providing the moisture relief you’re after. I’ve been through plenty of gunked-up units, and trust me, a little preventive care goes a long way.
Table of Contents
Why Cleaning Matters
Before we get into the nitty-gritty of how to clean a humidifier, let’s talk about why this task actually matters. Humidifiers work by dispersing water into the air, and that water sits in tanks and passes through filters. Mineral deposits, mold, and bacteria love these damp environments. If you don’t clean regularly, you’re not just reducing efficiency—you’re potentially spreading contaminants that can aggravate allergies and respiratory issues. Think of it like how to clean a washing machine: both appliances deal with water and need regular maintenance to function properly.
Gather Your Supplies
You don’t need fancy equipment for this job. Here’s what I keep on hand:
- White vinegar (the workhorse for mineral deposits)
- Distilled water (for rinsing and refilling)
- Soft-bristled brush or old toothbrush
- Pipe cleaners or small bottle brushes
- Microfiber cloth or soft sponge
- Dish soap (mild, non-abrasive)
- Rubber gloves
- A large bowl or bucket
The key is using gentle materials that won’t scratch plastic or damage internal components. Avoid bleach unless your unit’s manual specifically approves it—vinegar does the heavy lifting for most humidifiers.
Step One: Empty and Disconnect
This is the obvious but essential first move. Unplug the humidifier from the electrical outlet and make sure it’s completely cool if it’s been running. Pour out any remaining water from the tank into a sink. Don’t let stagnant water sit—it’s a breeding ground for bacteria. If you notice the water smells off or looks discolored, that’s a red flag that cleaning is overdue. Take a moment to inspect the exterior for dust buildup while you’re at it.
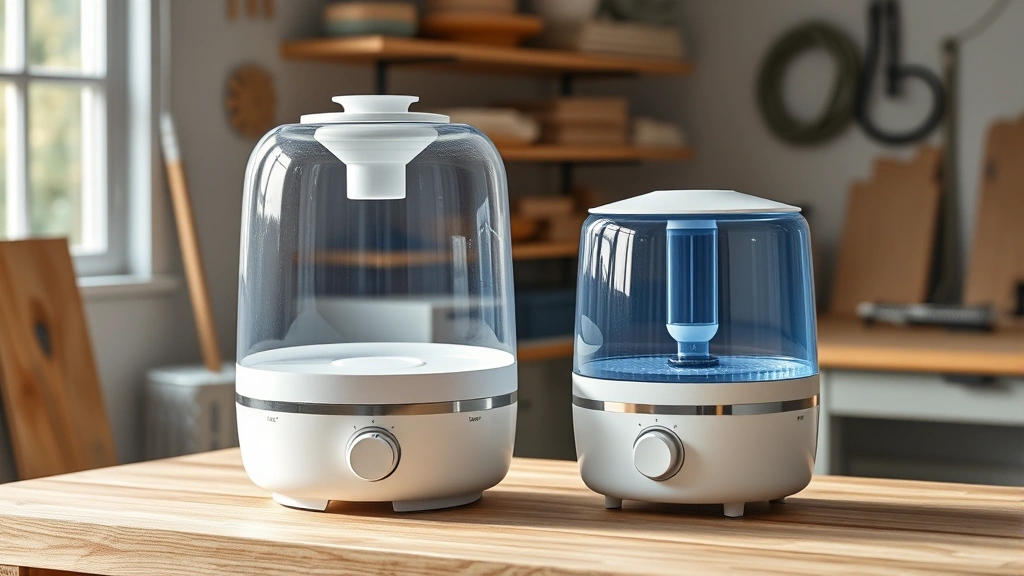
Step Two: Disassemble the Unit
Most humidifiers break down into a few main components: the water tank, the base unit, and sometimes a filter or wick. Check your manual for the specific disassembly process—some units have snap-together parts, while others have screws. I usually separate everything that can be safely removed. The more surface area you can access, the better your cleaning will be. Don’t force anything; if a part seems stuck, it might need to soak first to loosen mineral deposits.
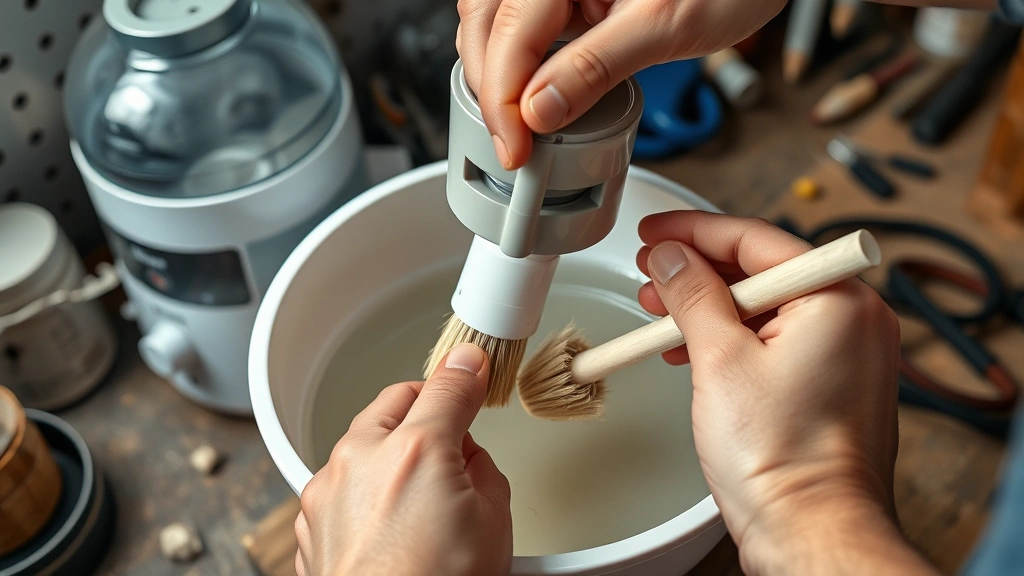
Step Three: Soak and Scrub
Fill your bucket with equal parts white vinegar and distilled water. This solution tackles mineral buildup without harsh chemicals. Submerge the tank and any removable parts and let them soak for at least 30 minutes. For heavy mineral deposits, go for an hour or more. While they’re soaking, use your soft-bristled brush to gently scrub the base unit and any areas with visible buildup. The vinegar will soften stubborn deposits, making them easier to remove. Use pipe cleaners to get into narrow openings where water typically flows. After scrubbing, rinse everything thoroughly with distilled water—you want all vinegar residue gone before reassembly.
Step Four: Handle the Filter
If your humidifier has a replaceable filter or wick, this is when you address it. Some filters can be rinsed and reused; others need replacement. Check your manual—this varies by model. If rinsing is okay, use distilled water and gently rinse the filter under a light stream. Never wring or twist it. For stubborn mineral deposits on the filter, a brief soak in vinegar solution works, but follow your manufacturer’s guidance. If the filter is falling apart or smells musty even after cleaning, it’s time for a replacement. A clogged or moldy filter defeats the whole purpose of cleaning.
Step Five: Reassemble and Test
Once everything is clean and dry, reassemble your humidifier in reverse order. Make sure each component snaps or screws back securely. Fill the tank with fresh distilled water—this is crucial. Tap water contains minerals that build up over time, which is why you’re doing this job in the first place. Plug the unit back in and run it for a few minutes to make sure everything operates smoothly. Listen for any unusual sounds and check that mist disperses evenly. If something seems off, unplug and troubleshoot before running it continuously.
Maintenance Schedule Tips
How often should you clean? That depends on your water hardness and usage. In areas with soft water, monthly cleaning might suffice. Hard water regions need cleaning every two to three weeks. During peak heating season when you’re running the unit daily, lean toward the more frequent schedule. Think of it like how often to replace cabin air filter—regular intervals prevent bigger problems. Keep a simple calendar reminder so you don’t forget. Daily tasks between deep cleans include emptying the tank if you’re not using distilled water and wiping down the exterior to prevent dust accumulation.
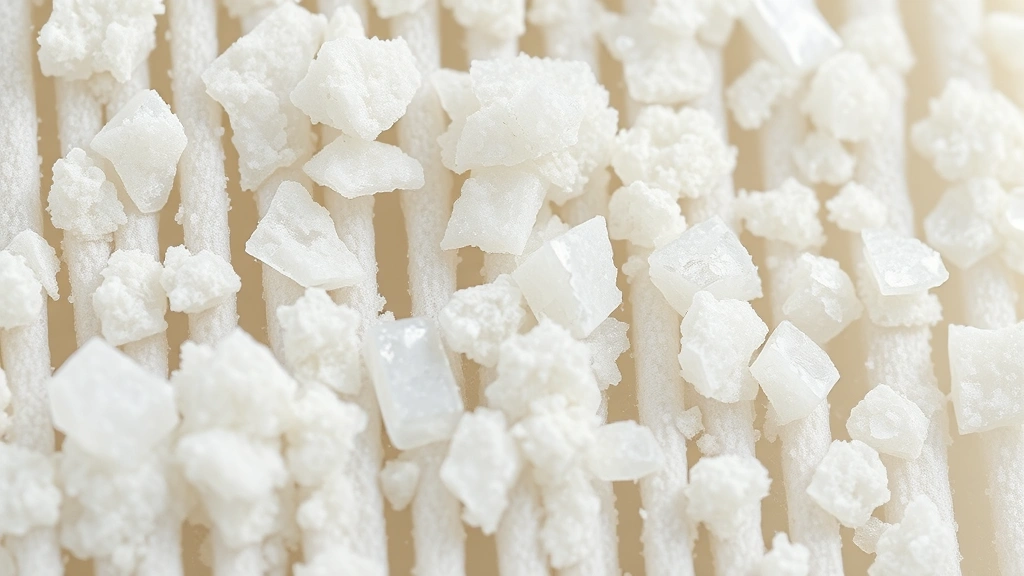
Common Problems Solved
White dust around your humidifier? That’s mineral spray—a sign your tank needs cleaning and you should switch to distilled water. Humidifier producing weak mist? Mineral deposits are likely clogging the distribution system. A good soak in vinegar solution usually fixes this. Strange smell or visible mold? Deep clean immediately and consider replacing the filter. If the unit still smells musty after cleaning, there might be mold in hard-to-reach areas—sometimes a second vinegar soak helps. For how to clean stainless steel appliances with similar buildup issues, vinegar and soft cloths work the same magic.
Pro Tips for Success
Use distilled water exclusively—it’s the single biggest factor in reducing cleaning frequency. Keep your humidifier in a well-ventilated area away from walls and furniture; this improves air circulation and reduces the chance of moisture damage. If you travel frequently or use your humidifier seasonally, empty the tank completely before storage. Never use essential oils or fragrance additives unless your unit is specifically designed for them; they can gum up internal components. When in doubt, check your manual—manufacturers sometimes have specific cleaning recommendations that vary by model.
Frequently Asked Questions
Can I use regular tap water in my humidifier?
Technically yes, but you’ll be cleaning much more often. Tap water contains minerals that accumulate quickly, reducing efficiency and increasing maintenance. Distilled water costs a few dollars and saves you hours of scrubbing.
Is white vinegar safe for all humidifier types?
Almost all, but check your manual first. Some manufacturers recommend specific cleaning solutions. In general, vinegar is gentler than bleach and works well for ultrasonic and evaporative models.
How long does a humidifier filter last?
Depends on usage and water quality. In hard water areas with daily use, expect three to six months. Soft water regions might stretch to a year. If it looks discolored or smells bad, replace it regardless of the timeline.
What if my humidifier still smells after cleaning?
A second vinegar soak often helps. If the smell persists, the filter might need replacement, or there could be mold in areas you can’t access. Some units benefit from running with just vinegar solution for one cycle, then rinsing thoroughly.
Can I clean the humidifier while it’s running?
No—always unplug first. Electrical appliances and water don’t mix during maintenance. Safety first, every time.
Should I clean before or after storing for the season?
Before. Clean thoroughly, let everything dry completely, then store in a cool, dry place. This prevents mold growth during off-season storage.
Learning how to clean a humidifier properly takes about 20 minutes once you get the hang of it, and the payoff in better air quality and equipment longevity is worth every minute. Stick to a regular schedule, use distilled water, and you’ll keep your humidifier running efficiently for years. Your lungs—and your wallet—will thank you.


