
Learning how to clean a dryer is one of those maintenance tasks that’ll save you hundreds in repairs and keep your clothes smelling fresh instead of musty. Most folks ignore their dryers until something goes wrong, but spending 30 minutes on cleaning can extend your machine’s life by years and slash your energy bills. Let’s get into it.
Table of Contents
Why Dryer Cleaning Matters
Your dryer works hard every week, and lint buildup is the silent killer nobody talks about. When you don’t know how to clean a dryer regularly, lint accumulates in places you can’t see—around the drum, inside the exhaust vent, and along the heating element. This creates three major problems: your dryer runs hotter and longer, your electric bill climbs, and worst case, you’re looking at a fire hazard. The Consumer Product Safety Commission reports that dryer fires injure hundreds of people annually, and most are preventable with basic cleaning. Beyond safety, a clean dryer dries clothes faster, which means less heat exposure and longer garment life. You’re basically getting more bang for your buck with minimal effort.
Gather Your Tools and Materials
Before you crack open that dryer, grab these essentials. You’ll need a Phillips and flathead screwdriver, a vacuum with a hose attachment (or a shop vac if you’re serious), a lint brush or old toothbrush for tight spaces, needle-nose pliers, a flashlight, and some old towels to catch debris. Optional but helpful: a dryer vent brush kit (available at any hardware store for $15-30), and a multimeter if you want to test electrical connections later. Unplug your dryer before touching anything—this isn’t optional, it’s survival. Seriously, don’t skip this step. If your dryer is gas-powered, also shut off the gas valve. Give yourself about an hour for the full job, and work in a space where you can spread out without making your whole house look like a disaster zone.
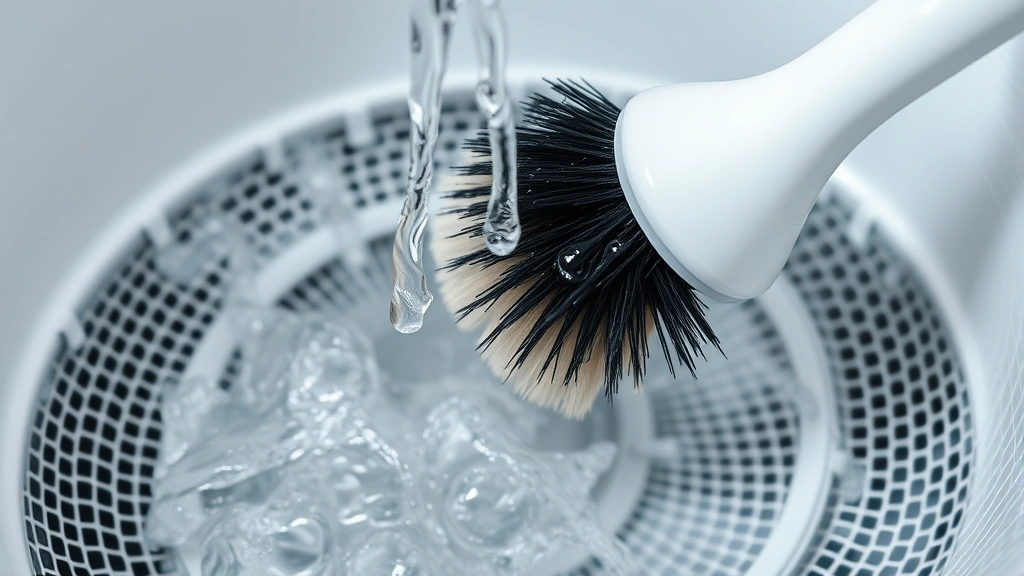
Clean the Lint Trap Properly
This is the easiest part and where most people stop—which is exactly why they miss 80% of the lint problem. Pull out your lint trap and remove the obvious stuff by hand. Now here’s the trick: run it under warm water and scrub it with an old toothbrush or soft brush to remove the thin film that builds up over time. This film is actually more damaging than you’d think because it reduces airflow even when the trap looks clean to your eye. Dry it completely before reinstalling. While the trap is out, shine your flashlight into the slot where it sits and vacuum out any lint hiding in there. You’d be surprised how much accumulates in that narrow space. This simple step alone can improve drying time by 15-20 minutes per load.
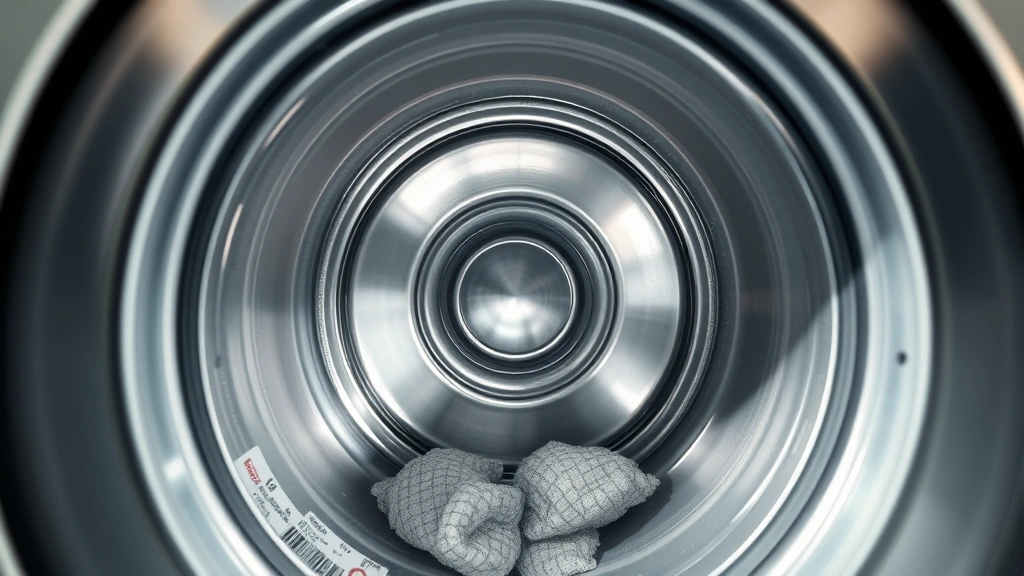
Vacuum the Interior Chamber
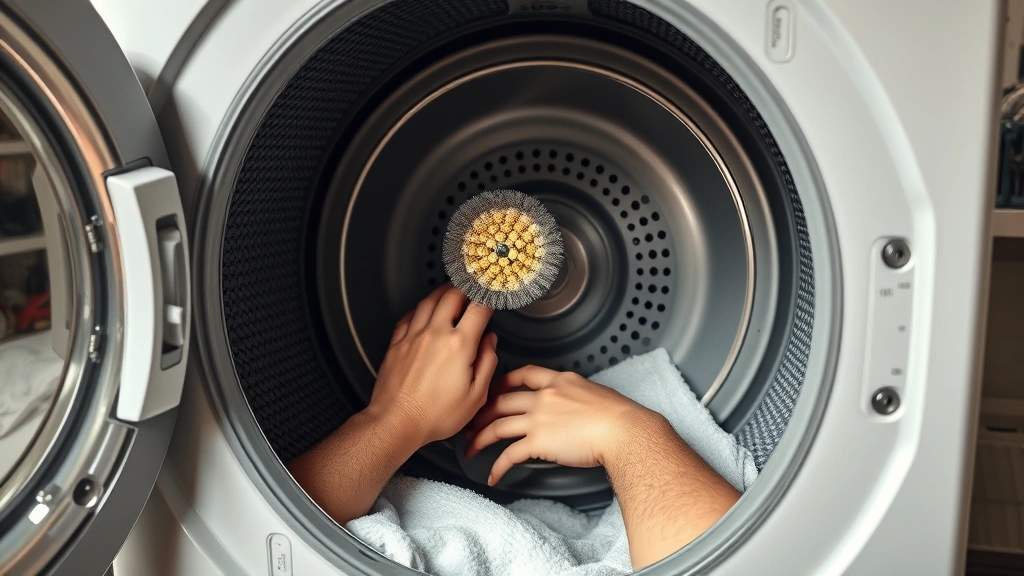
Now let’s get serious. Unplug the dryer and pull it away from the wall—you’ll need access to the back. Most dryers have a front panel held by a few screws or clips. Check your manual for the exact method, but typically you’ll remove a few fasteners and gently pry the front panel off. Use your vacuum hose to suck up lint from inside the drum area, around the heating element, and along the sides. Get into corners and crevices where lint loves to hide. Use a lint brush to dislodge stubborn buildup before vacuuming. This is where patience pays off—take your time and hit every surface. You’re looking at removing years of accumulated lint in some cases, so don’t rush. If your vacuum fills up quickly, empty it frequently. A clogged vacuum won’t pull air effectively, defeating the purpose.
Access and Clear Exhaust Vent
The exhaust vent is where most lint actually goes, and it’s your fire hazard zone. Locate where your dryer vents outside—usually through the back or side of your home. Disconnect the vent hose from the dryer (it’s typically held by a hose clamp or just friction-fitted). Use your dryer vent brush kit to push through and pull back lint from both ends. If you have a long run (more than a few feet), you might need to access the vent from outside as well. Remove any exterior vent cover and brush from that end too. This is critical: lint in the exhaust vent reduces efficiency dramatically and creates real fire risk. If you’re finding heavy buildup here, consider doing this cleaning every 6 months instead of annually. Some folks use a leaf blower from the outside to blast lint out—just be careful not to damage the vent structure.
Clean Drum Rollers and Seals
If your dryer is squeaking or not tumbling smoothly, the drum rollers might need attention. These are the wheels that let your drum spin freely, and they wear out over time. While you have the front panel off, take a look at the drum seals and rollers. Wipe them down with a damp cloth to remove lint and buildup. If a roller looks cracked or damaged, it’ll need replacement—but that’s a separate repair. For now, just clean what you can access. Also check the felt seal around the drum opening; if it’s torn, lint will escape into areas it shouldn’t. Again, replacement is a bigger job, but knowing what you’re looking at helps you catch problems early. This inspection step takes five minutes and can save you from a $300 repair down the road.
Reassemble and Test Run
Once you’ve cleaned everything, it’s time to put Humpty Dumpty back together. Reinstall the lint trap, reattach the front panel securely, reconnect the exhaust vent hose, and plug the dryer back in. Before running a full load, do a test cycle with no clothes—just let it run for 10 minutes to make sure everything’s working normally. Listen for unusual noises, check that the drum spins freely, and verify the exhaust is flowing properly outside. If something sounds off, stop and troubleshoot before running actual laundry. Once you’re confident everything’s good, run a normal load and pay attention to drying time. You should notice a significant improvement in efficiency compared to before cleaning. This is your reward for doing the work right.
Maintenance Schedule Tips
Now that you know how to clean a dryer properly, make it a habit. Clean the lint trap after every single load—this takes 20 seconds and prevents 90% of problems. Do a deep clean of the interior and exhaust vent annually, or twice yearly if you use your dryer heavily. If you have pets that shed, bump it to three times per year. Mark it on your calendar like you would an oil change. The beauty of regular maintenance is that each cleaning takes less time because you’re preventing massive buildup. A dryer that’s cleaned regularly will outlast one that’s ignored by 5+ years. You’re also reducing energy consumption consistently, which adds up to real savings on your electric bill. Think of it as preventive medicine for your laundry room.
Frequently Asked Questions
How often should I clean my dryer?
Clean the lint trap after every load. Do a full interior and vent cleaning at least once a year, twice yearly if you use it heavily or have shedding pets. If you notice clothes taking longer to dry, that’s a sign you’re overdue for cleaning.
Can I clean the exhaust vent from inside the dryer?
Partially, yes. You can clean the vent connection and the first few feet of duct from inside. For longer runs, you’ll need to access it from outside your home. A dryer vent brush kit with extensions makes this easier and safer.
What if I find lint in the drum seal?
Remove what you can with your vacuum and brush. If the seal itself is torn or damaged, it’ll need replacement—that’s beyond basic cleaning. But catching this during maintenance prevents bigger problems later.
Is it safe to use a leaf blower on the exhaust vent?
Yes, from the outside end. It can blast out stubborn lint effectively. Just be gentle to avoid damaging the vent structure. Never use compressed air—the pressure can be too intense and damage components.
Why does my dryer still take forever after cleaning?
If drying time hasn’t improved, check three things: the lint trap isn’t fully dry before reinstalling, the exhaust vent is still partially blocked (you might need professional duct cleaning), or there’s a heating element issue (which requires professional repair).
Can I prevent lint buildup between cleanings?
Mostly through consistent lint trap cleaning. Lint is inevitable—it’s the nature of drying clothes. But removing it after every load prevents accumulation in hard-to-reach spots. Also, ensure your vent hose isn’t kinked or crushed, which slows airflow.


