
Knowing how to check what mobo I have is one of those essential PC skills that’ll save you hours of frustration when upgrading, troubleshooting, or just plain curious about your rig’s guts. Whether you’re planning a RAM upgrade, installing a new CPU cooler, or diagnosing compatibility issues, identifying your motherboard is the first step. The good news? It’s dead simple, and you’ve got multiple ways to do it without cracking open your case or digging through dusty documentation.
Table of Contents
Check via Windows System Info
The easiest path for Windows users is built right into your operating system. Open the Start menu and type “System Information” into the search bar. Click the result, and boom—you’re in. Look for “BaseBoard Manufacturer” and “BaseBoard Product” fields. That’s your motherboard right there, plain as day. The manufacturer tells you whether you’re rocking an ASUS, MSI, Gigabyte, or another brand, while the product name gives you the exact model number.
This method works on Windows 10 and 11 without any additional downloads. It’s the fastest route and requires zero technical knowledge. If you want to dig deeper into your system’s capabilities, this window also shows your processor, RAM amount, and other key specs that relate to your motherboard’s compatibility.
Use Command Line Tools
For the command-line enthusiasts out there, Windows PowerShell and Command Prompt can pull motherboard info in seconds. Open PowerShell as administrator and run: Get-WmiObject Win32_BaseBoard. You’ll get a detailed readout including manufacturer, model, serial number, and version information. It’s precise and gives you more data than the GUI method.
Alternatively, use Command Prompt with: wmic baseboard get product,manufacturer. This stripped-down version shows just what you need without the extra clutter. Both methods are instant, reliable, and don’t require any software installation. If you’re comfortable with terminals, this is genuinely the fastest approach available.
Look in BIOS or Firmware
Your BIOS (Basic Input/Output System) is the firmware that runs before Windows even boots up, and it knows everything about your motherboard. Restart your computer and repeatedly press the Delete key, F2, or F12 during startup—the exact key varies by manufacturer but usually shows on the boot screen. Once you’re in BIOS, look for the Main or System Information tab. Your motherboard model and manufacturer will be listed there.
This method is particularly useful because it’s independent of your operating system. If Windows is corrupted or you’re troubleshooting boot issues, BIOS will still give you accurate information. The downside is that BIOS interfaces vary wildly between manufacturers, so navigating can feel foreign if you’ve never been in there before. Don’t worry though—just look for tabs labeled “Main,” “System Info,” or “Board Information.”
Physical Inspection Method
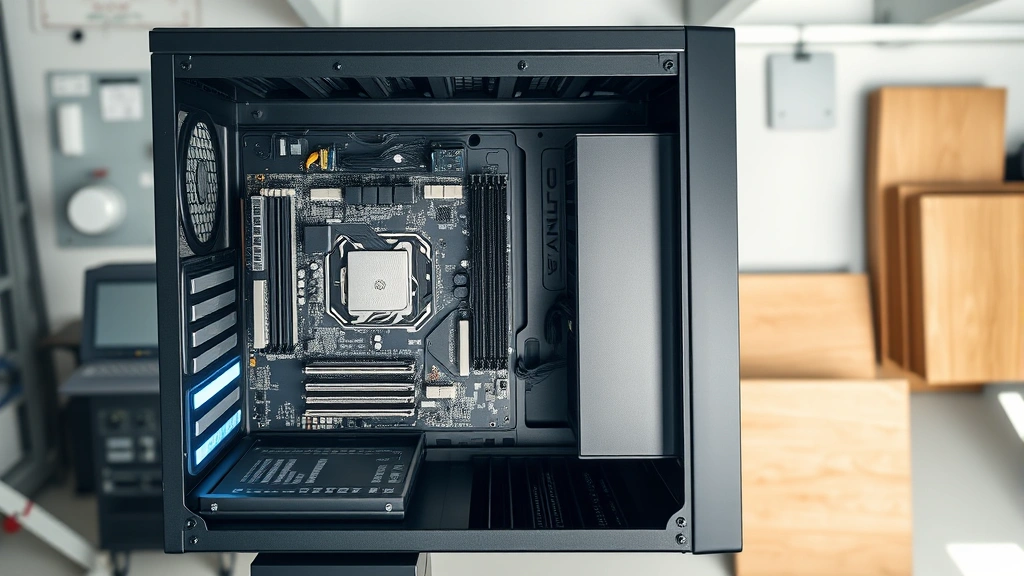
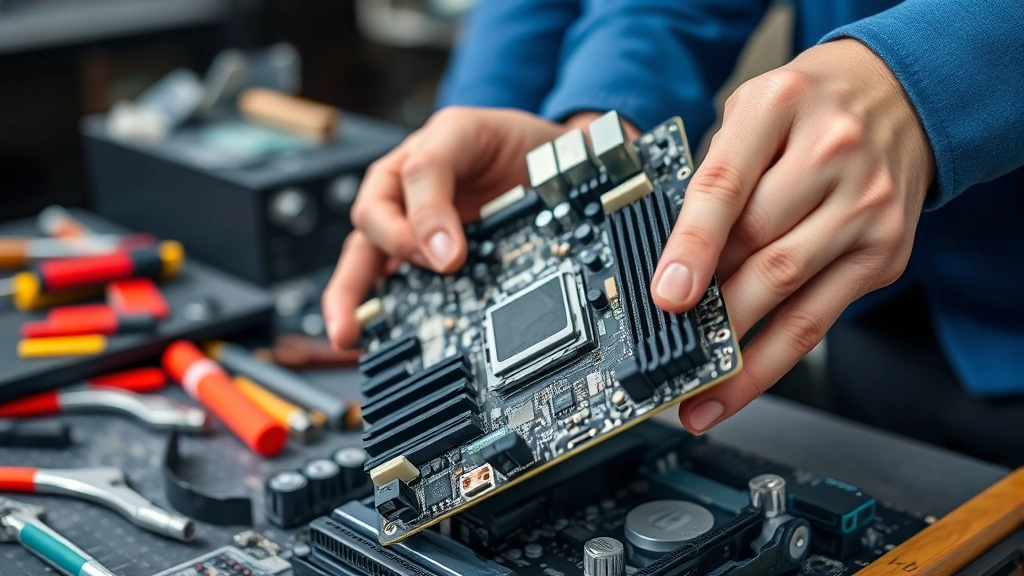
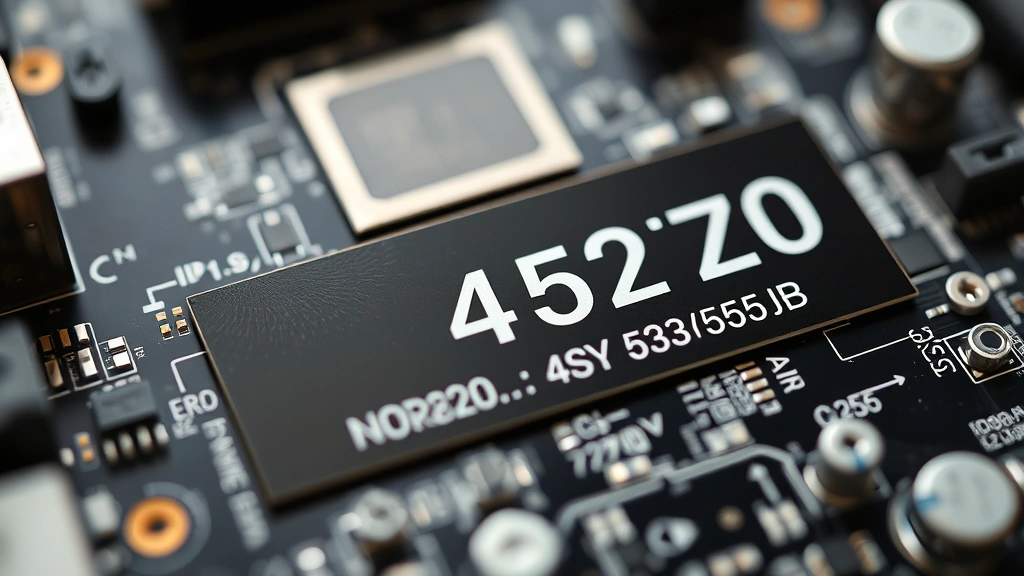
Sometimes the old-fashioned way is the best way. Power down your PC completely, flip the power supply switch to off, and unplug it. Wait a few minutes for residual power to drain. Then open your case and look directly at the motherboard. The manufacturer and model number are usually printed in large text on the board itself, typically near the CPU socket or along the edges. You might need a flashlight and a bit of patience to read it clearly, but it’s printed right there in silkscreen.
This hands-on approach eliminates any software variables and gives you 100% certainty. Plus, while you’re in there, you can visually inspect for any obvious issues—dust buildup, loose cables, or capacitors that look swollen. Just remember to ground yourself before touching components by touching a metal part of the case or wearing an anti-static wrist strap. If you’re already planning to upgrade hardware, this is a perfect time to grab that model number.
Third-Party Software Solutions
If you want comprehensive system information beyond just your motherboard, CPU-Z is the gold standard. Download it from the official CPUID website, run the executable, and navigate to the “Mainboard” tab. You’ll see your motherboard manufacturer, model, chipset, BIOS version, and more. It’s lightweight, free, and doesn’t require installation on many versions.
Other reliable options include Speccy by Piriform, HWiNFO, and GPU-Z for GPU-related boards. These tools pull data directly from your system’s hardware sensors and databases, giving you rock-solid accuracy. They’re particularly helpful if you’re comparing specs or need detailed information about your board’s capabilities. Just download from official sources to avoid malware—sketchy software mirrors are a real problem in the tech space.
Mac and Linux Alternatives
Mac users can check their motherboard equivalent (the logic board) through Apple Menu → About This Mac → System Report. Look for “Board ID” and “Model Identifier.” This gives you the information you need for compatibility checks and upgrades, though Mac hardware is typically less modular than PCs.
Linux users have several options. Open a terminal and run sudo dmidecode -t baseboard for detailed motherboard information. Alternatively, lsb_release -a and inxi -M provide system details. If those commands don’t work, check your specific distribution’s documentation—different Linux flavors have slightly different tools available. The beauty of Linux is transparency; your system knows exactly what hardware you’re running.
Why Identify Your Motherboard
Knowing your motherboard model matters for several practical reasons. Planning a CPU upgrade? Your motherboard’s socket type determines compatibility—an older board won’t accept the latest chips. Adding RAM? You need to know your board’s maximum capacity and supported speeds. Installing a new graphics card or M.2 drive? Motherboard compatibility is crucial. When you’re checking what mobo you have, you’re essentially unlocking the upgrade roadmap for your entire system.
It’s also essential for troubleshooting. If something goes wrong, tech support will ask for your motherboard model. Driver updates are often motherboard-specific. Warranty claims require proof of your exact hardware configuration. Even just understanding your system’s age and capabilities helps you make informed decisions about future investments.
Troubleshooting Tips
If you can’t find your motherboard info through Windows System Information, try running the command-line methods as administrator. Sometimes standard user accounts have limited access to detailed hardware information. If BIOS seems inaccessible, consult your PC manufacturer’s documentation for the correct startup key sequence—it’s usually printed during boot or available in your manual.
For physical inspection, take photos with your phone if you’re having trouble reading the silkscreen text. Zoom in on the image later when you have better lighting. If the text is worn off (rare but possible on older boards), you can identify your motherboard by its layout, capacitor configuration, and other visual markers—though this requires more expertise. In that case, fall back to software methods or contact your PC manufacturer with your system’s serial number.
If third-party software won’t identify your board, make sure you’re downloading from official sources. Some free tools have outdated databases that miss newer motherboards. CPU-Z updates regularly and handles even cutting-edge hardware accurately. Always scan downloads with antivirus software before running them, especially if you grabbed them from less-established websites.
Frequently Asked Questions
Can I check my motherboard without opening my PC?
Absolutely. Windows System Information, PowerShell, BIOS, and third-party software like CPU-Z all work without opening your case. Physical inspection is the only method that requires opening your PC.
What if my motherboard info doesn’t show up in System Information?
Try the PowerShell command method or check your BIOS directly. If neither works, your motherboard might be extremely old or there’s a driver issue. In that case, physical inspection is your backup plan.
Is it safe to open my PC case to check the motherboard?
Yes, if you follow basic precautions: power down completely, unplug the PC, wait a few minutes, ground yourself, and don’t touch components unnecessarily. You’re just looking at the board, not replacing anything, so the risk is minimal.
Do I need the exact motherboard model or just the brand?
For most purposes, you need the exact model number. Different models from the same manufacturer have different socket types, RAM support, and features. The model number is essential for accurate compatibility checking.
How often should I check my motherboard info?
Once is usually enough unless you upgrade your PC. If you’re planning hardware changes, check before you buy anything. If you’re troubleshooting or dealing with tech support, having this info readily available saves time.
Can I identify a motherboard by its serial number alone?
The serial number helps, but the model number is what matters for compatibility and support. Serial numbers are useful for warranty claims and tracking, but they don’t tell you the board’s capabilities.
What’s the difference between motherboard and logic board?
They’re the same thing—different terminology. Motherboard is the standard PC term, while Mac users call it the logic board. The function is identical: it’s the main circuit board that connects all your hardware.
Final Thoughts
You now have five solid methods for identifying your motherboard, ranging from the quickest software approach to the most direct physical inspection. For most people, Windows System Information is the path of least resistance—it takes 30 seconds and requires zero technical knowledge. If you want more detailed information or you’re troubleshooting, CPU-Z or BIOS access gives you deeper insights into your system’s capabilities.
The key takeaway: knowing how to check what mobo you have is a fundamental skill that opens doors to upgrading, troubleshooting, and understanding your PC at a deeper level. Whether you’re a casual user or a hardcore enthusiast, this information is your foundation for making smart hardware decisions. Keep that model number handy—you’ll reference it more often than you’d expect, especially if you’re the type who likes tinkering with their rig.
For more detailed system diagnostics, check out our guide on how to check continuity with a multimeter if you’re diving into hardware troubleshooting. If you’re planning major upgrades, understanding power delivery is crucial—that’s where knowledge of your exact motherboard model becomes indispensable for selecting compatible components.


