
Knowing how to check oil in car is one of the most fundamental maintenance skills every driver should master. It takes five minutes, costs nothing, and can save you thousands in engine damage. Let’s walk through this together.
Table of Contents
Why Regular Oil Checks Matter
Your engine oil is basically the lifeblood of your car. It lubricates moving parts, reduces friction, and keeps everything running smooth. Over time, oil breaks down and gets consumed by the engine. If levels drop too low, you’re looking at catastrophic engine failure—and that’s not cheap to fix.
I check my oil every month, sometimes more during summer heat. It’s insurance against expensive problems. Think of it like brushing your teeth—a tiny bit of prevention beats a root canal every time. Most mechanics recommend checking at least monthly, and before long road trips, it’s essential.
Gather Your Supplies First
You don’t need much for this job, which is part of what makes it so accessible. Here’s what you’ll grab:
- Paper towels or clean rags (lint-free is better)
- Your vehicle’s owner’s manual (for reference)
- The correct oil type for your car (just in case)
- A funnel (if you need to add oil)
That’s genuinely it. No special tools, no expensive equipment. Keep these items in your car or garage so you’re always ready. I keep a small kit in my trunk with extra oil, rags, and a funnel—takes up minimal space but has saved me headaches more than once.
Warm Up Your Engine Properly
This step trips up a lot of beginners. You want your engine warm but not hot. Start the car and let it idle for 30-60 seconds, then turn it off. Wait a couple minutes before checking—this gives the oil time to settle back into the pan where the dipstick can accurately measure it.
Why warm? Cold oil is thicker and won’t coat the dipstick evenly, giving you a false low reading. But if the engine’s too hot, you risk burns from hot oil splattering. That middle ground is your sweet spot. On cold mornings, I’ll start the car, grab my supplies, and by the time I’m ready, it’s perfect.
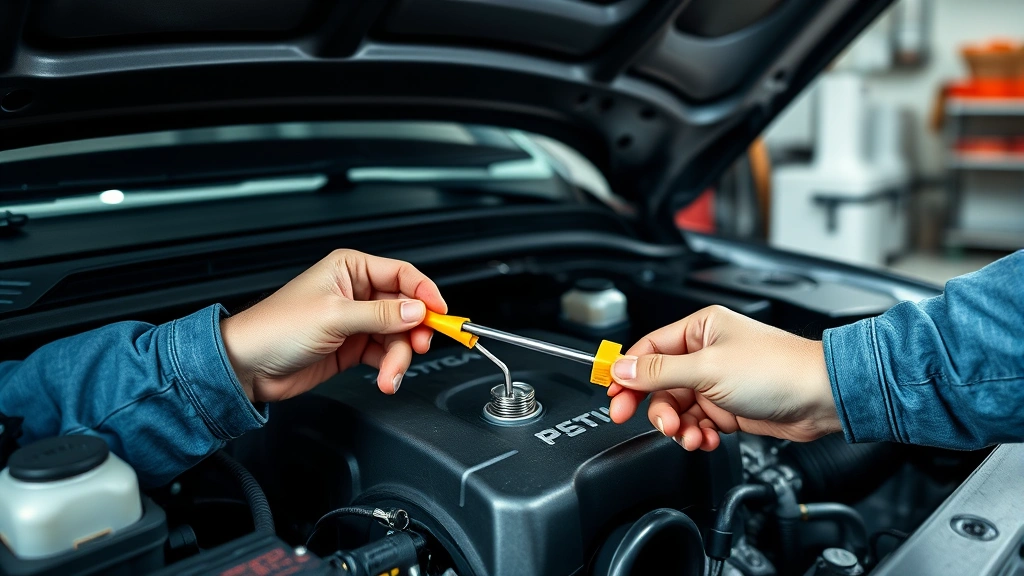
Locate the Dipstick
Pop your hood and look for the dipstick—it’s usually a thin rod with a yellow or orange handle. Your owner’s manual will show you exactly where it lives in your engine bay. Modern cars sometimes hide it in odd spots, so don’t guess.
The dipstick typically has a loop handle at the top. Grab it firmly and pull straight up with steady pressure. It should slide out smoothly. If it’s stuck, wiggle it gently side-to-side while pulling—don’t force it or you might damage the seal. Once it’s out, you’ll see two marks on the stick: the minimum and maximum levels.
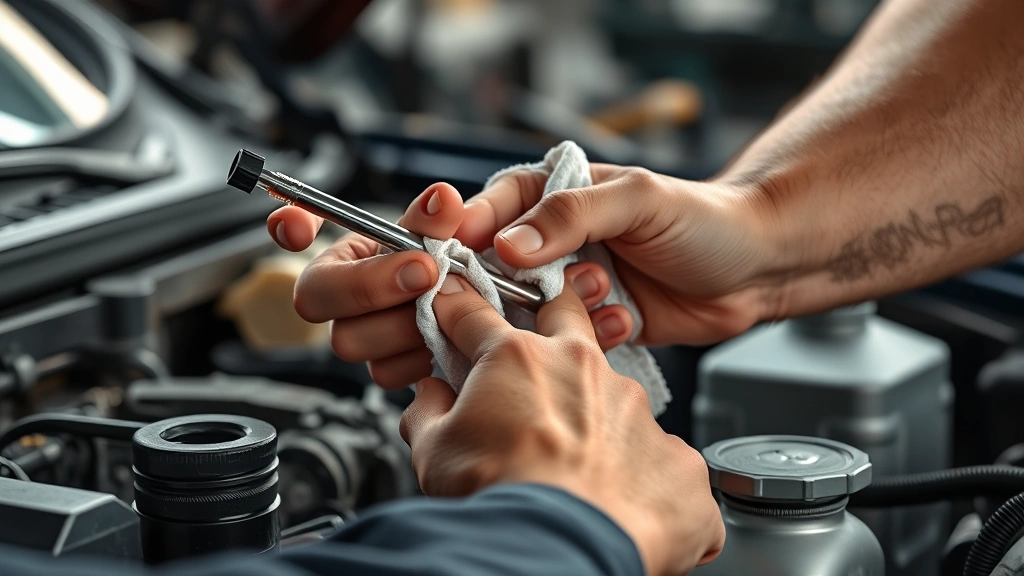
Read the Oil Level
Here’s where accuracy matters. Wipe the dipstick completely clean with your rag—get all the old oil off. Now reinsert it all the way until it seats fully, then pull it straight back out. This second reading is your accurate measurement.
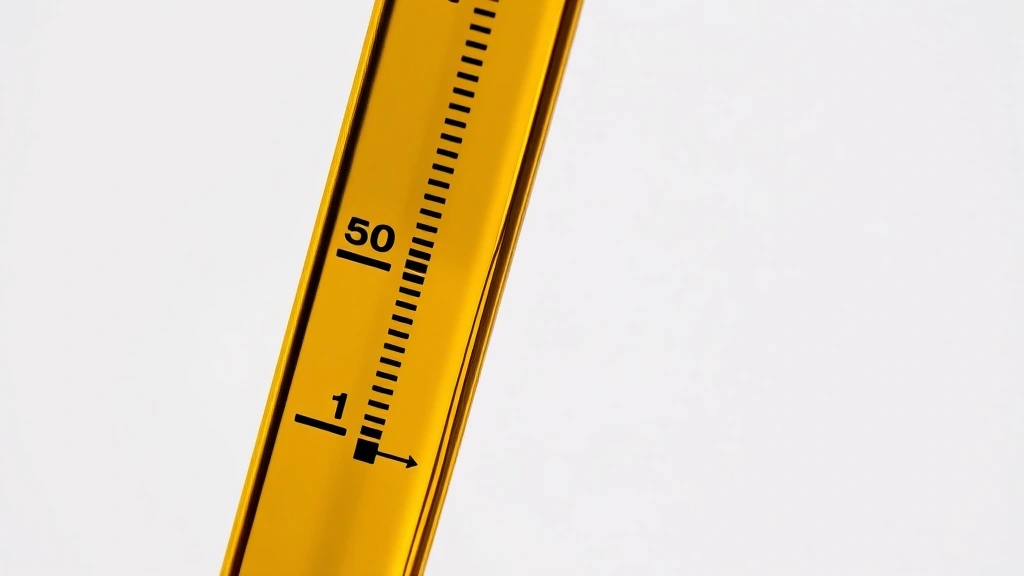
Look at where the oil line sits between the minimum and maximum marks. Ideally, you want it near the maximum. If it’s below the minimum line, you need to add oil. If it’s between the lines, you’re in the safe zone. The difference between minimum and maximum is usually about one quart, so even being a bit low isn’t catastrophic, but don’t ignore it.
I always mark my calendar when I check, so I know I’m staying on top of things. Consistency beats perfection—regular checks catch problems before they become disasters. This connects to other fluid maintenance too; if you’re checking oil regularly, you should also consider how much to change transmission fluid during your vehicle’s service intervals.
Check Oil Condition Too
While you’ve got the dipstick out, notice the oil’s color and consistency. Fresh oil is amber or light brown. Dark brown or black? That’s normal for older oil, but it means you’re overdue for a change. Milky or foamy oil suggests water contamination—get that checked by a pro immediately.
Smell matters too. Fresh oil has a slight petroleum smell. If it smells burnt or acrid, your engine’s running hot or the oil’s breaking down. Gritty texture? That’s metal particles, which means internal wear. Most of the time, oil looks and smells fine, but these quick checks catch the abnormal stuff early.
The condition check takes 10 extra seconds but gives you huge insight into your engine’s health. I’ve caught problems this way that would’ve cost thousands if ignored. It’s like reading your engine’s report card every month.
Adding Oil When Needed
If you need to add oil, locate the oil cap on top of your engine—it usually has an oil can symbol. Unscrew it counterclockwise and set it aside somewhere clean. Insert your funnel into the opening.
Add oil slowly in small amounts—a quarter quart at a time. Wait a minute between additions so it drains down into the pan. Then recheck with the dipstick. You’re aiming for the maximum line, not overfilling. Overfilled oil causes problems like seal leaks and foaming, which is actually worse than being slightly low.
Use the correct oil grade for your car—check your manual or the sticker under your hood. Most modern cars use 0W-20 or 5W-30, but don’t guess. Getting this wrong affects engine performance and longevity. Once you’re at the right level, screw the cap back on clockwise until it’s snug—not gorilla-tight, just secure.
Schedule Regular Checks
Make this a habit. Set a phone reminder for the first of every month. Takes five minutes, zero cost, massive peace of mind. If you’re doing longer road trips, check before you leave. If you notice oil consumption between checks, that’s worth investigating—it might signal a leak or internal wear.
Your car’s maintenance schedule is your roadmap. While you’re checking oil, glance at your other fluids too. This is also a good time to think about bigger maintenance items like how much to paint a car or scheduling professional services. Staying proactive with small checks prevents expensive repairs.
I keep notes in my phone of every check—date, level, and any observations. Over time, this log shows patterns. If your car suddenly starts consuming oil faster, that’s a red flag worth investigating before it becomes an engine replacement.
Frequently Asked Questions
How often should I check my oil?
At minimum, monthly. Before long road trips, absolutely. If your car’s older or burning oil, check every two weeks. Modern engines with synthetic oil can go longer between changes, but checking costs nothing and takes minutes.
Can I check oil when the engine is cold?
Technically yes, but you’ll get inaccurate readings because cold oil is thicker and won’t settle properly on the dipstick. Warm it up for 30-60 seconds, then wait two minutes for accuracy. This is worth the extra time.
What if my dipstick is hard to find?
Check your owner’s manual—it’s your best friend for this. Some newer cars have electronic oil level monitors instead of traditional dipsticks. If you can’t find one, consult your manual or ask your mechanic during your next service.
How much does it cost to add oil?
A quart of quality oil costs $3-8. Checking levels and topping off is basically free maintenance. Ignoring low oil levels costs thousands in engine repairs. The math is simple.
Is it normal for oil to look dark?
Yes, oil darkens as it ages. Dark doesn’t automatically mean it’s bad. However, if it’s very dark, burnt-smelling, or gritty, that’s your signal to schedule an oil change. Your owner’s manual recommends intervals—follow those.
What if oil is above the maximum line?
Don’t drive it. Overfilled oil causes seal leaks, foaming, and engine damage. Remove the excess carefully with a turkey baster or drain some through the drain plug. Get it to the maximum line, not above.
Wrap It Up
Checking your oil is genuinely one of the easiest preventative maintenance tasks you can do. Five minutes monthly, zero cost, and you’re protecting an investment worth thousands. Your future self will thank you when your engine purrs along without surprise failures.
Start this month. Make it a habit. Keep your supplies handy and your calendar marked. This is the foundation of responsible car ownership. And when you’re comfortable with this, you’re ready to tackle other maintenance tasks like how to change shower head or explore bigger projects with confidence.
For more detailed maintenance guidance, check out resources from Family Handyman, This Old House, and Bob Vila for trusted automotive advice.


