

Learning how to check a capacitor is one of those essential skills that’ll save you hundreds in repair bills and keep your electronics running smooth. Whether you’re troubleshooting a dead air conditioner, a flickering lamp, or a wonky power supply, a bad capacitor is often the culprit. I’m going to walk you through five battle-tested methods I’ve used in the workshop for years—no fancy degree required.
Table of Contents
Visual Inspection First
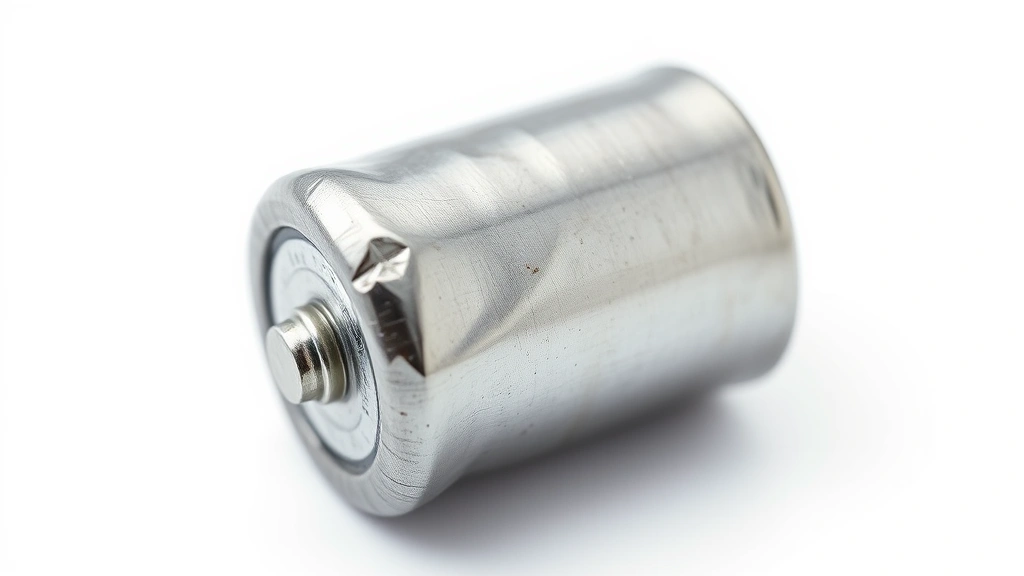
Before you grab any tools, do a visual inspection—this catches 70% of bad capacitors without any testing. Pop open your device and look for the telltale signs of a dead capacitor. A bulging top is the smoking gun. The metal casing should be flat and smooth; if it looks like someone puffed it up like a balloon, it’s done.
Check the bottom too. You’ll see two metal tabs or pins sticking out. If there’s white crusty residue or leaked electrolyte around those connections, that capacitor is toast. Some folks call it the “capacitor plague”—it’s real and it happens. Also look for any visible burns, cracks, or discoloration on the casing. A brown or blackened capacitor is definitely not doing its job anymore.
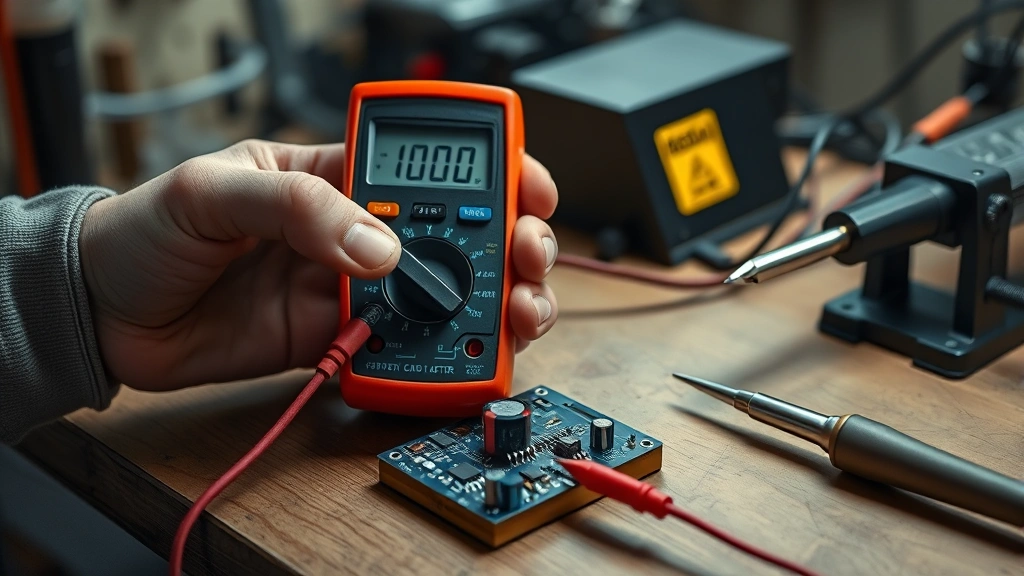
Multimeter Resistance Test
This is my go-to quick test for most situations. Grab a standard digital multimeter—you can pick one up for fifteen bucks. First, make sure you’ve safely discharged the capacitor. Use an insulated screwdriver to short the two terminals together briefly. This prevents a nasty shock.
Set your multimeter to the resistance (ohms) setting. Touch one probe to each terminal of the capacitor. On a good capacitor, you’ll see the resistance climb from zero toward infinity as the capacitor charges through the meter. If the reading stays at zero or stays stuck at some random number without changing, your capacitor is bad. A healthy capacitor should show that climbing resistance pattern—it’s charging up through the meter’s battery.
This method works best for electrolytic capacitors, which are the most common type you’ll find in household electronics. Film capacitors and ceramic capacitors behave slightly differently, but the basic principle holds.
Direct Capacitance Measurement
Many modern multimeters have a dedicated capacitance setting—look for the symbol that looks like two parallel lines. This is the most straightforward way to test if you’ve got the right equipment. Discharge the capacitor safely first, then switch your multimeter to the capacitance mode.
Touch the probes to the capacitor terminals. The meter will display the actual capacitance value in microfarads (µF) or nanofarads (nF). Here’s the key: compare this reading to the rating printed on the capacitor’s body. Most capacitors have a tolerance of 10-20%, so if it’s rated for 100µF, anything between 80-120µF is acceptable. If your reading is way off or shows zero, the capacitor is dead.
This method is more accurate than the resistance test because it actually measures what the capacitor is supposed to do—store electrical charge. If you’re serious about electronics repair, a multimeter with capacitance measurement is worth the upgrade. You can also check out our guide on how to disconnect a car battery for safely powering down devices before testing.
Voltage Test Method
This method works when the capacitor is still in the circuit and powered. It’s riskier, so only try this if you know what you’re doing. Set your multimeter to DC voltage mode and carefully touch one probe to each terminal of the capacitor without disconnecting it.
A healthy capacitor should hold a voltage close to what’s being supplied to it. If the voltage reads zero or fluctuates wildly, you’ve got a problem. The advantage here is you’re testing the capacitor in its actual working environment. The downside is you’re working with live circuits, which can be dangerous if you’re not experienced.
I typically only use this method as a final confirmation after I’ve already identified a suspect capacitor through visual inspection or the resistance test. It’s the “field test” approach when you want to verify before ordering a replacement.
ESR Meter Testing
ESR stands for Equivalent Series Resistance, and an ESR meter is the professional-grade tool for capacitor testing. These meters measure the internal resistance of a capacitor, which increases as it ages. A capacitor can look fine and read the correct capacitance value but still have high ESR, making it functionally useless.
ESR meters are more expensive than multimeters—expect to spend $50-150—but they’re incredibly accurate. You clip the meter leads onto the capacitor terminals (no discharge needed on most models), and it gives you an ESR reading in milliohms. Compare this to the capacitor’s specifications or standard ranges for that capacitor type. High ESR means the capacitor is degraded and should be replaced.
This is what the pros use when they’re troubleshooting power supplies and audio equipment. If you’re getting serious about electronics repair, an ESR meter is a worthwhile investment. It’ll catch capacitors that other tests might miss.
Safety Precautions Matter
Before you test any capacitor, discharge it safely. Capacitors can hold a charge even when the device is unplugged. A charged capacitor can deliver a nasty shock—I’ve seen it happen, and it’s not pleasant. Use an insulated screwdriver to short the two terminals together for a second or two. This safely releases any stored energy.
Always unplug the device before opening it up. If you’re testing a capacitor that’s still in the circuit, be extra careful not to touch other components. Wear an anti-static wrist strap if you’re working on sensitive electronics. Keep one hand in your pocket while testing live circuits—this prevents current from flowing across your chest, which is the dangerous path.
If you’re working on a large device like an air conditioner or refrigerator, consider hiring a professional if you’re not comfortable with electrical work. These appliances can store dangerous amounts of energy. For more on safely working with electronics, check out our article on how to clean charging port for proper electrical maintenance practices.
When to Replace It
Once you’ve confirmed a capacitor is bad, replacement is straightforward but requires care. Note the capacitance value, voltage rating, and polarity before removing the old one. Most capacitors have a stripe or minus sign indicating the negative lead on electrolytic capacitors—this matters for proper installation.
Solder out the old capacitor carefully. Use a desoldering wick or solder sucker to remove the excess solder. Take your time here; rushing causes damage to the circuit board. Install the new capacitor with the correct polarity. Double-check the voltage rating—it should be equal to or higher than the original. Never use a lower voltage-rated capacitor.
Solder the new capacitor in place using rosin-core solder and a proper soldering iron. Make sure the connections are clean and shiny, not dull or blobby. Test your work before powering the device back on. A good solder joint should look like a small cone of shiny metal around the connection point.
Common Failure Signs
Knowing what to look for helps you diagnose problems faster. A bulging capacitor top is the most obvious sign—it happens because internal pressure builds up as the electrolyte breaks down. Leaked electrolyte shows up as white, brown, or yellowish crusty residue around the terminals or base.
Devices with bad capacitors often exhibit strange behavior: flickering lights, humming sounds from power supplies, air conditioners that won’t start, or TVs that won’t turn on. Sometimes the device works intermittently—it’ll run fine for a bit, then cut out. This is classic capacitor behavior because the capacitor’s effectiveness changes with temperature.
Burnt or blackened capacitors are obviously dead. So are capacitors that smell bad when you open the device. A chemical or burnt smell near a capacitor is a dead giveaway. If you notice any of these signs, test that capacitor first before looking elsewhere for the problem.
Frequently Asked Questions
Can a capacitor fail without showing visible damage?
Absolutely. A capacitor can look perfectly fine on the outside but be internally degraded. This is why the resistance and capacitance tests are so important. Some capacitors fail gradually, losing their ability to hold charge over time without any visual indicators. This is especially common in older electronics that have been running for years.
How long do capacitors typically last?
Most quality capacitors last 10-20 years under normal conditions. Electrolytic capacitors degrade faster than film or ceramic types. Heat accelerates degradation, so capacitors in hot environments like near a heater or in direct sunlight fail sooner. Cheap capacitors from certain manufacturers can fail in just a few years—this was particularly common during the “capacitor plague” of the early 2000s.
Is it safe to test a capacitor while it’s still in the circuit?
It depends on the circuit and your experience level. Testing voltage while powered is possible but riskier. Testing resistance or capacitance requires the device to be unplugged. If you’re not confident about working with live circuits, always unplug first. Safety beats speed every time in the workshop.
What’s the difference between a bad capacitor and a discharged one?
A discharged capacitor is just empty—it’ll recharge when powered up and work fine. A bad capacitor can’t hold or store charge properly anymore, even after being fully charged. The resistance test helps distinguish between them. A discharged capacitor will show climbing resistance as it charges through the meter. A bad one won’t show that pattern.
Can I replace a capacitor with a different value?
Not really. The capacitance value is critical for circuit operation. You need the exact same microfarad rating. The voltage rating can be higher (that’s actually safer), but never lower. If you can’t find an exact match, consult the device manual or contact the manufacturer. Using the wrong capacitor value can damage other components or cause the device to malfunction.


