
Learning how to change rubber boot for wf42h5000aw/a2-11 is one of those repairs that’ll save you serious cash and restore your washing machine to working order. If you’ve noticed water leaking from the drum seal area or spotted a cracked, deteriorated rubber boot on your Samsung washer, you’re in the right place. This isn’t some mysterious appliance voodoo—it’s a straightforward DIY fix that takes about an hour and requires just a few basic tools.
Table of Contents
What Is a Rubber Boot?
The rubber boot on your WF42H5000AW/A2-11 is essentially a flexible seal that sits between your washer’s drum and the outer tub. Think of it as the gasket that keeps water contained where it belongs. This component flexes thousands of times during each wash cycle, so naturally, it degrades over time. When it fails, water sneaks past and either pools inside your machine or leaks onto your floor. It’s a critical part, but fortunately, replacing it is totally doable without calling a technician.
Signs Your Boot Needs Replacing
Before you dive into this project, make sure you’re actually dealing with a bad boot. Look for these telltale signs: water pooling at the bottom of the machine, visible cracks or tears in the rubber seal when you peek inside the drum, a musty smell indicating water damage, or water dripping from underneath during the wash cycle. If your WF42H5000AW/A2-11 is leaking and you’ve ruled out drain hose issues, the rubber boot is your culprit about 80% of the time. Don’t ignore these warnings—water damage gets expensive fast.
Tools and Materials You’ll Need
Gather these items before you start: a Phillips head screwdriver, a flathead screwdriver for prying, the replacement rubber boot kit (make sure it’s compatible with your WF42H5000AW/A2-11 model), a bucket for catching residual water, old towels, and maybe some white vinegar for cleaning. You’ll also want a headlamp or flashlight because you’ll be working in tight spaces. Having everything prepped saves you from making frustrating trips back and forth to the garage.
Disconnect Power and Water First
Safety first, always. Unplug your washing machine from the electrical outlet—don’t just turn it off. Then shut off both the hot and cold water supply valves behind the machine. Open the door and let any standing water drain out. If there’s significant pooling, use a wet vacuum or siphon it into a bucket. This step prevents electrical hazards and messy surprises when you’re elbow-deep in the machine. Trust me, you don’t want 20 gallons of stagnant water flooding your laundry room.
Remove the Front Panel Carefully
Your WF42H5000AW/A2-11 has a front panel that needs to come off to access the boot. Look for screws along the bottom edge and sides—there are usually 4-6 of them. Remove each screw and set them in a small container so they don’t roll away. Gently pull the panel toward you; it should slide down slightly before coming free. Watch out for any clips or tabs that might catch. Once it’s off, you’ll see the drum assembly and the rubber boot sitting between the inner and outer tub. This is your target.
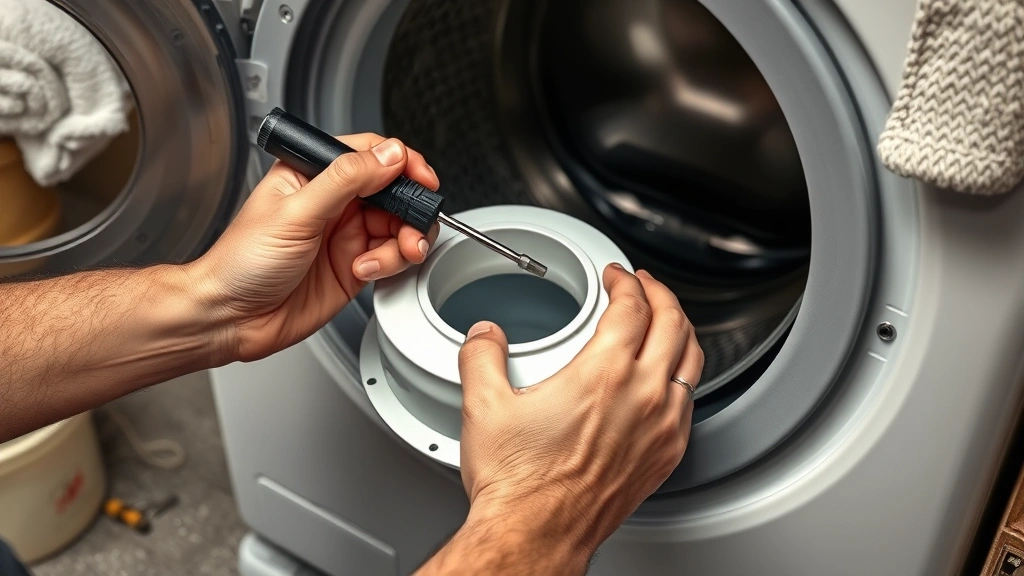
Extract the Old Rubber Boot
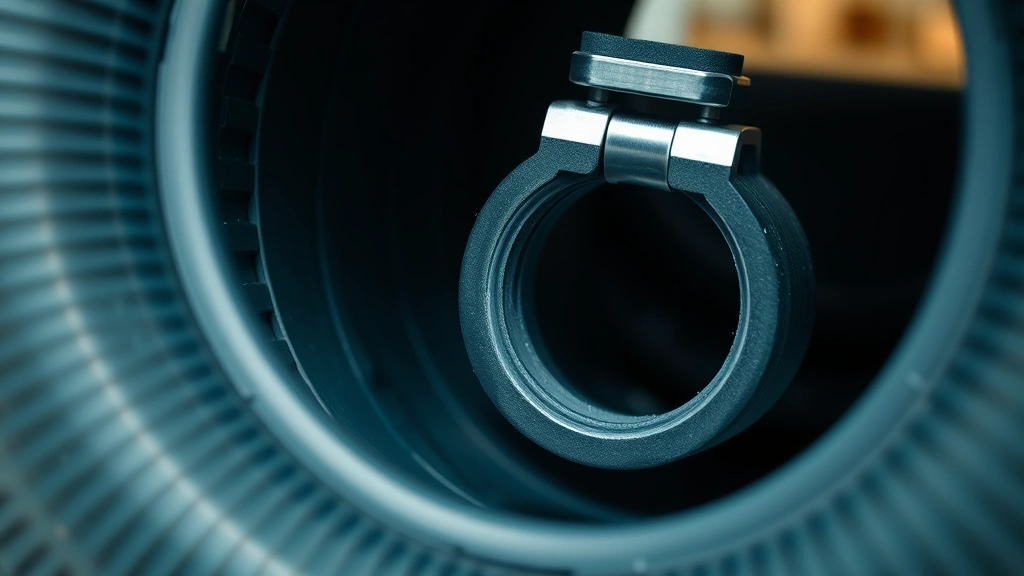
The rubber boot is held in place by a hose clamp or retaining ring around its perimeter. Use your flathead screwdriver to loosen the clamp by turning the screw counterclockwise. Once it’s loose enough, work the clamp off carefully. Now comes the satisfying part—peel the old boot away from both the drum and the outer tub. It might resist a bit if it’s been bonded by mineral deposits or mold, so work slowly around the edges. If it’s really stubborn, a little white vinegar on a cloth can help break down the buildup. Once it’s free, inspect the mating surfaces and wipe them clean with a damp cloth.
Install Your New Rubber Boot
Before you install the new boot, check that your replacement kit matches your model number exactly. Start by seating the inner lip of the boot onto the drum opening. Work your way around, making sure it’s even and properly aligned. Then stretch the outer lip over the outer tub rim. This requires a bit of patience—go slowly and don’t force it. Once it’s seated all the way around, reinstall the retaining clamp or hose clamp, tightening it snugly but not excessively. Over-tightening can damage the new boot, so aim for firm resistance with your screwdriver, then stop. If you’re looking for similar appliance maintenance guidance, check out our article on how to install a garbage disposal, which covers similar hands-on repair principles.
Reassemble and Test Everything
Slide the front panel back into place and secure all screws. Reconnect the water supply lines—turn the valves back on and listen for any immediate leaks. Plug the machine back in. Run a short test cycle with no clothes, watching carefully for leaks around the seal area. Check underneath the machine too. If water appears, you might need to reseat the boot or tighten the clamp a bit more. Once it passes the test cycle dry, run a full wash with a load of towels. Monitor it throughout the cycle and check the floor underneath when it’s done.
Troubleshooting Common Issues
If water still leaks after your replacement, here’s what to check: First, verify the boot is seated evenly all the way around—uneven seating is the most common culprit. Second, confirm you have the correct replacement boot for the WF42H5000AW/A2-11 model. Third, ensure the retaining clamp is tight enough but not crushing the rubber. If the boot keeps slipping, you might have soap residue or mineral buildup on the mating surfaces; clean them again with vinegar and a cloth. Some folks also report that running a vinegar cycle through the machine after boot replacement helps clean internal components and prevents future mold issues.
Frequently Asked Questions
How long does a rubber boot typically last?
Most rubber boots last 5-10 years depending on water quality and usage frequency. Hard water accelerates deterioration, so if you’re in a high-mineral area, expect replacement sooner. Regular cleaning and vinegar cycles extend boot life significantly.
Can I repair a cracked boot instead of replacing it?
No, you really can’t. Rubber sealants might temporarily stop a small leak, but the boot will continue to degrade. Replacement is the only reliable fix. A failed boot repair will just leave you dealing with the same problem a few weeks later.
Will this repair void my warranty?
If your machine is still under warranty, check your documentation first. Most manufacturers allow owner repairs for wear items like boots. However, if you cause additional damage during the process, that wouldn’t be covered. Work carefully and you’ll be fine.
Do I need special tools or a technician?
Nope. Basic screwdrivers and common sense are all you need. This is genuinely a beginner-friendly repair. If you can change a tire, you can change a rubber boot.
What’s the cost difference between DIY and professional repair?
A replacement boot kit runs $30-60. A technician visit costs $150-300 plus parts. Doing it yourself saves you serious money, and you’ll feel great knowing you fixed it.
Final Thoughts
Replacing the rubber boot on your WF42H5000AW/A2-11 is genuinely one of the most satisfying DIY appliance repairs you can tackle. You’ll save money, learn how your machine actually works, and get that sense of accomplishment that comes with fixing something yourself. The whole job takes an hour or so, and the hardest part is usually just getting the panel off and the old boot out. Take your time, follow each step carefully, and test thoroughly before you declare victory. Your washing machine will thank you with years of leak-free operation. And if you ever need to tackle other home systems, the same methodical approach applies—whether you’re working on plumbing, electrical, or appliances. Stay patient, stay safe, and don’t hesitate to step back and reassess if something doesn’t feel right.


