
Learning how to change brake pads is one of the most satisfying and money-saving repairs you can tackle in your driveway. Instead of dropping $200-400 at a shop, you can do this job yourself in about an hour with basic tools and a little patience. Your brakes are literally what keep you safe, so understanding this maintenance task gives you confidence and control over your vehicle’s upkeep.
Table of Contents
When to Change Your Brake Pads
Your brake pads don’t last forever, and ignoring warning signs can turn a simple maintenance job into an expensive repair. Most brake pads wear out between 25,000 and 70,000 miles, depending on your driving habits and pad quality. City drivers who brake constantly will need replacements sooner than highway cruisers.
Listen for that high-pitched squealing sound—that’s your brake pad wear indicator doing its job. Some pads have a metal tab that literally scrapes the rotor when you’re down to the last quarter inch of friction material. If you hear grinding, that’s bad news. You’ve worn through the pad and are now metal-on-metal, which damages your rotors and costs way more to fix.
Check your pads visually too. Most wheels have enough gap that you can peek through and see the pad thickness. If it’s thinner than a quarter inch, it’s time to get familiar with basic car maintenance like this essential brake work.
Tools and Materials You’ll Need
You don’t need a full shop to change brake pads. Gather these essentials before you start:
- Jack and jack stands (never rely on just a jack)
- Lug wrench (for wheel removal)
- Socket set with 7mm-10mm sockets (caliper bolts vary)
- Ratchet wrench
- C-clamp or brake piston tool (to retract the caliper piston)
- New brake pads (matched to your vehicle)
- Brake cleaner spray
- Wire brush or small brush
- Work gloves and safety glasses
- Wheel chocks (to prevent rolling)
- Brake fluid (optional, for topping off)
Pro tip: Grab a repair manual for your specific vehicle model. It’s worth the $15-20 for exact torque specs and any quirks your car might have.
Safety Precautions Matter
This is non-negotiable. You’re working with a vehicle that could roll or fall. Always park on level ground and engage the parking brake. Chock the wheels that aren’t being worked on with wood blocks or dedicated wheel chocks.
Use proper jack stands rated for your vehicle’s weight. A floor jack alone is a disaster waiting to happen—I’ve seen cars drop, and it’s terrifying. Lift one wheel at a time, secure it with stands, then proceed. Brake dust contains asbestos in older vehicles, so wear gloves and avoid breathing it in. Work in a well-ventilated area.
Never work on brakes when the wheels are hot. Give your car 30 minutes to cool after driving. Hot brakes can cause brake fluid to boil and create air pockets in your brake lines, which ruins your stopping power.
5-Step Brake Pad Replacement Process
Step 1: Prepare Your Vehicle
Park on level ground, engage the parking brake, and chock the rear wheels if you’re working on the front brakes (or front wheels if doing the rear). Loosen the lug nuts on the wheel you’re working on while the wheel is still on the ground—this gives you leverage. Then jack up the vehicle, place jack stands underneath, and remove the wheel completely.
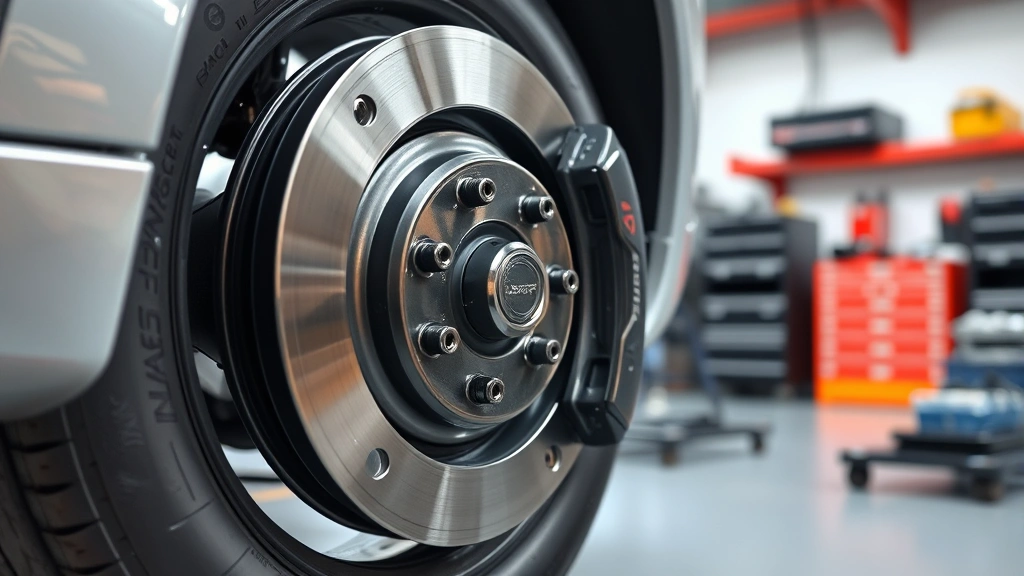
Step 2: Access the Brake Caliper
You’ll see the caliper assembly bolted to the rotor. Most calipers have two bolts. Using your socket set, remove these bolts. The caliper will swing away from the rotor. Some vehicles have a single-piston caliper; others have dual pistons. Your manual will clarify your setup.
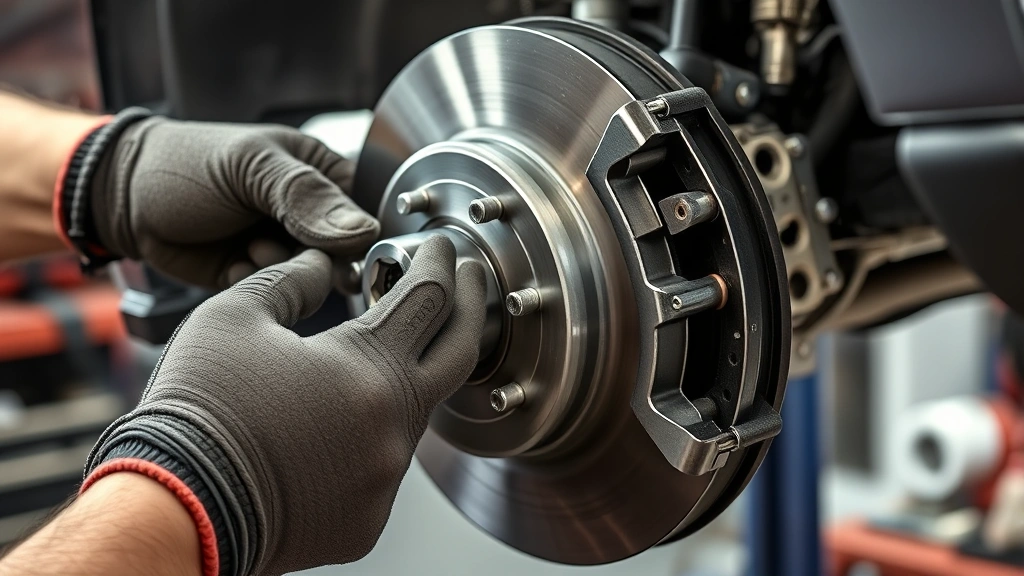
Step 3: Remove Old Pads and Clean
The old pads simply slide out of the caliper bracket. Remove them and immediately spray the rotor and surrounding area with brake cleaner. Use your wire brush to scrub away any rust, debris, or brake dust. A clean surface ensures your new pads seat properly and perform consistently.
Step 4: Retract the Caliper Piston
Here’s where most DIYers get stuck. The caliper piston has extended over time to compensate for pad wear. You need to push it back in to make room for the thicker new pads. Use a C-clamp or dedicated brake piston tool. Place the old pad against the piston, then slowly tighten the clamp. It should retract smoothly. If it’s stuck or won’t budge, you might have a seized caliper—that’s a separate problem requiring professional attention.
Step 5: Install New Pads and Reassemble
Slide the new brake pads into the caliper bracket. They should fit snugly with no rattling. Reposition the caliper over the rotor and reinstall the bolts. Torque them to your vehicle’s specification (usually 20-30 foot-pounds for most cars). Reinstall the wheel, hand-tighten the lug nuts, lower the vehicle, then torque the lug nuts in a star pattern to the proper spec.
Do You Need to Bleed Your Brakes
Here’s the good news: simply replacing brake pads doesn’t require bleeding your brakes. Bleeding removes air from your brake lines and is only necessary if you’ve opened the brake fluid reservoir or if your brakes feel spongy after the job.
If you do need to bleed, it’s a two-person job (or you can buy a one-person bleeder kit). You’ll need fresh brake fluid matching your vehicle’s specification. Start at the wheel farthest from the master cylinder, typically the rear passenger side. Open the bleeder valve, have your helper pump the brake pedal, then close the valve before they release the pedal. Repeat until no air bubbles appear in the fluid.
This is where understanding your vehicle’s systems becomes valuable. Some modern cars have electronic brake systems that require special procedures. Check your manual first.
Common Mistakes to Avoid
Mixing pad brands: Use the same quality and type on all four wheels. Mixing cheap pads with premium ones creates uneven braking and can pull your vehicle to one side.
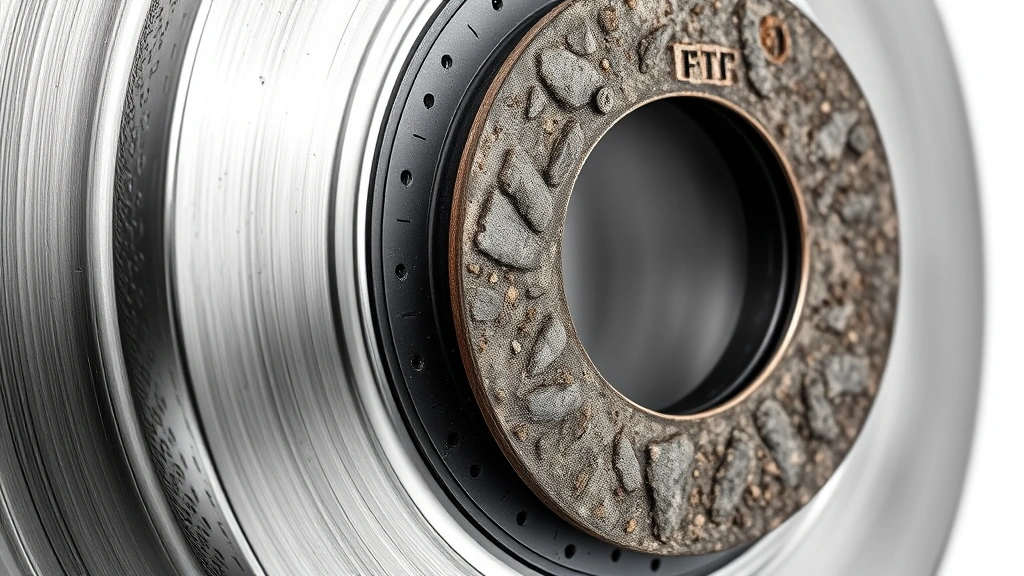
Ignoring the rotor: If your rotor is warped, pitted, or severely rusted, it needs resurfacing or replacement. New pads won’t fix a bad rotor, and you’ll be back here in weeks.
Forgetting the caliper pins: Some calipers have small pins that guide the pads. Make sure these are clean and lubricated with brake-specific grease. Dry pins cause noise and uneven wear.
Over-tightening bolts: You’re not trying to crush the caliper. Use a torque wrench and follow specs. Over-tightening can crack the caliper or strip threads.
Skipping the test drive: After installation, take a slow test drive in a safe area. Pump the brakes several times to seat the pads, then test at various speeds. Your brakes should feel firm and responsive, not spongy or grabby.
Extending Your Brake Pad Life
Brake pads last longer when you drive smart. Avoid sudden hard braking whenever possible. Coasting to stops instead of last-minute panic stops dramatically reduces wear. On long downhill stretches, use lower gears to let engine braking slow you down instead of riding the brakes.
Keep your brake fluid fresh. Old fluid absorbs moisture and reduces braking efficiency. Have it flushed every 2-3 years. Clean brake dust off your wheels regularly—it’s corrosive and can damage paint and wheel finishes.
Check your brake pads every 10,000 miles. A 30-second visual inspection saves you from catastrophic brake failure. This simple habit is as important as maintaining other critical car systems.
Troubleshooting Brake Issues
Brakes still squealing after pad replacement? You might have glazed rotors. Brake cleaner alone won’t fix this. You need rotor resurfacing or replacement. Some shops will do this for $50-100 per axle.
Spongy brake pedal? Air got into your brake lines. You’ll need to bleed the brakes. If bleeding doesn’t help, you might have a leak in your brake lines or master cylinder—that’s a shop job.
Brake pedal goes to the floor? This is serious. You’ve lost brake pressure. Stop driving immediately and have it towed. This could be a failed master cylinder or a major leak.
Uneven pad wear? One side wore much faster than the other? Your caliper might not be sliding properly, or your pads weren’t seated correctly. Check that the caliper pins move freely and that you used the correct pad type.
Frequently Asked Questions
How often should I change my brake pads?
Most brake pads last 25,000 to 70,000 miles. It depends on your driving style, pad quality, and vehicle weight. Check them every 10,000 miles and replace them when they’re down to a quarter inch thick or when you hear warning noises.
Can I change brake pads myself if I’ve never done it before?
Absolutely. This is one of the most beginner-friendly car repairs. If you can use basic hand tools and follow instructions, you can do this. Take your time, don’t rush, and consult your vehicle’s manual for specific torque specs.
Do I need to replace rotors every time I change pads?
No, but inspect them. If they’re warped, deeply pitted, or scored, they need resurfacing or replacement. Many shops will resurface rotors for $30-50 each, which is cheaper than replacement. If they’re in good shape, keep them.
What’s the difference between organic, semi-metallic, and ceramic brake pads?
Organic pads are quieter and gentler on rotors but wear faster. Semi-metallic pads last longer and handle heat better but are noisier. Ceramic pads offer the best balance—they last long, are quiet, and produce less dust. They cost more upfront but save money long-term.
Should I replace all four brake pads at once?
Yes. Even if only two pads are worn, replace all four. Mismatched pads create uneven braking and can make your vehicle pull to one side. It’s a safety issue and not worth the risk.
How do I know if my brake fluid needs replacing?
Brake fluid should be clear to light amber. If it’s dark brown or black, it’s contaminated with moisture and debris. Have it flushed and replaced. Most manufacturers recommend this every 2-3 years regardless of appearance.
Is it normal for brakes to feel different after I change the pads?
Yes, new pads feel slightly different initially. They need 200-300 miles of gentle braking to fully seat. Your brakes might feel slightly softer or require slightly more pedal pressure. This normalizes quickly. If they feel wrong after 500 miles, have them inspected.
Final Thoughts
Learning how to change brake pads transforms you from someone dependent on repair shops to someone who controls their vehicle’s maintenance. It’s a straightforward job that builds confidence for tackling other repairs. You’ll save hundreds of dollars over your vehicle’s lifetime, and you’ll know your brakes are done right because you did them yourself.
Take your time, follow the steps, and don’t skip safety precautions. Your brakes are too important to rush. Once you’ve done this job once, you’ll wonder why you ever paid someone else to do it. Now get out there and show those brake pads who’s boss.


