
Learning how to change brake fluid is one of the most critical maintenance tasks you can tackle in your driveway—it’s not complicated, but it absolutely demands your attention and respect. Your brake system is literally what keeps you and your family safe on the road, so getting this right matters more than almost any other DIY car job.
Table of Contents
Why Brake Fluid Matters
Brake fluid is hygroscopic, meaning it absorbs moisture from the air over time. This isn’t just a minor inconvenience—moisture in your brake lines lowers the boiling point of the fluid, which can cause brake fade or complete brake failure under hard braking or in hot conditions. After two to three years, your brake fluid has typically absorbed enough moisture to warrant a complete flush and replacement. Think of it like this: you wouldn’t drive with old, contaminated oil, and brake fluid deserves the same respect. Fresh brake fluid maintains consistent pressure, responds predictably to your pedal input, and keeps your stopping power reliable in every situation.
Gather Your Tools & Materials
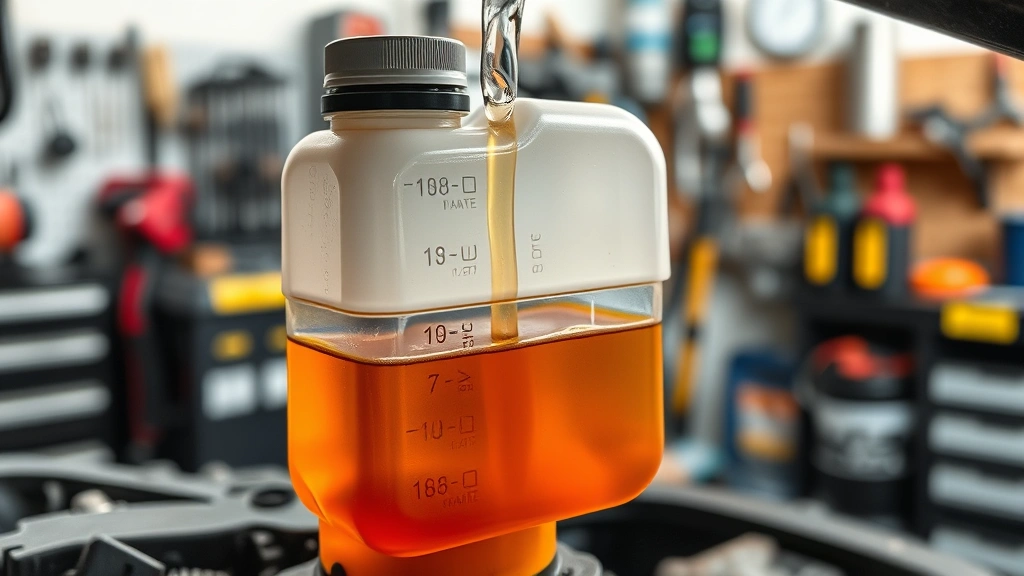
Before you crack open a wrench, assemble everything you’ll need. You’ll want a quality brake fluid that matches your vehicle’s specifications (check your owner’s manual—DOT 3, DOT 4, and DOT 5.1 are common, but they’re not interchangeable). Grab a turkey baster or brake fluid syringe, a clear plastic tube that fits your bleeder valves, a wrench set (usually 8mm or 10mm for bleeder screws), jack stands if you’re accessing wheels, and some clean rags. A catch container for old fluid is essential—never let brake fluid drip onto your driveway, as it’s corrosive and toxic. Have a friend handy if possible; this job is doable solo, but a second set of hands makes it significantly easier.
Safety First, Always
Brake fluid eats paint, so work carefully and cover any exposed surfaces near your brake system. Wear gloves and eye protection—this stuff is caustic. Never work on your brakes while the engine is running or the car is in gear. If you’re jacking up your vehicle, use proper jack stands rated for your car’s weight; never rely on a jack alone. Ensure your workspace is well-ventilated and that you’re working on level, solid ground. Like learning how to remove battery corrosion, brake work requires methodical attention to detail and respect for the materials involved.
Locate Your Brake Fluid Reservoir
Pop your hood and look for a translucent plastic container with a brake symbol on the cap—that’s your brake fluid reservoir. It’s usually mounted on the driver’s side of the engine bay, connected to the master cylinder. The reservoir shows your current fluid level with min and max lines. Before you start, note the current level so you understand what you’re working with. Some vehicles have the reservoir mounted vertically, others horizontally; check your service manual if you’re unsure. The location matters because you’ll be removing fluid from here and monitoring the level throughout the bleeding process.
Bleed the System Properly
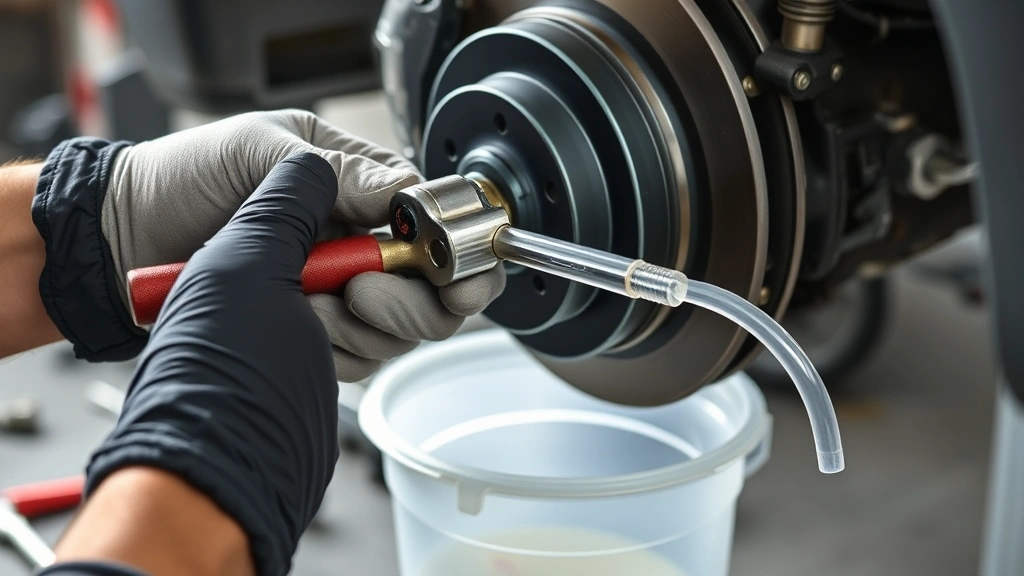
Bleeding removes air bubbles from your brake lines—essential for firm pedal feel and reliable braking. Start at the wheel farthest from the master cylinder (usually the passenger rear), then move to driver rear, passenger front, and finally driver front. Locate the bleeder valve on each caliper (or drum brake wheel cylinder), attach your clear plastic tube, and position the other end in your catch container. Have your helper sit in the driver’s seat and pump the brake pedal three to four times slowly, then hold it down. While they’re holding, you crack open the bleeder valve slightly—you’ll see old fluid and air bubbles flow out. Close the valve, tell your helper to release the pedal, wait a few seconds, and repeat. Continue until the fluid running out is clear with no air bubbles. This process takes patience; rushing it defeats the purpose.
Flush Old Fluid Completely
Don’t just top off your reservoir—you need to flush the entire system. As you bleed each wheel, you’re replacing old, moisture-laden fluid with fresh stuff. Keep monitoring your reservoir level and top it off with new fluid as it drops. The goal is to cycle enough new fluid through the system that the old contaminated stuff is completely gone. A good rule of thumb: when the fluid coming out of the bleeder valve matches the color of the fresh fluid you’re adding, you’re close. For a thorough job, some folks do two complete bleeding cycles, especially if the old fluid was really dark or discolored. This extra step ensures you’ve eliminated as much moisture and contamination as possible.
Refill with Fresh Fluid
Once you’ve bled all four wheels and the fluid running out is clean, top off your reservoir to the maximum line. Don’t overfill—brake fluid expands slightly when hot, and you need a little air space. Double-check that your bleeder valves are tightened securely (snug, not gorilla-tight—you don’t want to strip the threads). Wipe away any spilled fluid immediately with a damp cloth. If you got brake fluid on paint, wash it off right away. Recap your reservoir and close your hood. At this point, your brake system contains fresh, moisture-free fluid ready to do its job reliably.
Test Your Brakes Thoroughly
Before you drive anywhere, pump your brake pedal several times while parked. It should feel firm and consistent, not spongy or soft. If the pedal feels mushy, you’ve got air still trapped in the system—go back and bleed again. Once the pedal feels solid, take your car for a careful test drive in a safe area (empty parking lot is ideal). Apply moderate braking pressure and feel for responsiveness. The brakes should engage smoothly and predictably. Do a few harder stops to confirm everything is working. If something feels off—spongy pedal, longer stopping distance, uneven braking—stop immediately and rebleed the problem area.
Common Mistakes to Avoid
The biggest mistake folks make is mixing brake fluid types—DOT 3 and DOT 5.1 are not compatible, and mixing them can damage seals and create system failures. Don’t let the reservoir run completely dry during the process; if air gets sucked into the lines, you’ll have a much harder time bleeding it out. Avoid overfilling the reservoir; excess fluid can damage your brake booster or seep into electronics. Don’t use old brake fluid that’s been sitting open in a container—it absorbs moisture rapidly. And here’s the critical one: never, ever skip the test drive. A spongy brake pedal after a fluid change means air is still in the system, and you need to address it before trusting your brakes on the road.
Maintenance Schedule Guide
Most manufacturers recommend flushing brake fluid every two to three years, regardless of mileage. Some newer vehicles with advanced braking systems might go longer, so check your owner’s manual. If you notice your brake fluid is dark brown or black (instead of clear amber), that’s a sign moisture and contaminants have accumulated—don’t wait for the scheduled interval, flush it immediately. If you live in a humid climate or frequently tow or brake hard, consider flushing every two years on the shorter end. Keeping a maintenance log helps you remember when you last did this job, just like tracking other routine maintenance tasks.
Frequently Asked Questions
Can I change brake fluid without bleeding the system?
Technically yes, but you’d be missing the whole point. Simply draining and refilling the reservoir leaves old, contaminated fluid trapped in the lines and wheel cylinders. Bleeding ensures you’re replacing that old fluid with fresh stuff throughout the entire system. Skip the bleeding, and you’re not really solving the moisture problem that makes this job necessary.
How long does a brake fluid flush typically take?
Plan on two to three hours if you’re doing this for the first time and working solo. With a helper, you might shave 30 minutes off that. The actual bleeding process isn’t complicated, but it requires patience and methodical work at each wheel. Rushing leads to mistakes, so take your time.

What’s the difference between DOT 3 and DOT 4 brake fluid?
DOT 4 has a higher boiling point and absorbs moisture more slowly than DOT 3, making it better for vehicles with more demanding braking (performance cars, heavy towing). Check your owner’s manual for the correct specification for your vehicle. Using the wrong type can affect braking performance and system reliability.
Is it safe to drive immediately after changing brake fluid?
Only after you’ve tested the brakes thoroughly in a safe area and confirmed the pedal feels firm and responsive. Take a slow, careful test drive in an empty parking lot or quiet street before heading onto normal traffic. If the pedal feels spongy or soft, rebleed before driving anywhere.
Can brake fluid go bad if stored?
Yes, brake fluid absorbs moisture from the air even in sealed containers. If you’ve got an old bottle of brake fluid sitting in your garage for more than a year or two, it’s better to buy fresh fluid. The cost difference is minimal, and using fresh fluid ensures you’re not introducing contamination during your flush.
Final Thoughts
Knowing how to change brake fluid puts you in control of one of your vehicle’s most critical safety systems. It’s not a difficult job—it just demands focus, the right materials, and a methodical approach. Your brakes are too important to ignore or postpone, and the cost of doing this yourself is a fraction of what a shop charges. With fresh, moisture-free brake fluid circulating through your system, you’ll have the confidence that your brakes will perform reliably whether you’re making a gentle stop at a traffic light or a hard emergency stop on the highway. Take your time, follow these steps, and you’ll have professional-quality results from your driveway.


