
Learning how to change a light switch is one of the most practical skills you can master as a homeowner. Whether your old switch is worn out, flickering, or you just want to upgrade to a modern dimmer, this is a straightforward project that takes maybe 15 minutes and requires nothing more than a screwdriver and a basic understanding of electrical safety. I’m going to walk you through exactly what you need to know to do this safely and confidently.
Table of Contents
Safety First: Turn Off Power
Before you touch anything electrical, you need to kill the power to that switch. Head to your breaker box and flip the breaker that controls the light circuit you’re working on. Don’t just turn off the light—actually flip the breaker. This is non-negotiable. Once you’ve done that, go back to the switch and flip it a few times to confirm the light doesn’t turn on. If it does, you’ve got the wrong breaker. Keep trying until you find the right one.
Pro tip: Use a voltage tester on the switch once the breaker is off. This little device (costs about $10) confirms there’s absolutely no power running to the switch. It’s cheap insurance against a nasty shock. Better safe than sorry when electricity is involved.
Gather Your Tools and Materials
You don’t need much to complete this job. Here’s what to have ready:
- Screwdriver (usually a Phillips head, but check your switch)
- Voltage tester (non-contact is easiest)
- New light switch (single pole, three-way, dimmer—whatever you need)
- Needle-nose pliers (optional but helpful)
- Flashlight (so you can see inside the box)
That’s genuinely it. This isn’t a complicated project. If you’re upgrading to something fancy like a smart switch or dimmer, make sure it’s compatible with your existing wiring and bulbs. Most modern switches work with standard fixtures, but always check the packaging.
Remove the Old Switch
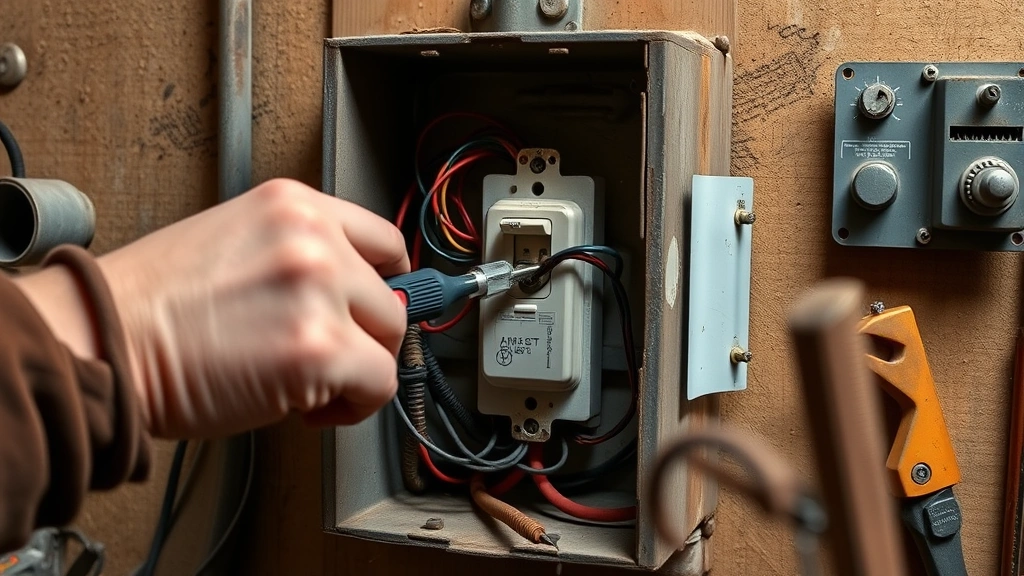
With the power off and confirmed, unscrew the cover plate. It’s usually just one or two screws. Set those screws somewhere safe—they’re easy to lose. Now you’ll see the switch itself mounted in the electrical box. There are typically two screws on either side of the switch holding it to the box. Unscrew these and gently pull the switch out. Don’t yank it—the wires are still connected.
As you pull it out, you’ll see the wires attached to the back or sides of the switch. This is where patience matters. Take a photo with your phone before you disconnect anything. Seriously. A quick photo of the wire configuration is your insurance policy against confusion during reinstallation.
Identify and Disconnect Wires
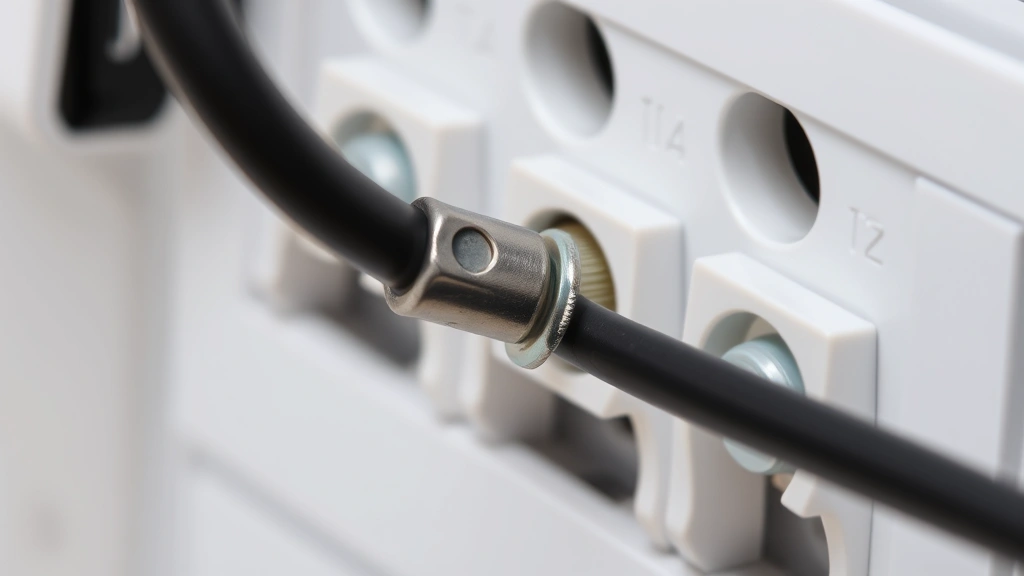
Most standard light switches have two or three wires: the hot wire (usually black or red), the neutral wire (usually white), and sometimes a ground wire (usually copper or green). On a single-pole switch, you’ll typically see just the hot wires. The neutral wires usually go straight through the box without connecting to the switch.
Look at the back of your old switch. You’ll see little holes or screws where the wires insert. Using your screwdriver, loosen each screw and gently pull the wire out. If your switch has push-in holes on the back instead of screws, you can use a small flathead screwdriver to release the wire by inserting it into the release slot.
As you disconnect each wire, note which one was where. This is why that photo matters. The hot wire (the one that carries the electrical current) must go back in the same spot on your new switch. If you’re unsure, Family Handyman has excellent diagrams showing standard wire configurations.
Install Your New Switch
Now you’re ready to connect your new switch. Take the first wire and insert it into the corresponding terminal on your new switch. If it’s a screw terminal, insert the wire and tighten the screw firmly. The wire should be secure enough that you can’t pull it out by hand. If your new switch has push-in connections, insert the wire straight in until you hear or feel a click.
Repeat for each wire, matching the exact positions from the old switch. This is why that photo was crucial. Once all wires are connected, push the switch gently back into the electrical box. It should fit snugly. If it’s fighting you, double-check that the wires aren’t bunched up or twisted awkwardly.
Screw the switch to the box on both sides, then attach your cover plate. Don’t overtighten the screws—you just need them snug enough that the plate sits flush against the wall.
Test and Troubleshoot
Head back to your breaker box and flip the breaker back on. Go to your switch and test it. Flip it on and off a few times. The light should respond immediately and consistently. If it works, congratulations—you’re done. If it doesn’t, turn the breaker back off and check your wire connections.
Common issues: If the light won’t turn on at all, a wire probably isn’t fully seated in its terminal. If the switch feels loose or sparks when you flip it, turn the breaker off immediately and check for loose connections. If the light flickers, make sure all wires are tight. This Old House has a helpful troubleshooting guide for common switch problems.
Common Mistakes to Avoid
I’ve seen people mess this up in predictable ways. First: forgetting to turn off the breaker. Don’t be that person. Second: mixing up hot and neutral wires. This won’t destroy anything immediately, but it can cause issues. Third: not tightening wire connections properly. Loose connections cause flickering and heat buildup. Fourth: using the wrong type of switch for your application. A single-pole switch won’t work where you need a three-way switch (like at the top and bottom of a staircase).
Fifth mistake: not testing with a voltage tester. Even after the breaker is off, stray voltage can exist. A $10 tester eliminates doubt. Sixth: forcing wires into push-in terminals. If they won’t go in smoothly, you’ve probably got the wrong terminal. Stop and reassess rather than forcing it.
Three-Way Switches Explained
If you’re replacing a switch that controls a light from two different locations (like upstairs and downstairs), you’ve got a three-way switch situation. These are slightly more complex because they have three terminals instead of two. The good news: the process is identical, just with one extra wire connection.
Three-way switches have a common terminal (usually marked) and two traveler terminals. The hot wire connects to the common on one switch, and the other switch’s common connects back to the light fixture. The travelers carry the signal between the two switches. When you’re replacing a three-way switch, pay extra attention to which wire was on the common terminal. That photo becomes even more important here. If you mess this up, the switches won’t work together properly.
Modern Switch Upgrade Options
While you’re in there, consider what kind of switch you want. Standard on-off switches are fine, but you’ve got options. Dimmer switches let you control brightness and are only slightly more expensive. Smart switches connect to your home network and let you control lights from your phone or with voice commands. Motion-sensor switches are great for closets or bathrooms—they turn on automatically and off after a set time.
Before buying a fancy switch, make sure your bulbs are compatible. LED bulbs work with most dimmers now, but older incandescent dimmers might not play nice with LEDs. Check the packaging. Also, some smart switches require a neutral wire in the box—not all electrical boxes have one, so verify before you buy. Bob Vila’s switch recommendations are solid if you want to explore upgrade options.
Frequently Asked Questions
Can I change a light switch without turning off the breaker?
Technically yes, but I wouldn’t recommend it. You’re working with live electricity, which means risk of shock or arc flash. It takes two minutes to flip a breaker. Do it. Your safety is worth two minutes.
What if my switch has four wires instead of two?
You’ve probably got a three-way or four-way switch, or there’s a ground wire. Take that photo before disconnecting anything. The extra wire is usually ground (copper/green) and goes to the same terminal on your new switch. If you’re unsure, consult the instruction sheet that comes with your new switch—it’ll have a wiring diagram.
Why does my new switch feel loose in the box?
The screws holding it to the box aren’t tight enough. Tighten them, but don’t strip them. Snug is the goal, not cranked down. If it still feels loose after tightening, the box itself might be damaged and you might need a box extender.
Can I install a smart switch in any electrical box?
Most smart switches need a neutral wire, which not all older boxes have. Before buying, check if your box has a neutral wire (usually white and capped off). If it doesn’t, you’ll need a workaround like a bypass module. Check the smart switch’s requirements before purchasing.
What’s the difference between single-pole and three-way?
Single-pole switches control a light from one location. Three-way switches work in pairs to control the same light from two locations. If your switch controls a light from only one spot, it’s single-pole. If two different switches control the same light, you need three-way switches.
Is it safe to touch the wires after the breaker is off?
It’s much safer, but use a voltage tester to be absolutely certain. Sometimes there’s residual voltage or the breaker controls something unexpected. A non-contact voltage tester ($10) confirms zero power before you touch anything.
Wrapping It Up
Changing a light switch is genuinely one of the easiest electrical projects you can tackle. It requires minimal tools, takes about 15 minutes, and saves you a service call. The key is respecting electrical safety: turn off the breaker, confirm the power is off, take a photo before disconnecting anything, and make sure your wire connections are tight. If you follow those steps, you’ll have a working switch and the satisfaction of knowing you did it yourself. Once you’ve done one, you’ll wonder why you ever paid someone else to do it.


