
Learning how to change a breaker is one of those skills that separates confident homeowners from those who panic at the first sign of electrical trouble. Whether you’ve got a tripped breaker that won’t reset or a dead circuit that’s been bugging you for months, this guide walks you through the entire process—safely and methodically.
Table of Contents
Safety First: Before You Start
Here’s the reality: your electrical panel is dangerous. Even with the main breaker off, some parts remain live. This isn’t meant to scare you—it’s meant to make you respectful of the power flowing through your walls. Before you touch anything, turn off the main breaker and use a non-contact voltage tester to confirm the panel is dead. Seriously. Don’t skip this step.
Wear safety glasses and work gloves rated for electrical work. Keep one hand in your pocket while testing—this prevents electricity from flowing across your chest if something goes wrong. It sounds paranoid, but electricians have done this for decades for good reason.
Tools and Materials Needed
You don’t need much to change a breaker, but what you do need matters:
- Non-contact voltage tester: Non-negotiable. This $15 tool has saved countless fingers.
- Flashlight or headlamp: Panels are dark inside. You need to see what you’re doing.
- Screwdrivers: Usually a flathead and Phillips head. Check your panel first.
- New breaker: Must match your panel brand and amperage exactly. Bring your old breaker to the store if unsure.
- Work gloves: Insulated electrical work gloves provide an extra layer of protection.
- Safety glasses: Debris happens.
Identifying Your Dead Breaker
Open your electrical panel and look at the breaker switches. A tripped breaker looks different from a functioning one—it’s usually in the middle position, between ON and OFF. If you’re replacing a breaker that works but you want to upgrade the amperage (like going from 15 amps to 20 amps), identify it by its position and label on the panel door.
Write down the exact breaker type and amperage. If your panel is a Siemens, buy a Siemens breaker. If it’s a Square D, buy Square D. Mixing brands can be dangerous and won’t fit properly. Check the panel label on the inside of the door for the manufacturer.
Turning Off Power Safely
Flip the main breaker to OFF. This cuts power to the entire house. Now here’s where people get careless: test everything with your non-contact voltage tester. Touch it to the breaker you’re about to remove, the surrounding breakers, and the metal frame of the panel. You should get no beeps, no lights, nothing. If you do, stop immediately and call an electrician.
Even with the main breaker off, some utility-supplied components may still be energized. This is why the voltage tester is your best friend. If you’re uncomfortable at any point, walk away and hire a pro—there’s no shame in that.
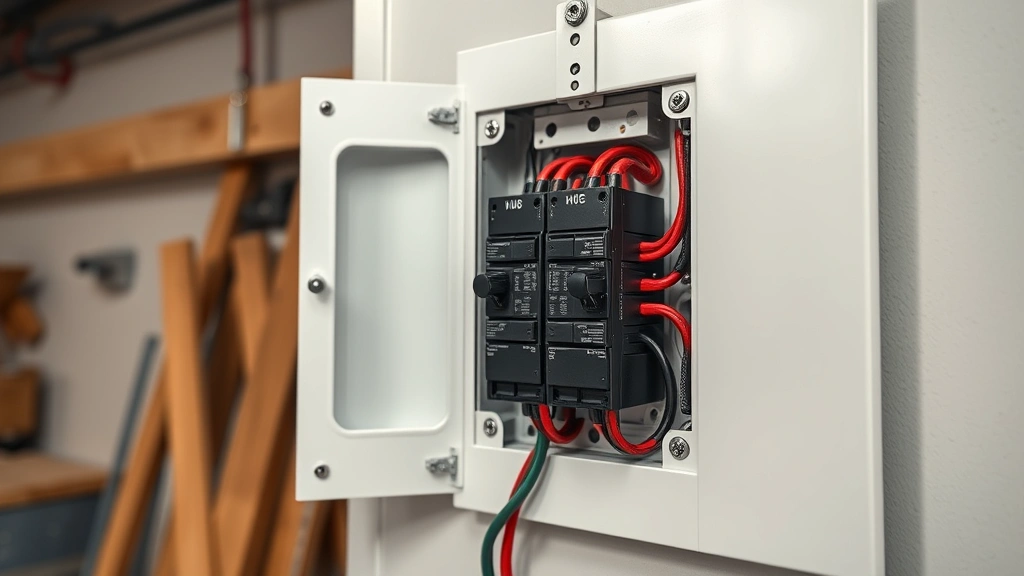
Removing the Panel Cover
The panel cover is usually held by a few screws. Remove them carefully and set them aside where you won’t lose them. Slide the cover off gently. You’ll now see the breakers mounted on a hot bus bar inside the panel. This is where things get real. Don’t touch anything except the breaker you’re replacing.
Shine your flashlight inside and locate the breaker you need to remove. Double-check the amperage rating printed on the breaker itself. Take a photo with your phone for reference—it’s helpful to have a visual record of which breaker you removed.
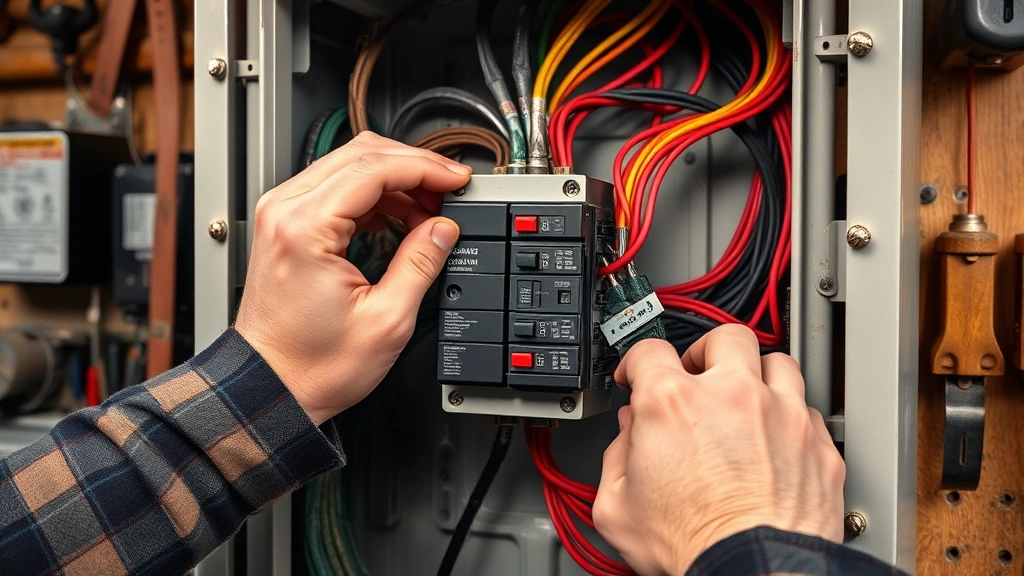
Swapping Out the Old Breaker
Breakers are held in place by a clip on one end and a terminal connection on the other. The terminal is where the wire connects—this is critical. Gently but firmly pull the breaker straight out of its clip. It should slide out without much force. If it’s stuck, wiggle it slightly while pulling, but don’t force it.
Once removed, you’ll see the terminal where the wire was connected. The wire is held in place by a small screw. Loosen this screw carefully—don’t drop it into the panel. Remove the wire from the old breaker and set the breaker aside. This is a good moment to inspect the wire for damage. If the insulation is cracked or burned, you’ve got a bigger problem and should call a professional.
Installing Your New Breaker
Take your new breaker and insert the clip end into the slot first. The breaker should slide in smoothly. Push it firmly until you hear a click—it’s now seated in the clip. Now connect the wire to the new breaker’s terminal. Insert the wire and tighten the terminal screw. Don’t over-tighten; snug is enough. A good rule: tighten until you feel resistance, then add a quarter turn.
Verify the breaker is fully seated by checking that it’s aligned with the other breakers and the switch handle is in the OFF position. If the breaker seems loose or misaligned, pull it out and try again. Getting this right the first time prevents future problems.
Testing Your New Circuit
Before closing up the panel, flip the main breaker back ON. Now flip your new breaker to the ON position. If the breaker immediately trips back to the middle position, turn the main breaker OFF again. This means there’s a short circuit or overload on that line—stop here and call an electrician. Don’t keep trying.
If the breaker stays ON, test the outlets or fixtures on that circuit. Plug in a lamp, use a hair dryer, or turn on the lights. Everything should work normally. If nothing works, the wire might be disconnected somewhere else in the circuit, or you may have installed the breaker incorrectly. Turn off that breaker and recheck your work.
Common Mistakes to Avoid
The biggest mistake people make is buying the wrong breaker. Seriously, triple-check the brand and amperage. Another common error is not turning off the main breaker—this puts you at serious risk. Some folks also fail to test with a voltage tester, assuming the power is off when it isn’t.
Don’t force anything. If a breaker won’t slide in smoothly, you’re probably doing something wrong. Don’t over-tighten the terminal screw—you can damage the breaker or the wire. And never, ever leave the panel cover off. Always reinstall it before you’re done.
When to Call a Professional
If your breaker trips immediately after installation, call a pro. If you’re uncomfortable at any step, call a pro. If you can’t identify which wire goes to which breaker, call a pro. If the panel is old, corroded, or you’re unfamiliar with it, call a pro. Electrical work isn’t the place to learn on the job—the stakes are too high.

A licensed electrician costs money upfront but prevents fires, injuries, and code violations. That’s money well spent. You can learn how to replace small components on your own, but electrical panels deserve professional respect.
Frequently Asked Questions
Can I change a breaker with the main breaker on?
Absolutely not. Always turn off the main breaker first. The panel remains dangerous even with individual breakers off. Turning off the main breaker significantly reduces—though doesn’t completely eliminate—the risk.
What if my breaker keeps tripping?
A repeatedly tripping breaker usually means you’re overloading that circuit or there’s a short. Try unplugging devices one at a time to identify the culprit. If it still trips with nothing plugged in, you have a short circuit and need to call an electrician immediately.
How do I know what amperage breaker I need?
Check the wire gauge connected to the breaker. A 14-gauge wire needs a 15-amp breaker. A 12-gauge wire needs a 20-amp breaker. Never use a larger breaker than the wire can handle—this causes overheating and fire risk. If unsure, ask at the electrical supply store or call an electrician.
Is it legal to change a breaker myself?
This varies by location. Some jurisdictions require a licensed electrician for all electrical work. Others allow homeowners to do their own work if they pull a permit and pass inspection. Check your local building codes before starting. Many areas require a permit for breaker replacement.
What’s the difference between a single-pole and double-pole breaker?
A single-pole breaker controls one circuit and handles 120 volts. A double-pole breaker controls two circuits and handles 240 volts—typically used for large appliances like dryers or AC units. Make sure you’re replacing with the same type.
Wrapping It Up
Changing a breaker is doable for confident homeowners, but it demands respect and attention to detail. The process itself is straightforward: turn off power, remove the old breaker, install the new one, and test. What makes it serious is the danger involved if you skip steps or rush through it.
Start with a non-contact voltage tester in your hand and safety in your mind. Take your time, follow each step methodically, and don’t hesitate to call a professional if anything feels wrong. Your home’s electrical system keeps your family safe every single day—treat it with the care it deserves. For more information on electrical safety, check out resources from Family Handyman, This Old House, or Bob Vila. And if you’re learning how to handle other maintenance tasks, you might also want to understand how long it takes to charge a car battery or explore other home systems.


