

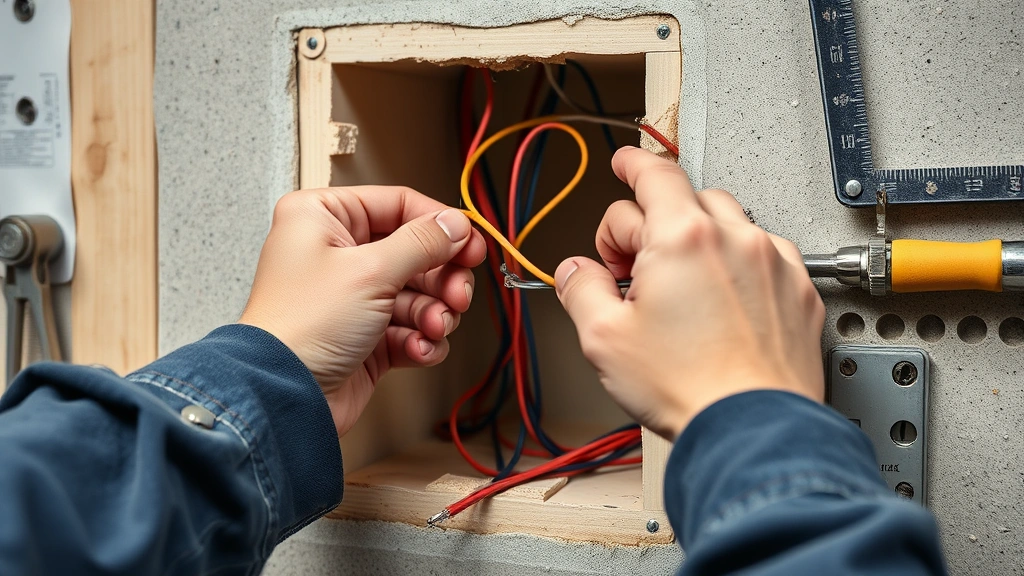
Learning how to calculate voltage drop is one of those skills that separates folks who just tinker with electrical projects from those who do it safely and right. Whether you’re running power to a shed, installing a solar system, or troubleshooting why your outdoor lights are dimmer than they should be, understanding voltage drop can save you headaches—and potentially your safety.
Table of Contents
What Is Voltage Drop?
Voltage drop is the reduction in electrical potential as current flows through a conductor. Think of it like water pressure dropping as it travels through a long hose—the farther it travels, the weaker the pressure at the end. In electrical systems, this happens because wires have resistance, and that resistance causes energy loss in the form of heat.
When you send electricity down a wire from point A to point B, some of that voltage gets “used up” in overcoming the wire’s resistance. The longer the wire or the thinner the gauge, the more resistance you’ll encounter, and the greater the voltage drop.
Why Voltage Drop Matters
You might think a few volts here or there doesn’t matter, but it absolutely does. Excessive voltage drop causes several real problems:
- Dimmer lights: Bulbs receive less voltage and produce less light
- Motor burnout: Electric motors overheat and fail when they don’t get full voltage
- Inefficient appliances: Devices work harder and use more energy to compensate
- Nuisance breaker trips: Your circuit breaker might trip unexpectedly
- Fire hazard: Excessive resistance generates dangerous heat in the wire
The National Electrical Code (NEC) has specific guidelines about acceptable voltage drop limits, which we’ll cover later. Following these standards keeps your system safe and efficient.
The Voltage Drop Formula
The basic formula for calculating voltage drop is straightforward:
Voltage Drop (VD) = (2 × K × I × D) / CM
Here’s what each variable means:
- K: Conductor resistance in ohms per circular mil per foot (typically 12.9 for copper at 68°F)
- I: Current in amperes flowing through the circuit
- D: Distance in feet (one-way trip from source to load)
- CM: Circular mils of the conductor (wire size)
The “2” in the formula accounts for the fact that current travels down one wire and returns through another—a complete circuit. If you’re working with alternating current (AC) and need extreme precision, you might use a slightly different formula that accounts for power factor and inductance, but this one works great for most DIY projects.
Gathering Your Numbers
Before you can calculate voltage drop, you need to collect specific information about your circuit. Here’s your checklist:
Current (I): This is measured in amperes. You can find it from the device’s nameplate, the breaker protecting the circuit, or by dividing watts by volts (Watts ÷ Volts = Amps). For example, a 1200-watt heater on a 120-volt circuit draws 10 amps.
Distance (D): Measure the actual path the wire will take from your power source to the load. If it’s 50 feet from your panel to a shed, that’s your distance. Don’t measure as the crow flies—follow the route the wire actually travels.
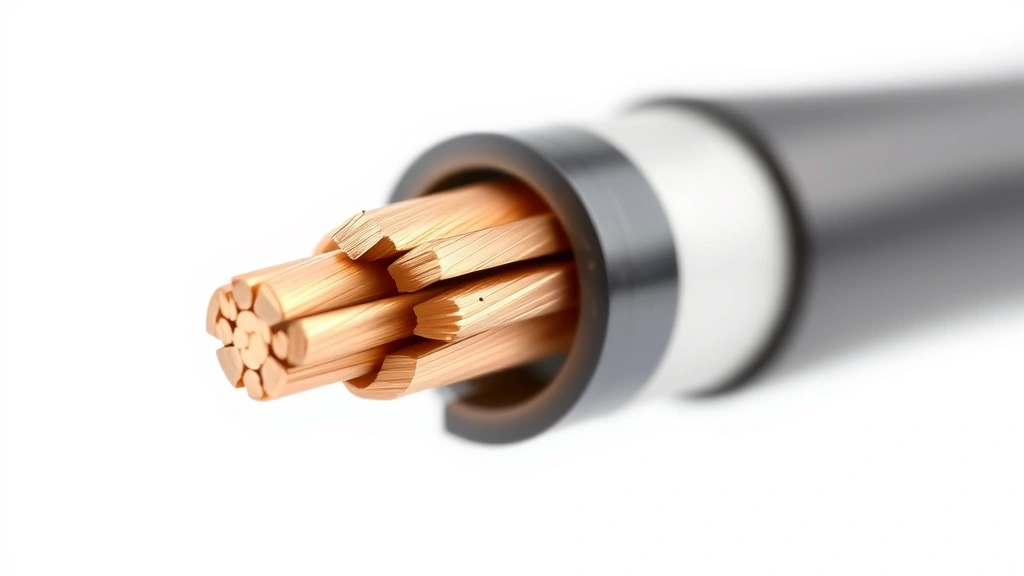
Wire Size (CM): This is where a reference chart comes in handy. Common wire sizes and their circular mil values:
- 14 AWG = 4,107 CM
- 12 AWG = 6,530 CM
- 10 AWG = 10,380 CM
- 8 AWG = 16,510 CM
- 6 AWG = 26,240 CM
- 4 AWG = 41,740 CM
- 2 AWG = 66,360 CM
K Value: For copper wire at standard temperature, use 12.9. If you’re working with aluminum, use 21.2 instead.
Step-by-Step Calculation
Let me walk you through this without making it feel like algebra class. I’ll break it down into manageable chunks.
Step 1: Multiply 2 × K
Start with 2 × 12.9 = 25.8. This is a constant you’ll use for copper wire.
Step 2: Multiply by Current (I)
Take that 25.8 and multiply it by your amperage. If your circuit draws 20 amps: 25.8 × 20 = 516
Step 3: Multiply by Distance (D)
Now multiply by your one-way distance. If it’s 100 feet: 516 × 100 = 51,600
Step 4: Divide by Circular Mils (CM)
Finally, divide by your wire size. Using 10 AWG (10,380 CM): 51,600 ÷ 10,380 = 4.97 volts
That’s your voltage drop. In this example, about 5 volts would be lost over the 100-foot run.
Real-World Example
Let’s say you’re running power to a detached garage that’s 75 feet from your main panel. You’re planning to install a 240-volt circuit for a welder that draws 30 amps. What wire size do you need?
Given information:
- K = 12.9 (copper)
- I = 30 amps
- D = 75 feet
- CM = unknown (we’re solving for it)
- Maximum acceptable drop = 3% of 240V = 7.2 volts
Rearranging the formula to solve for CM:
CM = (2 × K × I × D) / VD
CM = (2 × 12.9 × 30 × 75) / 7.2
CM = 58,050 / 7.2
CM = 8,063
Looking at the chart, 8,063 circular mils falls between 12 AWG (6,530) and 10 AWG (10,380). You’d need to go with 10 AWG to stay within acceptable limits. Using 12 AWG would give you about 9.4 volts drop—too much for safe operation.
Acceptable Voltage Drop Limits
The National Electrical Code recommends that voltage drop shouldn’t exceed 3% on branch circuits or 5% on the combination of feeder and branch circuits. Here’s what that means in practical terms:
For 120-volt circuits: Maximum 3.6 volts on a branch, 6 volts combined
For 240-volt circuits: Maximum 7.2 volts on a branch, 12 volts combined
For 480-volt circuits: Maximum 14.4 volts on a branch, 24 volts combined
These limits ensure your equipment operates efficiently and safely. Going over these thresholds isn’t necessarily an immediate disaster, but it’s a sign that something needs adjustment—usually a larger wire gauge. Many professional electricians aim for even lower drops when possible, especially for sensitive equipment.
Fixing Excessive Voltage Drop
If your calculations show excessive voltage drop, you have several options:
Upgrade wire size: This is the most common solution. Moving from 12 AWG to 10 AWG, for example, significantly reduces resistance. Larger wire means lower resistance and less voltage loss. If you’re planning a long run, don’t cheap out on wire gauge—it’s an investment in safety and efficiency.
Reduce circuit distance: If possible, relocate your power source closer to the load. This isn’t always practical, but it’s worth considering during the planning phase.
Use higher voltage: If you have the option, transmitting power at higher voltage reduces current for the same power level, which reduces voltage drop. This is why power companies use extremely high voltages for long-distance transmission.
Reduce the load: If you’re not actually using all that amperage, a smaller circuit might work. But don’t artificially limit your circuit just to avoid proper wire sizing—that’s a safety hazard.
Common Mistakes to Avoid
Using round-trip distance: The biggest mistake I see is doubling the distance unnecessarily. The formula already accounts for the return path with that “2” multiplier. Measure one-way distance only.
Forgetting temperature effects: The K value changes slightly with temperature. At higher temperatures, copper’s resistance increases. The 12.9 value is standard at 68°F. If your wire will run hot, use 12.9 × 1.25 for a safety margin.
Mixing wire types: Don’t use aluminum wire for part of the run and copper for another—the different resistances complicate calculations and can create connection issues. Pick one and stick with it.
Ignoring the NEC: Some folks calculate acceptable voltage drop based on their own judgment. Don’t. The NEC limits exist for safety and efficiency. Follow them.
Forgetting about future expansion: If there’s any chance you’ll add more load to this circuit later, size the wire for that potential use now. Upgrading wire after installation is expensive and inconvenient.
Frequently Asked Questions
Can I use an online voltage drop calculator instead of doing math?
Absolutely. Many websites and apps do these calculations instantly. But understanding the math helps you catch errors and make better decisions. Plus, you won’t always have internet access in the field. Learn the formula, but use calculators to verify your work.
What’s the difference between voltage drop and voltage loss?
They’re essentially the same thing. Voltage drop is the term used in electrical work. The voltage is “dropped” across the resistance of the wire, appearing as heat. Some of that energy is lost to heat rather than doing useful work.
Does voltage drop affect DC circuits differently than AC?
The basic formula works for both. DC is actually simpler since you don’t have to worry about power factor or inductance. For AC circuits with longer runs or sensitive equipment, you might use a more complex formula, but the simple version gives you a good starting point.
How do I know the actual current my device will draw?
Check the nameplate on the device—it usually lists watts and voltage. Divide watts by volts to get amperes. For example, a 1500-watt space heater on 120 volts draws 12.5 amps. If you’re designing a circuit for multiple devices, add up all the amperages.
Can I ignore voltage drop on short runs?
For very short distances (under 20 feet) with reasonable loads, voltage drop is usually negligible. But the only way to know for sure is to calculate it. It takes two minutes, so there’s no reason to guess.
What happens if I use wire that’s too small?
The wire will overheat due to excessive resistance. This creates a fire hazard and can damage the insulation. Your circuit breaker might trip, but it’s not a reliable safety mechanism for this problem. The wire will fail before the breaker acts in many cases. Always size wire properly.
Is voltage drop the same thing as a voltage drop across a resistor?
In principle, yes. Any resistance in a circuit causes voltage drop. In our case, the wire itself is the resistor. The voltage drop across the wire represents energy being converted to heat.
Should I account for voltage drop when sizing my breaker?
No. Your breaker should be sized based on the wire gauge and the circuit’s actual load. Voltage drop is a separate concern. However, if voltage drop causes equipment to malfunction, that’s a sign your wire is undersized.
Wrapping It Up
Calculating voltage drop might seem technical, but it’s a straightforward process once you understand the formula and gather the right numbers. Whether you’re dealing with battery systems or running new circuits, taking the time to do this calculation properly ensures your electrical system works safely and efficiently.
The formula—VD = (2 × K × I × D) / CM—becomes second nature after a few practice runs. Start by understanding why voltage drop matters, collect your circuit information, plug in the numbers, and compare your result to the NEC limits. If you’re over, bump up to the next wire size and recalculate.
Remember that the National Electrical Code limits exist for good reasons. They protect your equipment and your home. When in doubt about a complex installation, consult a licensed electrician. But for straightforward circuits, you’ve got this. The knowledge you’ve gained here puts you well ahead of most DIYers.
Take your time with the calculations, double-check your numbers, and never compromise on wire size to save a few dollars. Your future self—and your electrical system—will thank you.


