
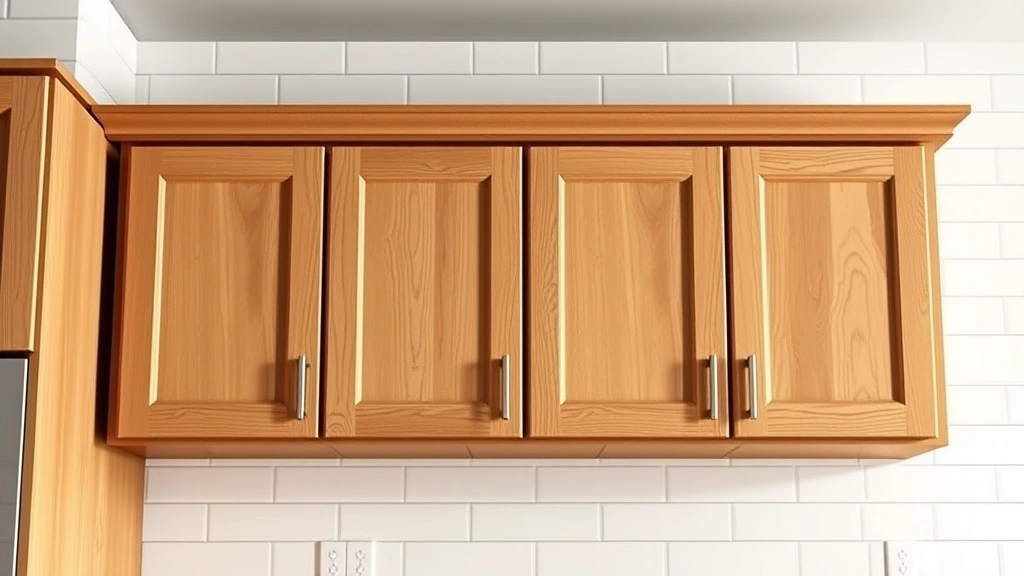
Learning how to build cabinets is one of the most rewarding woodworking projects you can tackle, and honestly, it’s way more achievable than most folks think. Whether you’re adding storage to a kitchen, bathroom, garage, or bedroom, building your own cabinets saves serious cash and gives you exactly what you need instead of settling for off-the-shelf compromises. This guide walks you through every step, from planning your design to hanging the finished product.
Table of Contents
Planning Your Cabinet Design
Before you touch a saw, spend time measuring your space and sketching out what you want. Grab a tape measure and get exact dimensions of where your cabinet will live. Check for obstacles like baseboards, electrical outlets, or uneven walls—these details matter more than you’d think. Decide on your cabinet’s height, width, and depth. A standard kitchen cabinet is 34.5 inches tall (to fit under countertops), but yours might be totally different depending on your needs.
Draw a simple sketch showing the front view and side view. Mark where shelves will go, how many doors you need, and whether you want open shelving or closed storage. Think about weight capacity too—if you’re storing heavy tools or dishes, you’ll need stronger supports. This planning stage takes an hour but saves headaches later when you’re halfway through building.
Gather Materials and Tools
You don’t need a fancy workshop to build quality cabinets. For materials, grab plywood sheets (3/4-inch thickness is standard), solid wood boards for framing and trim, wood screws (1.25-inch and 2.5-inch), wood glue, and finishing supplies. The beauty of plywood is that it’s stable, affordable, and comes in various veneer options so your finished cabinet looks polished.
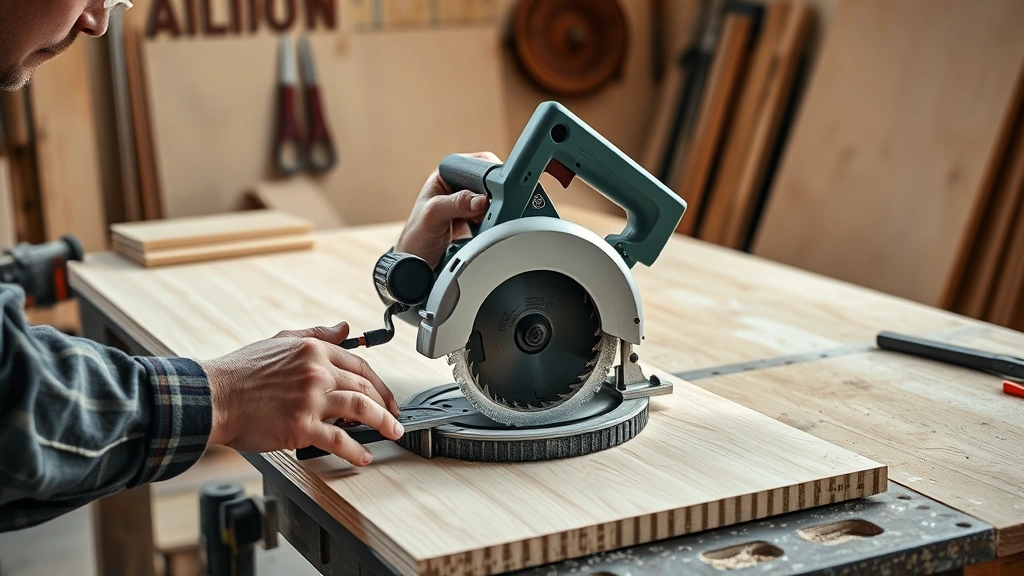
Essential tools include a circular saw or table saw, drill-driver, level, tape measure, square, clamps, and a brad nailer for trim work. If you don’t own everything, rent what you need from a local tool library or home center. A miter saw makes cutting trim cleaner, but a circular saw works fine if that’s what you’ve got. Safety gear—dust mask, eye protection, ear protection—isn’t optional; it’s how you keep working on projects for years.
Cut Your Cabinet Frame
Your cabinet frame is the skeleton that holds everything together. Start by cutting the vertical stiles (the sides) and horizontal rails (top and bottom pieces) from solid wood. Use a quality saw and a speed square to ensure cuts are dead straight. Mark your cut lines clearly with a pencil, and measure twice—that old saying exists because it’s true.
For a typical wall cabinet, you might cut four vertical stiles and four horizontal rails. The frame dimensions should be slightly smaller than your plywood sides so the plywood wraps around it cleanly. Dry-fit everything first—lay it out without glue or screws to make sure pieces align properly. This is also when you’ll catch mistakes before they’re permanent.
Assemble the Box Structure
Once your frame pieces are cut, assemble them into a rectangle. Apply wood glue to joints and use clamps to hold everything square while you drive screws. Pre-drill holes to prevent wood splitting, then use 2.5-inch screws at each joint. A pocket hole jig (like a Kreg jig) makes this step super clean, hiding screws on the inside where nobody sees them.
Use your level and square constantly during assembly. A cabinet that’s even slightly out of square will drive you nuts when you try hanging doors or shelves. Once the frame is screwed together, attach your plywood sides using 1.25-inch screws spaced every 6-8 inches. The plywood adds rigidity and gives you a surface to attach the back panel.
Add Shelves and Supports
Interior shelving is where your cabinet becomes functional. You have options: fixed shelves (screwed permanently in place) or adjustable shelves using shelf pins or a shelf rail system. Fixed shelves are stronger and simpler; adjustable shelves give you flexibility to reconfigure later. For most beginner projects, fixed shelves are the move.
Cut shelf pieces from plywood and support them with cleats—horizontal boards screwed to the cabinet sides. Make sure cleats are level before attaching shelves; use shims if your cabinet sides aren’t perfectly vertical. Screw shelves down from underneath so fasteners don’t show on top. If you’re building adjustable shelves, drill holes carefully using a pegboard template to keep spacing consistent.
Build Cabinet Doors
Cabinet doors are the showpiece, so take your time here. The simplest approach is frame-and-panel construction: a solid wood frame with plywood or solid wood panels in the middle. Cut your frame pieces (stiles and rails) and assemble them around a panel using glue and pocket holes. Sand everything smooth before assembly—it’s way easier than sanding a finished door.
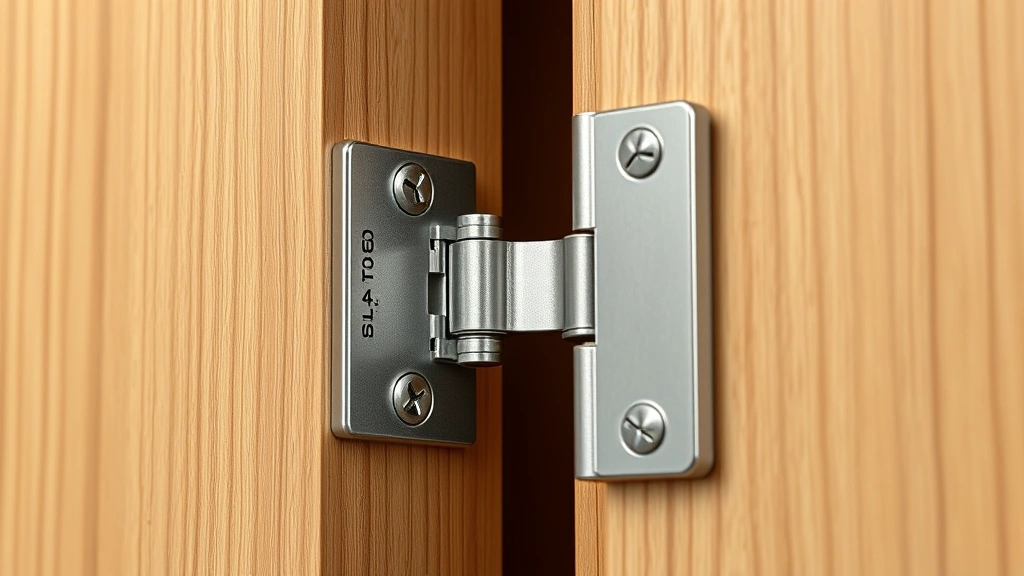
Make sure doors are perfectly square before the glue dries. Measure diagonally corner-to-corner; if both measurements are equal, your door is square. Hang doors using quality hinges (European cup hinges are forgiving for beginners) and adjust them so gaps are even all around. This takes patience, but the result looks professional and works smoothly for years.
Finishing and Hardware
Now comes the fun part: making your cabinet look finished. Sand all surfaces starting with 120-grit sandpaper and finishing with 220-grit for a smooth feel. How long does it take paint to dry depends on your chosen finish, so plan accordingly. You can paint, stain, or apply clear finish—each changes the look dramatically.
If you’re painting, use a quality primer and two coats of cabinet paint. How long does it take spray paint to dry varies, but typically allow 24 hours between coats. Stain followed by polyurethane shows off wood grain beautifully. Add hardware—handles, knobs, soft-close hinges—that matches your style. These finishing details are what transform a functional box into a piece you’re proud to display.
Install Your Cabinet
Installation is where careful planning pays off. Find studs in your wall using a stud finder—cabinets must be screwed into studs for safety, not just drywall. Mark stud locations clearly. If your cabinet is wider than stud spacing, use a French cleat system: screw one half to the wall studs and the other half to the back of your cabinet, then hang the cabinet on the cleat.
Use a level constantly during installation. Even a slight tilt looks wrong and can cause doors to swing open or closed on their own. Pre-drill all holes to prevent splitting. Once mounted, install shelves and doors, then make final adjustments to hardware. Step back and admire your work—you just built a cabinet from scratch.
Common Mistakes to Avoid
The most common mistake is skipping the planning stage and just diving in. Measure twice, cut once—seriously. Another big one is not checking for square during assembly; a slightly crooked cabinet is frustrating forever. Don’t cheap out on hardware; quality hinges and fasteners make the difference between a cabinet that works beautifully and one that’s annoying to use.
Many beginners underestimate the importance of a level and square. These tools are cheap and absolutely essential. Also, don’t rush finishing—sanding properly and applying finish carefully is what separates amateur-looking projects from professional ones. Finally, make sure you’re fastening into studs when mounting; drywall anchors alone can’t support a loaded cabinet.
Frequently Asked Questions
What type of wood is best for building cabinets?
Plywood is ideal for cabinet sides and shelves because it’s stable and affordable. Use solid wood for visible frames and trim so you can stain or paint it beautifully. Hardwoods like oak or maple look great; softer woods like pine are budget-friendly but show dents more easily.
Do I need special tools to build cabinets?
A basic circular saw, drill, level, and tape measure get you started. A miter saw and table saw make work faster and cleaner, but they’re not absolutely necessary for your first cabinet. Clamps are essential for holding pieces while glue dries and screws set.
How long does it take to build a cabinet?
A simple single-door cabinet takes 2-3 days if you work steadily. Larger projects or those with multiple doors and shelves take longer. Factor in drying time for glue and finish, which can add several days. Don’t rush—quality takes time.
Can I build cabinets without a workshop?
Absolutely. You can build in a garage, driveway, or even a large basement. The key is having a flat work surface and good lighting. Rent tools you don’t own, and you’re in business. Many community makerspaces also offer workshop access and tool libraries.
What’s the best finish for kitchen cabinets?
For kitchens, use durable finishes that resist moisture and staining. Polyurethane over stain is classic and tough. Cabinet paint designed for kitchens provides excellent durability. How to clean quartz countertops might seem unrelated, but your cabinet finish should be equally easy to clean and maintain.
How do I make adjustable shelves?
Drill holes in the cabinet sides using a pegboard template to keep spacing consistent (usually 1.25 inches apart). Insert shelf pins into holes and rest your shelves on them. This system lets you reconfigure storage as needs change. It’s more complex than fixed shelves but offers flexibility.
What hardware do I need for cabinet doors?
You need hinges (typically 2-3 per door depending on size), handles or knobs, and a way to keep doors closed—either a magnetic catch or soft-close mechanism. Soft-close hinges cost more but feel premium and prevent slamming. Choose hardware that matches your cabinet style and finish.
Final Thoughts
Building cabinets transforms a room while teaching you real woodworking skills you’ll use forever. Start with one simple cabinet to build confidence, then tackle bigger projects. The process teaches patience, precision, and problem-solving—all valuable beyond just furniture.
Remember that perfection isn’t the goal; a functional, attractive cabinet you built yourself beats a perfect store-bought alternative every time. You’ll notice little imperfections, but guests will see a custom piece that shows craftsmanship and care. Take your time, measure carefully, and don’t skip finishing—that’s what makes the difference between a project and a piece of furniture.
Whether you’re adding storage to a garage, creating a bathroom vanity, or upgrading a kitchen, these fundamentals apply. Start planning your design today, gather your materials, and get building. You’ve got this.


