
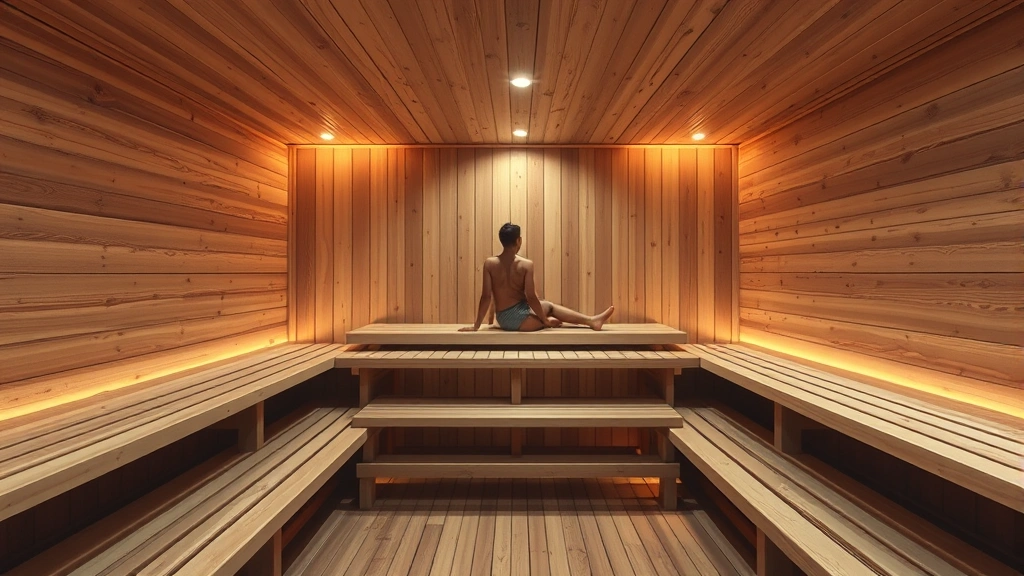
Learning how to build a sauna is one of those rewarding projects that transforms your home into a personal wellness retreat. Whether you’re cramped in a basement corner or have a dedicated backyard space, you can absolutely construct a functional sauna yourself without hiring expensive contractors. I’ve walked through enough sauna builds to know that with the right materials, solid planning, and a methodical approach, you’ll be sweating it out in your own steam room within weeks.
Table of Contents
Planning Your Sauna Location
Before you swing a hammer, spend time choosing the right spot. Your sauna needs adequate electrical access, proper drainage, and enough clearance from property lines. Basements work great because they’re already enclosed, but garages, sheds, or even outdoor structures are fair game. I recommend picking a location near water access for convenience—you’ll want to rinse off after sessions.
Consider the size carefully. Most home saunas range from 4×6 feet to 8×8 feet. Smaller is actually better for DIY builds because it heats faster and costs less. Sketch out your space on paper, measure twice, and mark the exact footprint before ordering materials. You’ll also want to check local building codes—some areas require permits for sauna construction, especially if you’re adding electrical work.
Materials and Tools You’ll Need
Here’s the honest inventory: you’ll need dimensional lumber (2x4s and 2x6s), exterior plywood, cedar or aspen boards for interior walls, fiberglass insulation, vapor barrier plastic, roofing felt, a sauna heater (electric or wood-burning), benches, hinges, a door frame, and fasteners. The heater is your biggest expense—quality electric heaters run $800-$2,500.
Tool-wise, grab a circular saw, drill-driver, tape measure, level, stud finder, and a good square. If you’re cutting a lot of wood, a miter saw saves hours. You’ll also need a staple gun for the vapor barrier and basic hand tools. Don’t skip on a quality level—uneven sauna benches are uncomfortable and unsafe.
Building the Foundation
Start with a solid, level foundation. Pour a concrete pad or lay down pressure-treated 2×6 joists on gravel if you’re building on soil. The foundation must be absolutely level—use a long level or a laser level to check. Any settling or tilt will cause door problems and uneven bench seating.
If you’re building indoors, lay down a moisture barrier (heavy plastic sheeting) before your frame. This prevents ground moisture from wicking up into your wood. Secure it with concrete anchors or tape. For outdoor builds, ensure proper drainage slopes away from the structure so water doesn’t pool underneath.
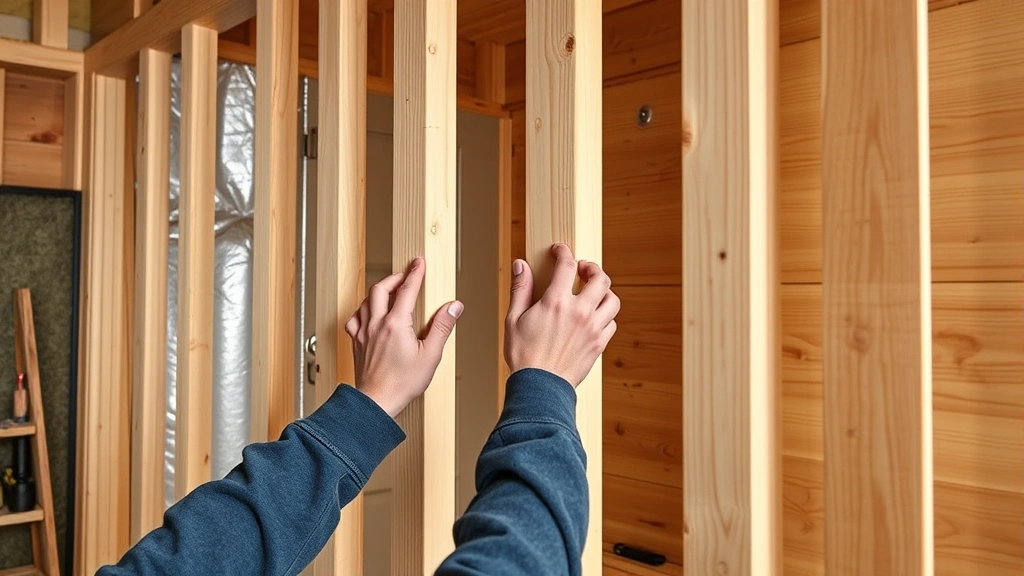
Framing the Sauna Box
Build your frame using 2×4 studs spaced 16 inches on center. This is standard wall framing—nothing fancy. Create the four walls as separate panels on the ground, then stand them up and brace them temporarily. Use a level constantly as you’re building; crooked walls are a nightmare to finish.
Install a door frame opening on one wall, typically 32-36 inches wide. Reinforce the corners with diagonal bracing or metal L-brackets—saunas get stressed from heat and moisture, so solid framing matters. Once the frame is square and plumb, add your top plates and secure everything with 3-inch screws or 16-penny nails.
Insulation and Vapor Barrier
This step separates amateur builds from professional ones. Install 4-6 inches of fiberglass insulation between all studs. I prefer unfaced batts because you’re adding a separate vapor barrier anyway. Pack the insulation snugly but don’t compress it—compressed insulation loses R-value.
Once insulation is in, staple heavy-duty 6-mil polyethylene vapor barrier over the entire interior frame. This is critical. The vapor barrier prevents moisture from penetrating the walls and rotting your wood. Overlap seams by at least 6 inches and seal them with duct tape. Some builders add roofing felt over the vapor barrier for extra protection—it’s worth the small extra cost.
Installing Interior Walls
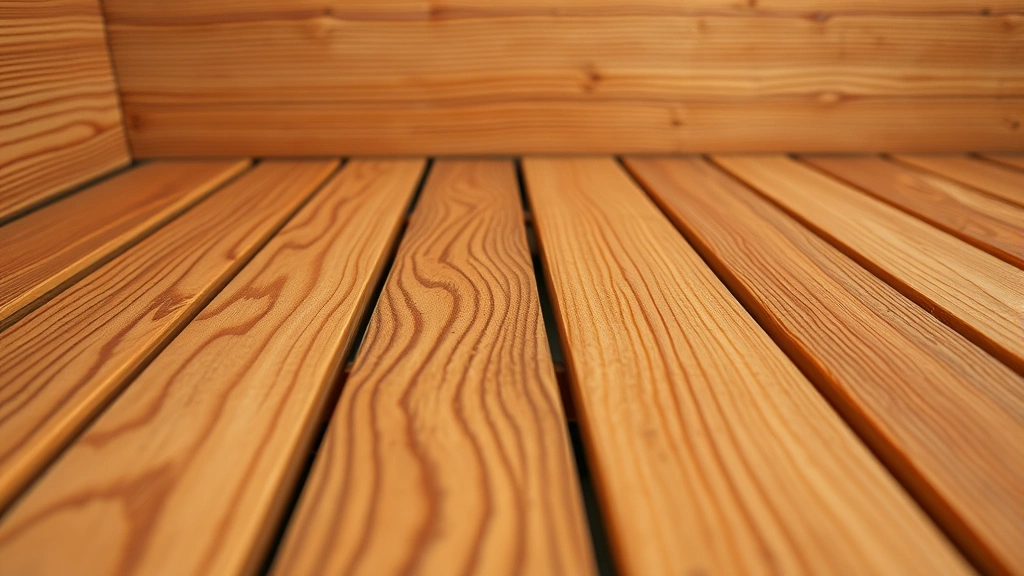
Now comes the beautiful part. Cover your vapor barrier with cedar or aspen boards running horizontally. These woods are preferred because they’re soft (won’t burn you when hot), resist rot, and smell amazing when heated. Install them with stainless steel fasteners—regular nails will rust and stain the wood.
Leave small gaps between boards for air circulation and expansion. The wood will swell slightly when exposed to heat and moisture, so don’t install boards tightly against each other. Sand all interior surfaces smooth—splinters and heat don’t mix well. Leave the ceiling open for now; you’ll address that after the heater is installed.
Heater and Ventilation System
Your heater choice determines the whole sauna experience. Electric heaters are easiest for DIY builds—they require 240V electrical service and mount on the wall near floor level. Wood-burning heaters are more traditional but need chimney venting and fireproofing. For your first build, electric is the smart move.
Install the heater according to manufacturer specs, maintaining clearances from all combustible materials. Add an intake vent near the floor (opposite side from the heater) and an exhaust vent near the ceiling. Proper ventilation prevents mold and keeps the air fresh. Some builders add a small window for safety and aesthetics—make sure it’s tempered glass rated for high heat.
Building Benches and Seating
Construct benches from cedar or aspen using 2x4s for the frame and 1×4 boards for the seating surface. Most saunas have two tiers—a lower bench at 18 inches and an upper bench at 36 inches. Space the seating boards about a quarter-inch apart for drainage and air flow. Round over sharp edges with sandpaper or a router.
Attach benches to the wall studs with stainless steel bolts, not nails. The heat causes wood to shift, and bolts allow slight movement without cracking. Make sure benches are rock-solid—wobbly seating is dangerous when you’re naked and sweating. Test them thoroughly by sitting and shifting your weight around.
Finishing Touches and Details
Install the door using heavy-duty stainless steel hinges rated for wet environments. Cedar or aspen doors work well, but some builders prefer tempered glass for visibility and light. Add a pull handle (metal, never plastic) and ensure the door closes smoothly with a magnetic catch.
Install ceiling boards last, leaving access panels for the heater and electrical connections. Add a thermometer and timer inside for safety. Some folks install LED lighting—use only sauna-rated fixtures in stainless steel housings. Finish everything with a sauna-grade sealant if desired, though many builders leave the wood natural for authenticity.
Testing and Maintenance
Before your first full session, run the heater for 15-20 minutes with the door open to check for issues. Listen for unusual sounds, check that ventilation is working, and ensure the thermostat operates correctly. Once you’re confident everything’s safe, take a short test session—maybe 10 minutes at 140°F.
Long-term maintenance is minimal. Sweep out debris weekly, wipe down benches occasionally, and ensure ventilation stays clear. Replace any damaged boards promptly. Most well-built saunas last 20+ years with basic care. Keep the interior dry between uses by running the heater for 10 minutes after your session to evaporate moisture.
Frequently Asked Questions
How much does it cost to build a DIY sauna?
Budget $3,000-$8,000 for a basic 4×6 home sauna, depending on materials and heater quality. The heater alone is usually 30-40% of the total cost. Outdoor builds might cost more due to additional weatherproofing. Hiring professionals runs $10,000-$20,000+, so DIY saves serious money.
Do I need a permit to build a sauna?
Check with your local building department first. Some areas require permits for any structure or electrical work, while others don’t. It’s always better to ask than to have issues later. Permits ensure your build meets safety codes and won’t create problems when selling your home.
What’s the best wood for sauna interiors?
Cedar and aspen are the gold standards. They’re soft, aromatic, and resist rot naturally. Avoid pressure-treated lumber inside—the chemicals aren’t safe to inhale when heated. Pine and spruce work but aren’t ideal. Quality cedar costs more upfront but lasts longer and smells incredible.
How long does a sauna session take?
Most people enjoy 15-30 minute sessions at 160-180°F. Start shorter if you’re new to saunas. Your body adapts quickly, and you’ll naturally find your comfort zone. Always cool down gradually afterward—jump in a cold pool if you have one, or just sit in a cool room for 10 minutes.
Can I build a sauna in my basement?
Absolutely. Basements are ideal because they’re enclosed and protected. Just ensure proper ventilation to prevent moisture buildup in the rest of your basement. Install a dehumidifier if needed, and make sure your electrical service can handle the heater load. Check for water intrusion issues before starting.
What’s the difference between a sauna and a steam room?
Saunas use dry heat (10-20% humidity) and reach higher temperatures, while steam rooms use moist heat (near 100% humidity) at lower temperatures. Saunas are easier to build DIY and require less maintenance. Steam rooms need specialized waterproofing and drainage systems.
Final Thoughts
Building how to build a sauna yourself is genuinely doable if you take it step by step. The project teaches you framing, insulation, electrical basics, and finishing skills that apply to dozens of other home projects. More importantly, you’ll end up with a personal wellness space that adds real value to your home and quality to your life.
Start with solid planning, don’t rush the insulation and vapor barrier steps, and invest in a quality heater. Those three things separate mediocre saunas from ones you’ll actually use for years. The satisfaction of sweating in a sauna you built yourself? That’s priceless. Get after it, and enjoy the process—this is the kind of project that reminds you why DIY is worth the effort.
For more detailed guidance on home improvement projects, check out resources like Family Handyman, This Old House, and Bob Vila for additional tips and techniques. You might also find it helpful to understand project economics—learning about marginal revenue can help you evaluate whether a sauna investment makes financial sense for your home. If you’re planning this as a relaxation space for recovery, understanding recovery timelines shows why consistent sauna use supports wellness routines. And if you’re planning to budget for the project, managing subscriptions and expenses helps free up funds for materials.


