

Learning how to braid hair is one of those skills that looks intimidating until you actually try it—then you realize it’s just three sections working together in a rhythm. Whether you’re prepping for a special event, taming flyaways on a lazy Sunday, or just wanting to master something new, braiding is genuinely achievable for anyone willing to spend fifteen minutes with a mirror and some patience.
Table of Contents
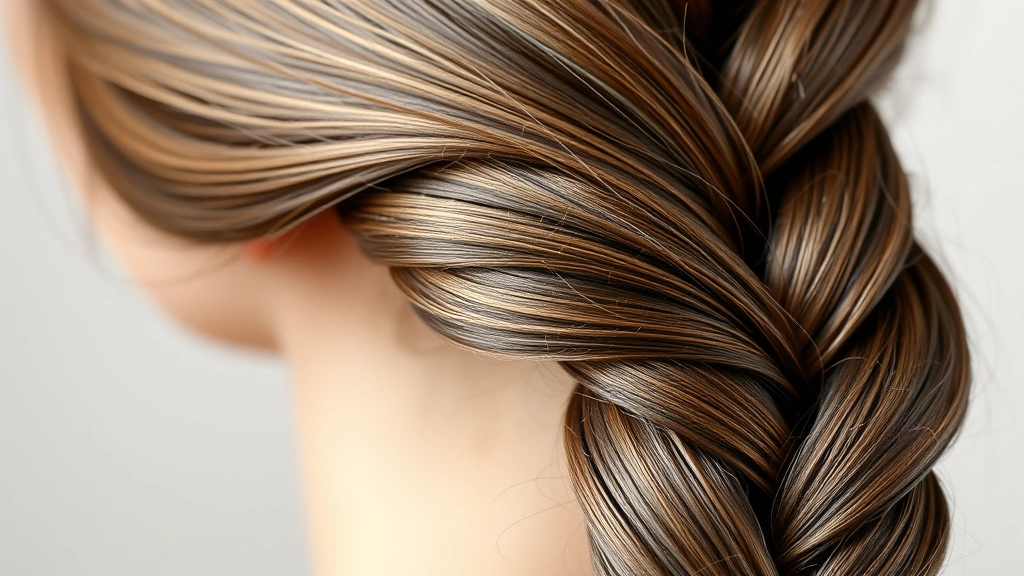
Basic Three-Strand Braid
Start here—this is the foundation for everything else. Divide your hair into three equal sections at the base of your head. Label them left, center, and right in your mind. Cross the left section over the center (left becomes center now), then cross the right section over what’s now center (right becomes center). Keep alternating: left over center, right over center, left over center. The rhythm matters more than perfection. You’re essentially weaving, and once your hands get the pattern, they’ll do it almost automatically.
The tension is crucial. Too tight and you’ll get a headache; too loose and your braid falls apart. Aim for snug but comfortable—you should be able to slip a finger under each section. Practice this basic pattern for a few minutes daily, and within a week you’ll be able to do it without thinking. This skill unlocks everything else, so don’t rush through it.
French Braid Fundamentals
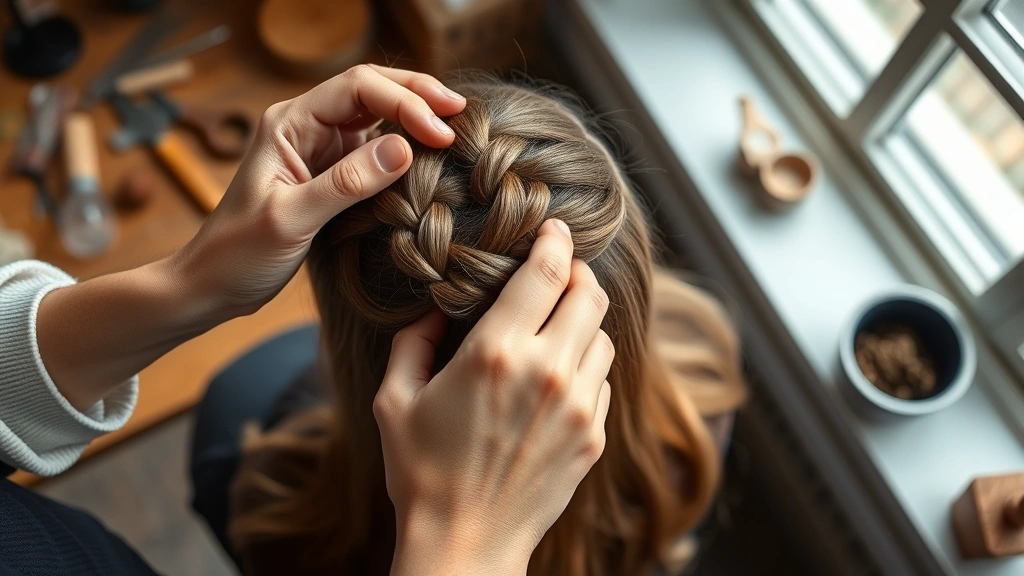
The French braid is what people mean when they say “fancy braid.” It looks complex but it’s really just a three-strand braid that incorporates new hair as you go down. Start with a small section at the crown and begin your basic braid pattern. Here’s the magic part: as you cross each section, grab a small piece of loose hair from the side and add it to that section before crossing it over. Left over center (adding hair), right over center (adding hair), repeat down the back of your head.
This takes practice because you’re coordinating three things: the braid pattern, adding new hair, and maintaining tension. Start slow. Many beginners rush and end up with lumpy, uneven braids. Film yourself or use a mirror setup so you can see what’s happening. The French braid is perfect for keeping hair off your face all day and works on second-day hair better than fresh-washed locks. If you’re struggling with learning new skills, remember that braiding is the same—repetition builds muscle memory.
Dutch Braid Technique
Think of the Dutch braid as the French braid’s inverse twin. Instead of crossing sections over the center, you cross them under. This creates a braid that pops out from the scalp and looks more dimensional. The mechanics are identical to a French braid—you’re still adding hair as you descend—but the under-crossing changes the entire visual.
Dutch braids photograph beautifully and hold up through workouts or active days. The under-crossing naturally creates more texture and grip on the hair. Start at the crown with three sections, cross left under center, cross right under center, and keep adding hair as you go. If your first attempt looks wonky, that’s normal. The braid will still hold even if it’s not perfectly symmetrical. Dutch braids are forgiving that way—slight imperfections add character rather than looking like mistakes.
Fishtail Braid Method
The fishtail braid uses only two sections instead of three, which sounds easier but requires different coordination. Split your hair into two equal halves. Take a thin piece from the outer edge of the right section and cross it over to join the left section. Then take a thin piece from the outer edge of the left section and cross it over to join the right section. You’re essentially weaving thin strands from the outside edges to the inside, creating a pattern that resembles a fish’s tail.
This braid looks intricate but it’s actually quite forgiving because the thin strands hide imperfections. Fishtail braids work beautifully with textured or wavy hair and create a softer, more romantic look than structured three-strand braids. The learning curve is shorter than French braids because you’re only managing two sections. Practice the motion for five minutes and you’ll likely have it down.
Crown Braid Style
The crown braid wraps around your head like a halo and is perfect for special occasions or when you want to feel fancy. You can use any of the braid techniques (three-strand, French, Dutch, or fishtail) for this style. The difference is placement and path. Start a braid at one ear, follow the curve of your head around the back, and end near the opposite ear. Pin the end underneath if needed.
This style works best on hair with some texture or grip—freshly washed hair tends to slip. Tease lightly at the roots before braiding to give yourself something to hold onto. Crown braids are stunning with face-framing pieces left loose, and they keep hair completely off your neck. You can do a single crown braid or double crown braids for a more playful look. The technique is the same; you’re just changing the direction and path of the braid.
Prep Your Hair Right
Your hair’s condition determines your braid’s success. Freshly washed hair is slippery and difficult to work with—wait a day or two after washing for best results. Second-day or third-day hair has natural oils that create grip and help the braid hold. If you must braid clean hair, use a texturizing spray or dry shampoo to add grip.
Detangle completely before starting. Knots will create lumps in your braid and make the whole process frustrating. Use a wide-tooth comb on damp hair or a paddle brush on dry hair. If your hair is particularly fine or slippery, a light mist of water or texture spray helps immensely. Long hair braids easier than short hair simply because there’s more to work with, but you can braid hair as short as shoulder-length if you’re patient.
Common Mistakes to Avoid
The most common beginner mistake is pulling too tight. Tight braids look neat temporarily but they’re uncomfortable and can damage hair over time. Your braid should feel secure but not painful. If you can’t slide a finger under it, loosen up.
Another frequent error is uneven sections. Your three strands should be roughly equal in thickness. Uneven sections create lopsided, lumpy braids. Take a moment to divide your hair carefully at the start. Many beginners also rush the process. Braiding is a deliberate action—speed comes with practice, not before it. Give yourself permission to be slow and methodical your first dozen times.
Texture matters too. Trying to braid bone-straight, slippery hair without any prep is setting yourself up for frustration. A quick tease or texture spray transforms the experience. And don’t expect perfection. Even professional hairstylists’ braids aren’t perfectly symmetrical—slight variations look natural and intentional.
Finishing Touches Matter
How you finish your braid affects how long it lasts and how polished it looks. Secure the end with a hair elastic that matches your hair color—it disappears visually. If your braid feels loose or wispy, gently pull and tease the sections slightly to create a fuller, more textured appearance. This is called “pancaking” and it instantly makes your braid look more intentional and professional.
A light hairspray mist helps flyaways and extends the braid’s lifespan. You can also wrap a small piece of hair around the elastic to hide it—this creates a seamless finish. If you’re wearing your braid for an event, do a final check in natural light to see if any sections need adjusting or if stray hairs need smoothing.
For more detailed guidance on mastering techniques, check out resources like Family Handyman which covers detailed step-by-step processes. You might also find This Old House helpful for understanding foundational skills, though their focus differs from hair care.
Frequently Asked Questions
How long does it take to learn how to braid hair?
Most people can master a basic three-strand braid in 15-30 minutes of practice. French and Dutch braids take longer—typically a few days of regular practice. Fishtail braids usually click within a day or two. The key is consistent practice; even five minutes daily beats one long session weekly.
Can you braid short hair?
Yes, though it’s trickier. Shoulder-length hair works fine for basic braids. Anything shorter than shoulder-length becomes challenging because there’s less length to work with. Textured or wavy short hair braids easier than straight short hair.
What’s the best hair type for braiding?
Textured, wavy, or curly hair holds braids best because it has natural grip. Straight hair requires more texture prep (teasing, sprays) to braid successfully. Second or third-day hair braids better than freshly washed hair regardless of type.
How do you keep a braid from falling out?
Secure it properly with a matching hair elastic, use texture spray beforehand, and avoid pulling too loose. If your braid still feels unstable, bobby pins hidden under the braid add security. Pancaking the braid (gently pulling sections) also tightens it without making it uncomfortably snug.
Can men braid hair?
Absolutely. Braiding is a skill, not gender-specific. Anyone with the patience and willingness to practice can learn any braid style. Many men rock braids beautifully, from basic braids to complex styles.
What products help with braiding?
Texturizing spray, dry shampoo, light hairspray, and a wide-tooth comb are your best friends. You don’t need anything fancy—even a spray bottle with water adds enough grip to make braiding easier. Avoid heavy conditioners or oils right before braiding as they make hair too slippery.
Learning how to braid hair opens up endless styling possibilities. Start with the basic three-strand braid, master that completely, then move into French and Dutch variations. Once you understand the foundational patterns, other styles become logical progressions rather than mysterious techniques. The first braid feels awkward; the hundredth feels automatic. Give yourself grace during the learning curve, and within a couple of weeks you’ll have a genuine skill that lasts a lifetime. Your hands will remember the rhythm long after you stop thinking about it.


