
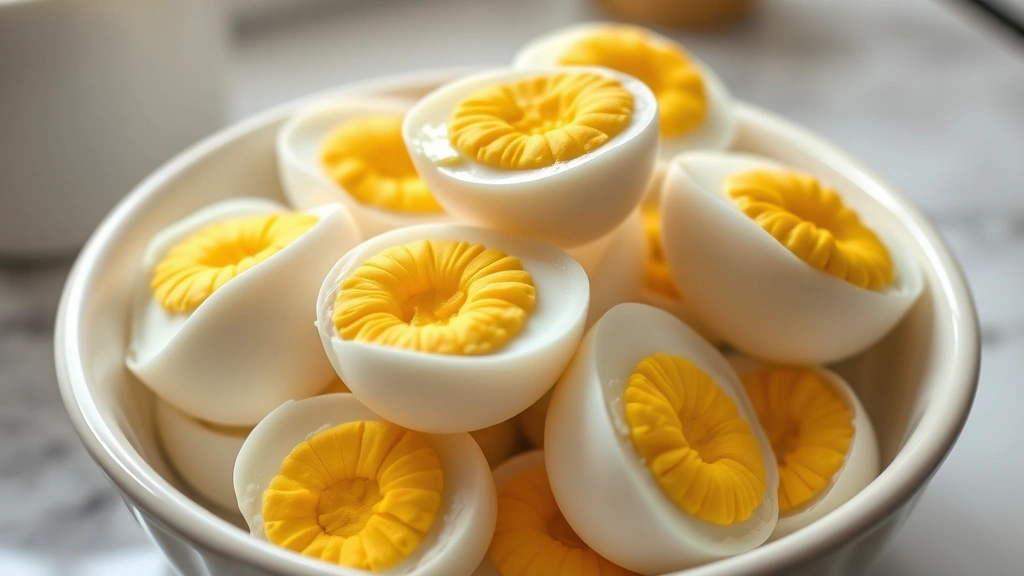
Learning how to boil eggs in microwave is a game-changer for busy mornings and meal prep sessions. Forget waiting around for a pot of water to boil on the stove—you can have perfectly cooked eggs ready in about five minutes flat. Whether you’re making a quick breakfast, prepping hard-boiled eggs for salads, or whipping up ingredients for hibachi fried rice, this microwave method delivers consistent results without the fuss.
Table of Contents
Why Microwave Method Works
The microwave heats water incredibly fast, and that’s the secret sauce here. Instead of waiting for a stovetop pot to reach a rolling boil, you’re using concentrated heat in a confined space. The water heats up rapidly, and the eggs cook through steam and hot water simultaneously. This method cuts your total time roughly in half compared to traditional boiling. Plus, you’re freeing up your stovetop for other dishes during meal prep—a real win when you’re juggling multiple cooking tasks.
Microwave boiling also gives you more control. You can cook anywhere from one to six eggs at once, depending on your microwave’s wattage and size. The results are remarkably consistent once you dial in your timing for your specific microwave model.
Gather Your Supplies
Here’s what you’ll need before you start:
- Microwave-safe bowl or container (ceramic or glass, not metal)
- Fresh or older eggs (older eggs peel easier)
- Cold water
- Measuring cup (for accuracy)
- Ice bath setup (bowl filled with ice water)
- Slotted spoon (for transferring eggs safely)
- Kitchen timer (phone timer works fine)
The bowl size matters—you want enough room for eggs to sit in a single layer without crowding. A standard microwave-safe cereal bowl works great for 2-4 eggs, while a larger bowl handles 5-6 eggs comfortably.
Step-by-Step Process
Step 1: Arrange Your Eggs
Place your eggs in the microwave-safe bowl in a single layer. If you’re cooking multiple eggs, make sure they’re not stacked. Each egg needs direct contact with the water to cook evenly.
Step 2: Cover with Water
Pour cold water over the eggs until they’re covered by about half an inch. This is crucial—too little water and your eggs won’t cook properly; too much and you’ll have overflow issues. A measuring cup takes the guesswork out of this step.
Step 3: Add Salt (Optional but Recommended)
Sprinkle in about a quarter teaspoon of salt. This raises the water’s boiling point slightly and helps prevent eggs from cracking during cooking. It’s a small step that delivers big results.
Step 4: Microwave at High Power
Cover your bowl loosely with a microwave-safe plate or paper towel. Microwave on high power. The exact timing depends on how many eggs you’re cooking and your microwave’s wattage. Start with these baseline times: for 1-2 eggs, try 6-7 minutes; for 3-4 eggs, aim for 8-10 minutes; for 5-6 eggs, go for 11-13 minutes.
Step 5: Let It Sit
Once the microwave beeps, don’t immediately open the door. Let the eggs sit in the hot water for 2-3 minutes. This carryover cooking ensures the yolks set properly without becoming rubbery.
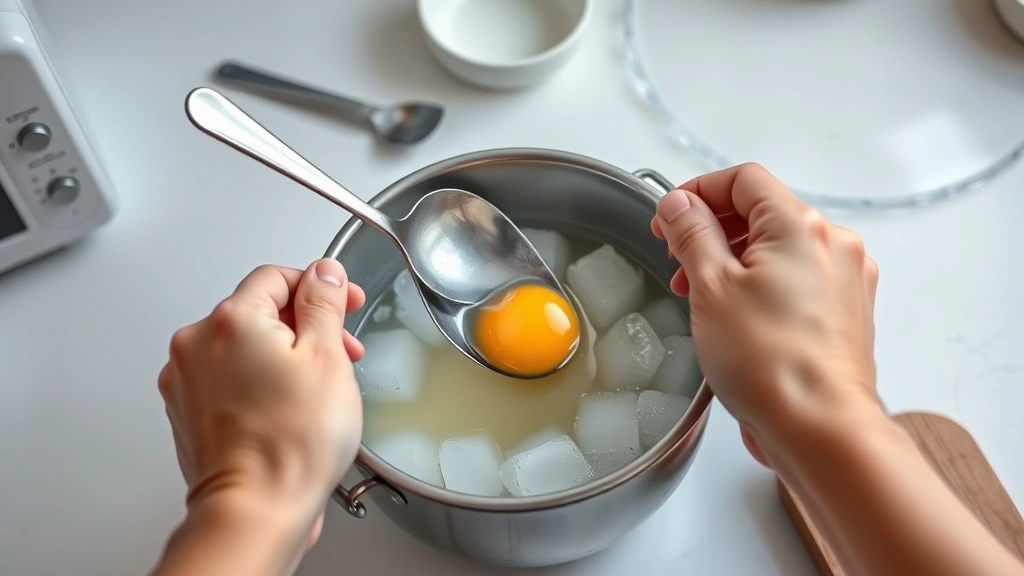
Step 6: Ice Bath Transfer
Using a slotted spoon, carefully transfer the eggs to your ice bath. The cold water stops the cooking process instantly and makes peeling significantly easier. Let them chill for at least 5 minutes, ideally 10 minutes.
Cooking Times Chart
Microwave wattage varies, so these times are starting points. Adjust based on your results:
| Number of Eggs | 1000W Microwave | 1200W Microwave | Doneness |
|---|---|---|---|
| 1-2 eggs | 6-7 minutes | 5-6 minutes | Soft to medium yolk |
| 3-4 eggs | 8-10 minutes | 7-9 minutes | Medium to hard yolk |
| 5-6 eggs | 11-13 minutes | 10-12 minutes | Hard yolk |
Write down your results the first time you try this. After one batch, you’ll know exactly what your microwave needs for your preferred yolk consistency.
Cooling Technique Matters
This is where many people skip steps and regret it. The ice bath isn’t just about temperature—it’s about stopping the cooking process dead in its tracks. When you skip this step or use lukewarm water, the residual heat continues cooking the egg white and yolk, often resulting in that unappetizing gray-green ring around the yolk.
Pro tip: Make your ice bath before you start microwaving. Fill a bowl with ice and cold water and let it sit while your eggs cook. When you transfer the eggs, they’ll plunge into genuinely cold water, not tepid liquid. This 10-minute ice bath also makes peeling dramatically easier because the cold contracts the egg white away from the shell membrane.
Troubleshooting Common Issues
Eggs Cracked During Cooking
This usually means your water wasn’t covering the eggs adequately or the temperature spike was too intense. Try adding that pinch of salt next time, and ensure eggs are fully submerged. Also, avoid using eggs straight from the refrigerator—let them sit at room temperature for 10 minutes first.
Rubbery Whites or Chalky Yolks
You’re cooking too long. Reduce your time by 1-2 minutes and check the results. Remember, carryover cooking in the ice bath continues the process, so don’t overdo it in the microwave.
Undercooked Yolks
Increase your time by 1-2 minutes next batch. Write down what you discover so you can replicate it.
Water Boils Over
Use a larger bowl or fewer eggs. The loose cover (not airtight) should help, but if you’re still getting overflow, reduce the water amount slightly or increase bowl size.
Difficult Peeling
Use older eggs (at least a week old) and don’t skip the ice bath. The cold water is essential for easy peeling. Gently tap and roll the egg to crack the shell all over before peeling.
Storage Ideas
Once your eggs are cooled and peeled, store them in an airtight container in the refrigerator. They’ll keep for up to five days. You can also leave them unpeeled for up to a week—the shell acts as a protective barrier.
For meal prep, peel them the night before you plan to use them. They’re perfect for quick breakfasts, chopped into salads with baby carrots, or as protein-packed snacks throughout the week. Hard-boiled eggs are also ideal for batch cooking when you’re planning multiple meals.
Recipe Ideas
Your microwave-boiled eggs open up tons of possibilities. Chop them into egg salad for sandwiches, slice them for breakfast bowls, or add them to fried rice recipes for extra protein. They’re fantastic in deviled egg appetizers, grain bowls, or even fall recipes that call for hard-boiled eggs as an ingredient.
You can also use them in traditional egg salad, curry egg dishes, or simply as a grab-and-go breakfast with a pinch of salt and pepper. The microwave method produces eggs that work beautifully in any recipe calling for hard-boiled eggs.
Frequently Asked Questions
Can I use a microwave-safe mug instead of a bowl?
Yes, absolutely. Any microwave-safe container works as long as it fits your eggs in a single layer and can hold enough water to cover them. Mugs work great for 1-2 eggs.
Why do some people add baking soda to the water?
Baking soda raises the pH of the water, which can help prevent cracking and make peeling easier. If you want to try it, add about a quarter teaspoon per batch. It won’t hurt, though it’s not strictly necessary.
Can I microwave eggs in their shells without water?
No—never microwave a raw egg in its shell without water. The pressure builds inside the shell and causes explosions. Always use water as a buffer.
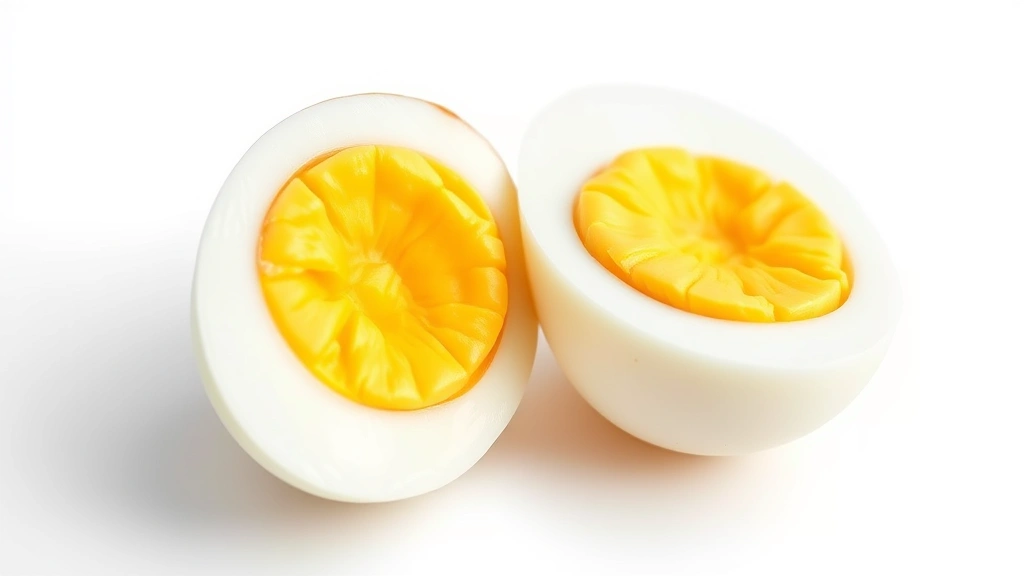
What’s the difference between soft-boiled and hard-boiled in this method?
For soft-boiled eggs with runny yolks, reduce your cooking time by 2-3 minutes and skip the extended ice bath. For hard-boiled, follow the standard times and use the full ice bath cooling period.
Do I need to poke holes in the eggs first?
You don’t need to, but some people do to prevent cracking. If you want to try it, use a thumbtack to gently poke a tiny hole in the wider end of the egg before cooking.
How do I know when the eggs are done?
The only way to know for certain is to cook them, cool them, peel one, and cut it open. This is why keeping notes on your first attempt is so valuable. After one successful batch, you’ll have the timing dialed in.
Can I cook eggs in the microwave without removing them from the carton?
No—cardboard egg cartons aren’t microwave-safe. Always transfer eggs to a microwave-safe container.


