
Learning how to boil chicken breasts is one of those kitchen skills that pays dividends forever. Once you nail the technique, you’ll have tender, juicy protein ready for salads, sandwiches, soups, or meal prep in about 20 minutes flat. The secret isn’t complicated—it’s about understanding timing, temperature, and a few pro tricks that separate dry, rubbery chicken from the perfectly cooked stuff.
I’ve cooked thousands of chicken breasts over the years, and I’m going to walk you through exactly what works. No fancy equipment needed, just a pot, water, and attention to detail.
Table of Contents
Why Boiling Works Best
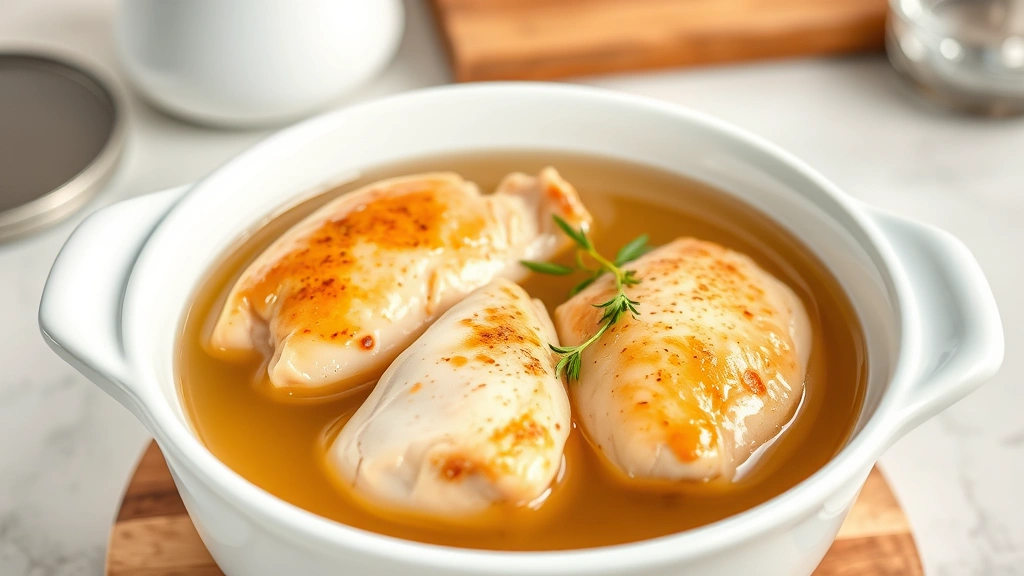
Boiling chicken breasts is the most reliable method for meal prep and cooking in bulk. Unlike grilling or pan-searing, where you risk dry edges and undercooked centers, boiling creates an even, moist result every single time. The gentle, consistent heat penetrates the meat uniformly, and the moisture-rich environment keeps the chicken from drying out.
This method also makes it dead simple to tell when chicken is done. You don’t need a meat thermometer (though they help), and there’s no guessing game about doneness. The chicken stays submerged, cooks evenly, and stays tender throughout. Plus, you get bonus chicken broth at the end—perfect for soups or bisque recipes.
Choosing the Right Chicken
Not all chicken breasts are created equal. Size matters more than you’d think when you’re boiling. Here’s what to look for:
Thickness and weight: Aim for breasts that are roughly the same thickness. If you’ve got one massive breast and three smaller ones, the big one will still be raw when the small ones are overdone. Look for breasts in the 6-8 ounce range per piece—that’s your sweet spot.
Fresh vs. frozen: Fresh chicken works great, but frozen is fine too. Just thaw it completely first. Throwing frozen chicken directly into boiling water creates uneven cooking and tough edges. Give it 12-24 hours in the fridge to thaw properly.
Skin-on vs. skinless: Skinless breasts cook faster and are leaner. Skin-on takes a few minutes longer but adds flavor. Either works for this method—just adjust timing by 2-3 minutes if using skin-on.
Prep Steps That Matter
This is where most people skip steps and end up with mediocre chicken. Don’t be that person.
Pat the chicken dry: Use paper towels to remove surface moisture. This isn’t strictly necessary, but it helps the seasoning stick better and signals that you’re treating this seriously.
Pound uneven breasts: If you’ve got a thick side and a thin side, use a meat mallet to even things out. Place the breast between two pieces of plastic wrap and gently pound until it’s uniform thickness. This is the difference between perfectly cooked and some parts overdone.
Season generously: Salt the chicken on both sides at least 15 minutes before cooking. This allows salt to penetrate the meat and actually improve moisture retention. Don’t skip this—it’s not optional.
The Boiling Process
Here’s the step-by-step that actually works:
Fill your pot: Use a pot large enough that chicken pieces sit in a single layer with room to move slightly. Cold water should cover the chicken by about an inch. Too little water and it boils away; too much and it takes forever to heat up.
Add aromatics (optional but recommended): Throw in half an onion, a few garlic cloves, a bay leaf, and some peppercorns. These add subtle flavor without overpowering the chicken. Skip this if you want plain boiled chicken for mixing into other recipes.
Bring to a boil: Put the pot on high heat with the lid on. This speeds up the process. Once you see a rolling boil, remove the lid and reduce heat to medium-low. The water should maintain a gentle simmer—not a rolling boil. Boiling too aggressively breaks down the meat fibers and makes it tough.
Set a timer: This is non-negotiable. Overcooked chicken is the enemy.
Timing Guide by Size
Timing depends entirely on thickness. Here’s what works:
Thin breasts (under 1/2 inch): 12-15 minutes. These cook fast, so watch them carefully.
Medium breasts (1/2 to 3/4 inch): 15-18 minutes. This is the most common size you’ll encounter.
Thick breasts (3/4 inch to 1 inch+): 18-25 minutes. The pounded, even breasts I mentioned earlier land here.
Pro tip: Start checking at the lower end of the range. Overcooked chicken is dry; slightly undercooked is easier to fix (just simmer another 2-3 minutes).
Checking for Doneness
You need to know when to stop. There are three ways to check:
The meat thermometer method: Insert a meat thermometer into the thickest part without touching bone. It should read 165°F (74°C). This is the most reliable way and takes the guesswork out completely. If you do chicken tenders in the oven, you’re already used to this temperature target.
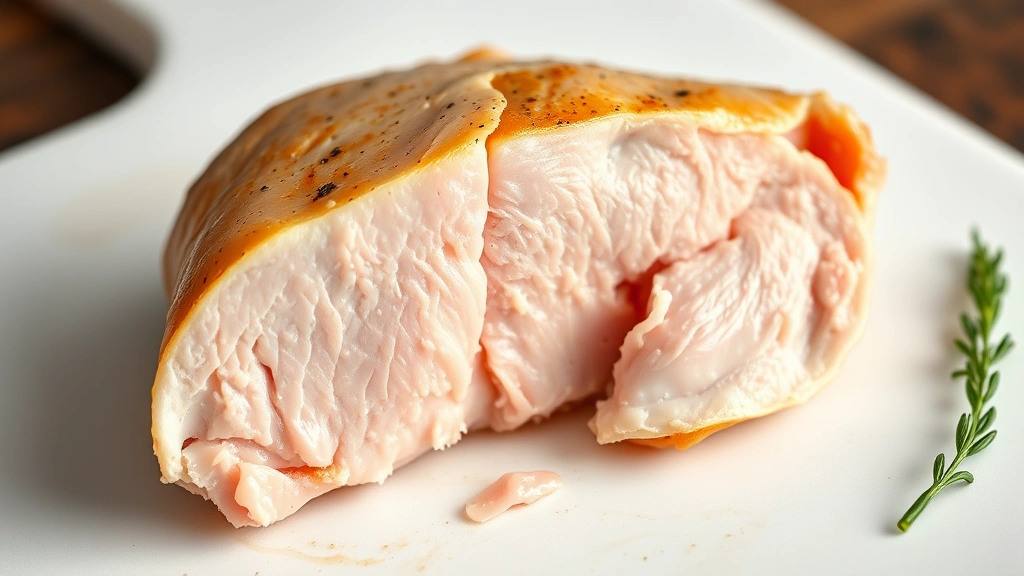
The visual method: Cut into the thickest part. No pink inside means it’s done. The juices should run clear. If you see any pink, simmer another 2-3 minutes and check again.
The texture method: Press the chicken with a fork. Cooked chicken feels firm but not hard. If it’s mushy, it’s overcooked. If it yields easily to pressure, it needs more time.
I recommend using the thermometer for consistency, especially when you’re cooking multiple breasts at once.
Cooling and Storage
What you do after cooking matters as much as the cooking itself.
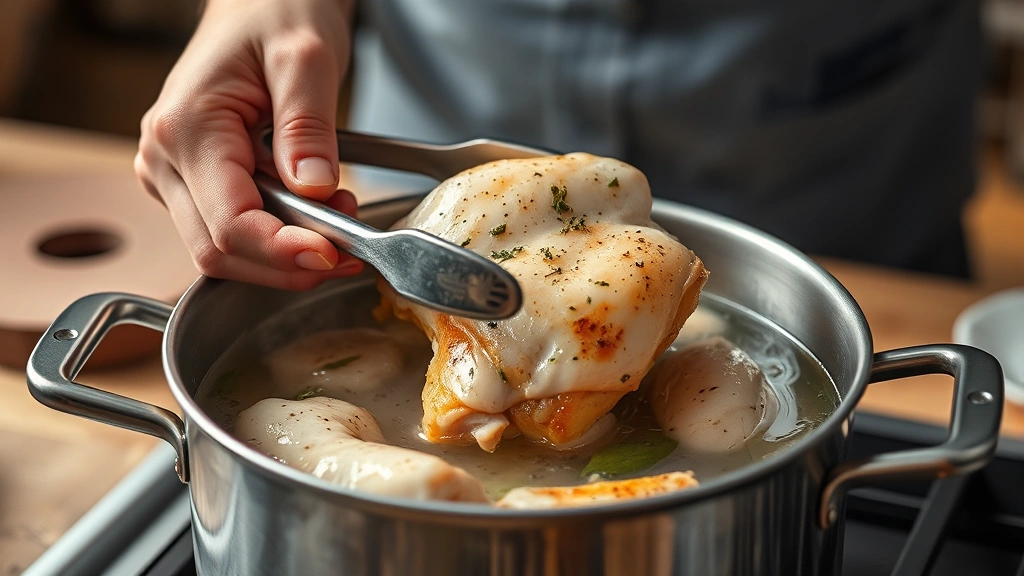
Remove and cool: Use tongs to pull chicken out of the broth. Place it on a cutting board and let it rest for 5 minutes. This allows carryover cooking to finish and lets juices redistribute. Don’t cut into it immediately or you’ll lose all those juices.
Save the broth: Strain the cooking liquid through a fine-mesh strainer. You’ve got homemade chicken broth now. Use it for soups, rice, or store it for later.
Storage options: Cooked chicken keeps in the fridge for 3-4 days in an airtight container. You can also freeze it for up to 3 months. Shred it first if you’re planning to use it in recipes like sloppy joes or chicken salad.
Adding Flavor to Boiled Chicken
Plain boiled chicken is versatile, but sometimes you want more flavor built in. Here are variations that work:
Lemon and herb: Add lemon slices, fresh thyme, and rosemary to the water. This adds brightness without overwhelming the chicken.
Garlic and ginger: Smash several garlic cloves and add 2-3 slices of fresh ginger. Great for Asian-inspired recipes.
Spiced broth: Add turmeric, cumin, and coriander for a curry-friendly version. This is perfect if you’re planning to pair it with steamed broccoli and rice.
Broth-based: Replace some water with store-bought chicken broth instead of plain water. This adds depth without extra work.
Don’t go overboard with seasonings in the water—you want to taste the chicken, not overpower it.
Common Mistakes to Avoid
I’ve seen these happen repeatedly, and they all result in disappointing chicken:
Skipping the salt: Pre-salting the chicken makes a massive difference in final texture and taste. It’s not just about flavor; it’s about moisture retention at the cellular level.
Boiling too aggressively: A rolling boil breaks down muscle fibers and makes chicken tough and stringy. Gentle simmer is your friend.
Cooking without a timer: Eyeballing it doesn’t work. Even experienced cooks use timers. Overcooked chicken is dry and disappointing.
Not checking thickness: Uneven breasts cook unevenly. Spend 30 seconds pounding them flat. It’s worth it.
Skipping the rest period: Five minutes of rest after cooking lets carryover cooking finish and allows juices to reabsorb into the meat. Skip this and you get dry chicken even if you nailed the cooking.
Cooking from frozen: Thaw completely first. Frozen chicken takes 50% longer and cooks unevenly.
Frequently Asked Questions
Can I boil chicken breasts from frozen?
Technically yes, but don’t. Frozen chicken takes much longer (30-40 minutes) and cooks unevenly. The outside can be overdone while the inside is still raw. Thaw in the fridge overnight instead.
Why is my boiled chicken tough and rubbery?
Three reasons: you’re boiling too aggressively (use a gentle simmer), you’re cooking too long (check at the lower end of the timing range), or you’re not pre-salting (salt at least 15 minutes before cooking). Any of these alone will ruin the texture.
How much water should I use?
Enough to cover the chicken by about an inch. Too little and it boils away; too much wastes energy and takes longer to heat up. A good rule: use enough water that the chicken can float slightly and move around.
Can I add salt directly to the boiling water?
You can, but pre-salting the chicken directly is better. It allows salt to penetrate the meat before cooking starts. If you’re adding salt to the water, use about 1 tablespoon per quart.
What’s the difference between boiling and poaching?
Boiling uses a full rolling boil; poaching uses gentle simmering water, often with added broth or wine. For chicken breasts, poaching produces slightly more tender results, but boiling works fine if you keep the heat at a gentle simmer.
Can I reuse the cooking broth?
Absolutely. Strain it and use it for soups, rice, or store it in the fridge for 3-4 days or frozen for up to 3 months. It’s liquid gold for cooking.
Should I cover the pot while boiling?
Cover it while bringing to a boil to speed things up, then remove the lid once it reaches a simmer. Keeping the lid on during cooking can make the water too turbulent.
Can I boil chicken breasts with the skin on?
Yes. Skin-on breasts take 2-3 minutes longer but stay more moist. The skin also adds flavor. Just make sure timing accounts for the extra thickness.
Wrapping It Up
Boiling chicken breasts isn’t complicated, but it does require attention to detail. Pre-salt your chicken, use even-thickness pieces, maintain a gentle simmer, and watch your timing. Do those four things and you’ll have perfectly cooked, juicy chicken every single time. It’s the foundation for meal prep, salads, soups, and countless other dishes. Once you master this, you’ll find yourself boiling chicken regularly because it’s fast, reliable, and produces consistently great results. Now get in that kitchen and make some properly cooked chicken.


