
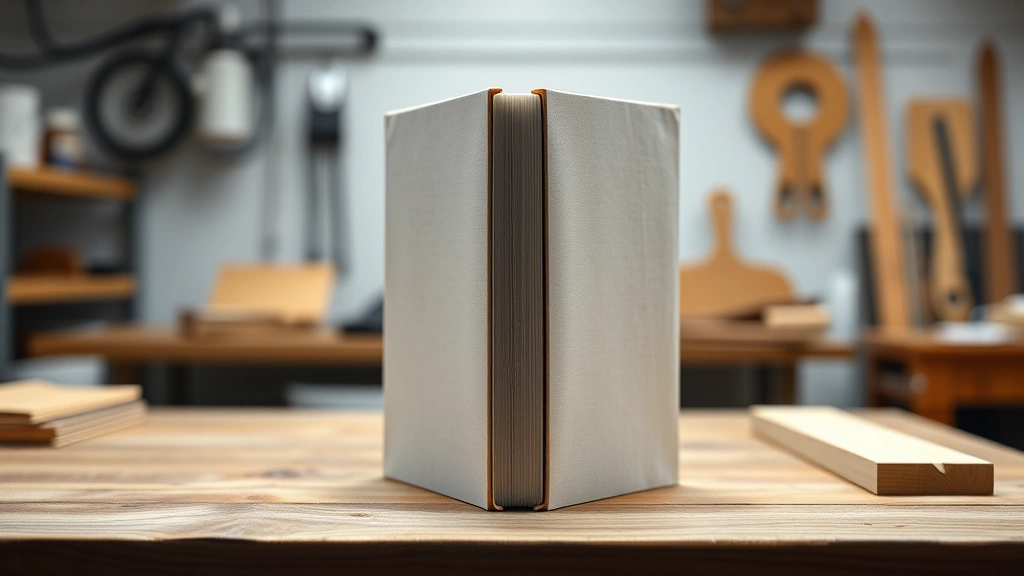
Learning how to bind a book is one of those satisfying DIY skills that turns loose pages into something you actually want to hold and read. Whether you’re preserving family recipes, creating a photo journal, or assembling your own poetry collection, book binding doesn’t require fancy equipment or years of training. I’m going to walk you through five practical methods that range from super simple to slightly more involved—pick whichever fits your skill level and what you’ve got lying around the workshop.
Table of Contents
Saddle Stitch Binding
Saddle stitch is the easiest entry point for book binding—it’s what they use on magazines and thin brochures. You’re basically folding pages in half and stitching through the spine. Start by arranging your pages in order, then fold the entire stack in half lengthwise. Use a ruler to mark where you want your stitches (typically three holes: top, middle, bottom). Poke holes through the fold with a bone folder or awl, then thread a needle and stitch from the inside out, then back in, creating that classic binding look. This method works best for projects under 50 pages because thicker stacks get unwieldy. The beauty here is you need almost nothing: paper, thread, needle, and maybe 20 minutes of your time.
Spiral Binding Method
If you want something that looks more professional and lasts longer, spiral binding is your answer. You’ll need a spiral binding machine (they’re cheap online, around $20-40) and spiral coils in various sizes. First, punch holes along the spine of your pages using the machine’s punch guides. The spacing matters here—follow your machine’s specifications. Then insert the spiral coil through all the holes, starting at one end and rotating it until it’s fully threaded. Crimp the ends with the machine’s crimping tool. The result is durable, lies flat when open, and looks genuinely bookstore-quality. This method handles thick projects beautifully and the coils come in fun colors if you want to get creative.
Comb Binding Basics
Comb binding is similar to spiral binding but uses plastic combs instead of coils. It’s slightly faster and the combs are usually cheaper. Punch your holes using a comb binding punch machine, then open the comb and slide it through the holes. The advantage here is you can easily add or remove pages later—just open the comb back up. I use this method for project documentation and recipe collections because life happens and you might want to swap things around. The finished product feels professional without being fussy. Make sure your punch depth matches your comb size, or you’ll end up with misaligned holes and a frustrating experience.
Perfect Binding Technique
Perfect binding is what you see on paperback novels—pages glued directly to the spine. This method requires book binding glue (also called PVA or hot melt glue), a bone folder, and patience. Stack your pages and clamp them tight in a vise or with C-clamps. Score the spine edge lightly with a bone folder to roughen it, then apply your binding glue evenly along the spine. Press your cover material (cardstock or book cloth) firmly into the glue and hold it for a minute. Once dry, you’ve got a legitimate-looking bound book. The tricky part is getting even glue coverage and letting it cure properly—rushing this step means pages falling out later. This technique works great for portfolios, photo books, and finished manuscripts.
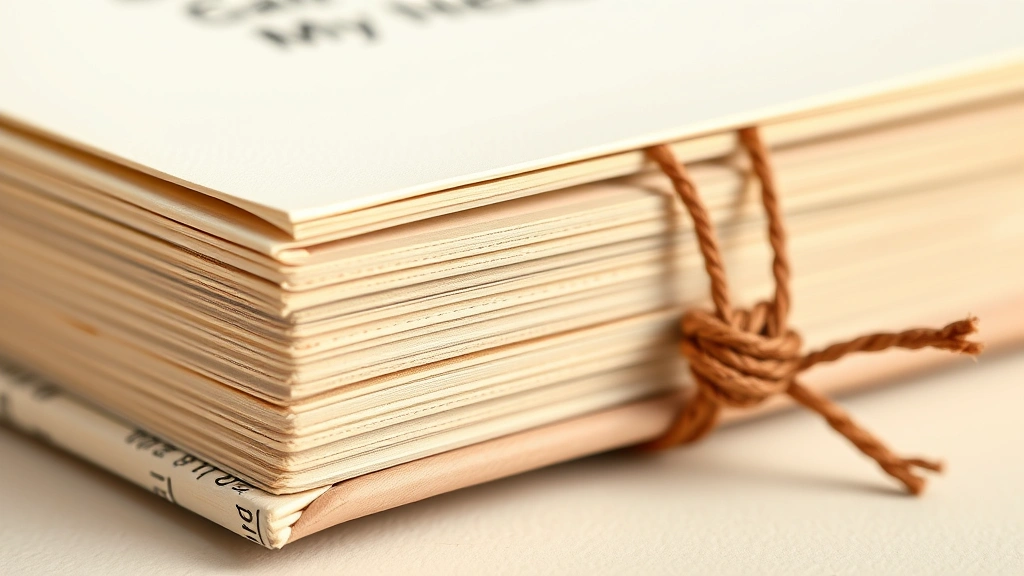
Japanese Stab Binding
Japanese stab binding is the artistic cousin in the binding family. It’s decorative, distinctive, and honestly kind of meditative to execute. Stack your pages and drill or punch four holes along one edge (not the spine—the side). Thread decorative cord or thread through the holes in a pattern, creating visible stitching on the outside. You can use contrasting colors to make it really pop. This method works beautifully for art books, guest books, or anything where you want the binding to be a design feature. There’s no “wrong” pattern—experiment and make it your own. It’s slower than other methods but the finished product looks handmade in the best possible way.
Materials and Tools Needed
Before you start any binding project, gather your supplies. For basic methods, you need: paper or pages (obviously), thread or cord, a needle, scissors, and a ruler. For more advanced work, add a bone folder (or use a butter knife), an awl or hole punch, and potentially a cutting mat and X-Acto knife for trimming. If you’re going mechanical, you’ll want a spiral or comb binding machine. For perfect binding, grab book binding glue, a brush or applicator, and clamps. The good news? Most of this stuff is reusable across multiple projects. I keep my binding supplies in a small box and pull it out whenever I need it. Check out resources like Family Handyman for tool recommendations if you’re unsure about quality.
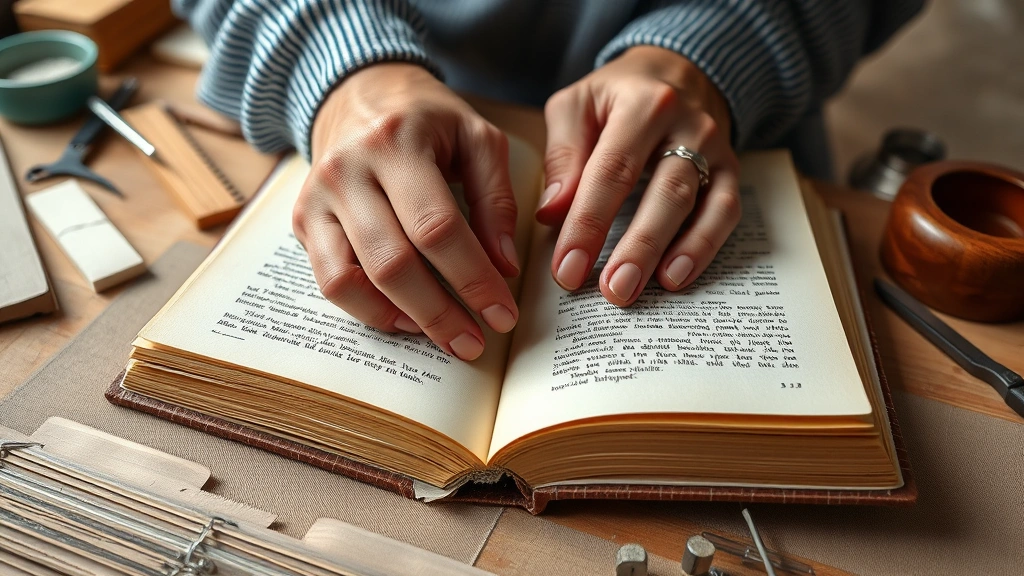
Preparing Your Pages
Success in book binding starts before you ever touch the binding materials. Print or prepare all your pages first, then trim them to uniform size using a paper cutter or sharp knife against a straightedge. Uneven pages make binding look sloppy. Arrange pages in the correct order—seriously, double-check this. I once bound 40 pages only to discover they were backwards. Stack them neatly and weight them down while you work. If you’re using heavier paper or cardstock, consider scoring the fold line with a bone folder before binding—this prevents cracking and makes everything fold cleaner. For spiral or comb binding, make sure your punch alignment is perfect before you commit to holes.
Common Mistakes to Avoid
The most common mistake is rushing the gluing stage in perfect binding. Patience pays off here—let that glue set properly. Another killer is misaligning holes in mechanical binding. Mark your punch positions clearly before committing. Don’t skimp on thread or binding materials either; cheap thread breaks and flimsy glue fails. I’ve also seen people bind pages that aren’t quite dry from printing, which causes warping. Let everything settle for at least an hour before binding. Finally, don’t over-tighten clamps or vises—you’ll warp your pages or crush the spine. Firm pressure is enough. Check out This Old House for more detailed craft guidance if you hit snags.
Adding Finishing Touches
Once your binding is set, the finishing details make it shine. Trim any excess glue or thread. If you’re using covers, add a title page or cover art. Consider a dust jacket for a really polished look. Emboss or stamp your name on the spine if you’re feeling fancy. These touches transform a functional bound book into something you’re proud to display. I like adding a decorative bookmark or a ribbon attached to the spine—it’s functional and looks great. If you made it as a gift, a personalized inscription on the inside cover is the perfect finishing move.
Frequently Asked Questions
What’s the easiest binding method for a complete beginner?
Saddle stitch is your best starting point. You literally just need thread, a needle, and pages. No machines, no special tools. It takes 20 minutes and teaches you the fundamentals.
Can I bind a book with over 100 pages?
Absolutely, but use spiral or comb binding instead of saddle stitch. Perfect binding also works for thick books if you’re patient with the glue. Saddle stitch gets physically awkward past 50 pages.
How much does it cost to bind a book at home?
Saddle stitch costs almost nothing if you have thread and needle already. Spiral binding machines start around $25-40. Comb binding is similar. Perfect binding requires glue (cheap) and clamps (you probably have these). Budget $5-50 depending on method.
Will my bound book last long?
Quality binding lasts years. Saddle stitch is fine for lightweight use. Spiral and comb binding handle heavy use. Perfect binding with good glue is genuinely durable. Japanese stab binding depends on your cord quality but can last decades.
Can I add pages to a bound book later?
Comb and spiral binding, yes—just open the coil or comb. Saddle stitch, no—you’d have to rebind. Perfect binding and Japanese stab binding, no. Plan ahead if you think you’ll add content.
What paper weight works best?
Standard 20-24 lb copy paper works great for most methods. Heavier cardstock (65-110 lb) is better for covers. For Japanese stab binding, lighter paper actually looks more elegant.
Do I need special glue for book binding?
PVA (polyvinyl acetate) or hot melt book binding glue is ideal, but white craft glue works in a pinch. Just apply it thin and let it cure fully. Avoid super glue—it’s too brittle.


