
Learning how to beat your meat is one of the most practical skills you can master in the kitchen. Whether you’re working with chicken breasts, beef cutlets, or pork chops, proper meat tenderizing transforms tough cuts into tender, juicy meals that cook evenly and taste amazing. This isn’t just about brute force—it’s about understanding the science behind breaking down muscle fibers and connective tissue to create restaurant-quality results at home.
Table of Contents
Why Beat Your Meat?
The primary reason to beat meat is to break down the muscle fibers and connective tissue that make tougher cuts chewy and difficult to eat. When you pound meat with force, you’re physically disrupting the protein structure, which accomplishes several things: it reduces cooking time, promotes even cooking throughout the piece, and creates a more tender final product. This technique is especially valuable when you’re working with frozen chicken that you’ve thawed, as the texture can be uneven.
Beyond tenderness, beating meat also helps it cook faster and more evenly. Thinner, more uniform pieces of meat reach the target temperature simultaneously, eliminating the problem of dried-out edges and undercooked centers. Plus, flattened meat absorbs marinades and seasonings more effectively, giving you deeper flavor throughout.
Tools You’ll Need
You don’t need fancy equipment to beat meat effectively. The most common tool is a meat mallet, which typically has a flat side and a textured side. The flat side is for general pounding, while the textured side (with little pyramids or dimples) creates more aggressive fiber breakdown. You can find quality meat mallets at any kitchen supply store or online.
If you don’t have a meat mallet, improvise with what you have: a rolling pin works surprisingly well, the bottom of a heavy skillet does the job, or even a wine bottle in a pinch. The key is using something with enough weight and a flat surface. Some people prefer wooden mallets for gentler work, while cast iron mallets deliver more force for tougher cuts.
Proper Beating Technique
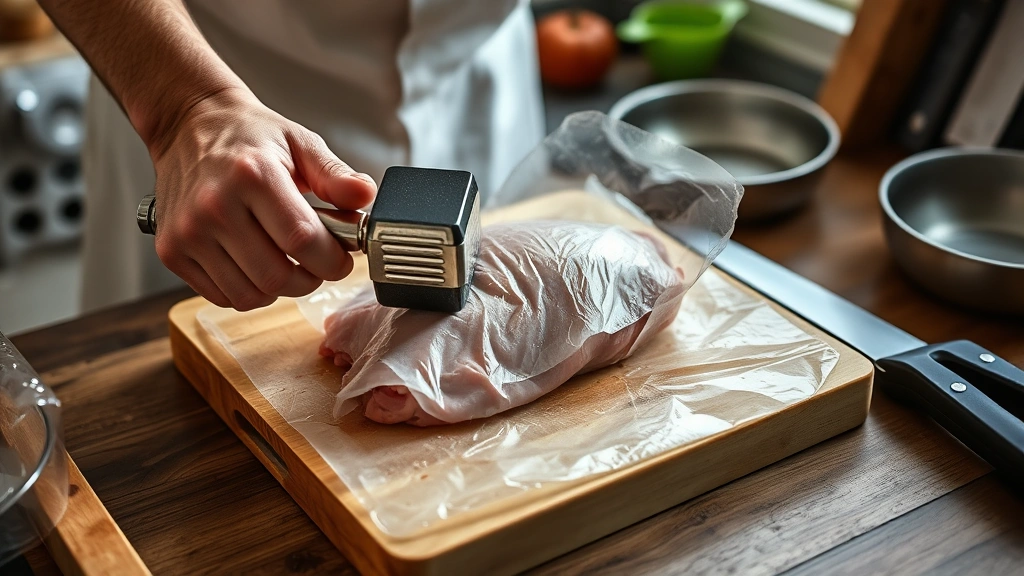
Start by placing your meat between two pieces of plastic wrap or in a plastic bag. This prevents splatter and keeps your workspace clean. Position the meat on a cutting board or sturdy work surface. Hold the mallet firmly and use controlled, moderate strikes rather than wild swinging. The goal is consistent, even pressure across the entire piece.
Work from the center outward, overlapping your strikes slightly to ensure uniform thickness. You’re not trying to pulverize the meat into submission—you’re methodically breaking down the structure. For chicken breasts, typically 10-15 good strikes per side will do the trick. For tougher cuts like beef round steak, you might need 20-30 strikes. The meat should increase in size slightly and feel noticeably softer when you’re done.
Pay special attention to thicker sections. If your piece is uneven, focus more strikes on the thicker areas to create uniform thickness. This ensures even cooking when you eventually cook your meat on the grill or stovetop. The plastic wrap or bag is essential—it keeps raw meat contained and makes cleanup effortless.
Different Meats, Different Approaches
Chicken breasts benefit tremendously from beating. These lean pieces are naturally prone to drying out, and flattening them to uniform thickness solves this problem. Use moderate force with the flat side of your mallet, aiming for about half-inch thickness for most recipes.
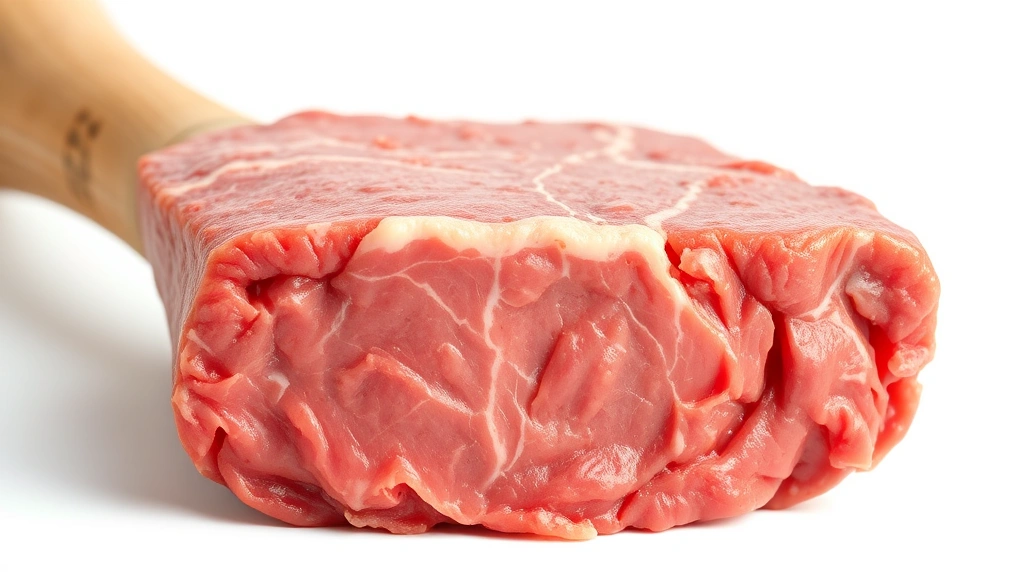
Beef cuts like round steak, flank steak, or cube steak actually need the textured side of the mallet. These tougher cuts have more connective tissue, so the aggressive pyramids help break things down more effectively. Use firm, deliberate strikes and don’t be afraid to really work the meat.
Pork chops and pork cutlets respond well to moderate beating with the flat side. Pork is generally more tender than beef but tougher than chicken, so find the middle ground. Turkey cutlets follow the same approach as chicken—gentle to moderate force with the flat side.
Veal and lamb are naturally tender, so if you beat them at all, use very light pressure with the flat side. You’re just aiming for uniform thickness, not aggressive tenderizing. Venison and other game meats benefit from more aggressive beating due to their denser muscle structure.
Common Mistakes to Avoid
The biggest mistake people make is beating too aggressively, which can turn meat into mush and destroy its texture. Remember, you’re not trying to destroy the meat—you’re conditioning it. Moderate, controlled strikes are far more effective than wild swinging.
Another common error is uneven beating. If you focus all your effort on one area and ignore others, you’ll end up with inconsistent thickness and uneven cooking. Work systematically across the entire piece, overlapping your strikes slightly.
Don’t forget the plastic wrap or bag. Beating meat without protection creates a mess and risks cross-contamination in your kitchen. Raw meat splatter is a food safety hazard you want to avoid entirely.
Avoid beating meat that’s too cold. If it’s straight from the freezer, let it thaw first. Cold meat is harder and less responsive to beating. Room temperature or slightly cool meat (not cold) tenderizes more effectively.
Alternative Tenderizing Methods
If you don’t have a mallet or prefer other approaches, enzymatic tenderizers work well. These products contain natural enzymes from pineapple, papaya, or kiwi that break down proteins. Simply rub them on the meat and let them work for 30 minutes to a few hours depending on the product instructions.
Marinating in acidic liquids—vinegar, citrus juice, or buttermilk—also tenderizes meat over time. The acid denatures proteins and breaks down connective tissue. This method takes longer (4-24 hours depending on the acid strength and meat thickness) but requires no physical effort.
Salt-curing is another technique. Salting meat 40 minutes to overnight before cooking allows salt to penetrate and break down proteins from within. This works on a cellular level and pairs well with beating for maximum tenderness.
Slow cooking with moist heat (braising, stewing) naturally tenderizes tough cuts without any preparation. The long, gentle heat breaks down collagen into gelatin, making even the toughest cuts fork-tender.
Timing and Storage Tips
Beat your meat as close to cooking time as possible—ideally within an hour. If you beat meat and then refrigerate it for days, the benefits diminish somewhat as the meat’s surface begins to oxidize and dry slightly.
If you need to prep ahead, beat the meat, then immediately wrap it tightly in plastic wrap or place it in an airtight container. Refrigerate until you’re ready to cook, using within 24 hours for best results.
You can freeze beaten meat successfully. Wrap it tightly in plastic wrap, then place it in a freezer bag to prevent freezer burn. When you’re ready to cook, thaw it in the refrigerator overnight rather than at room temperature to maintain food safety.
After beating, your meat is ready for any cooking method. Season it immediately before cooking, or let it rest for 5-10 minutes if you want to marinate it first. The flattened shape means faster cooking times—adjust your recipes accordingly to avoid overcooking.
Recipe Ideas for Tenderized Meat
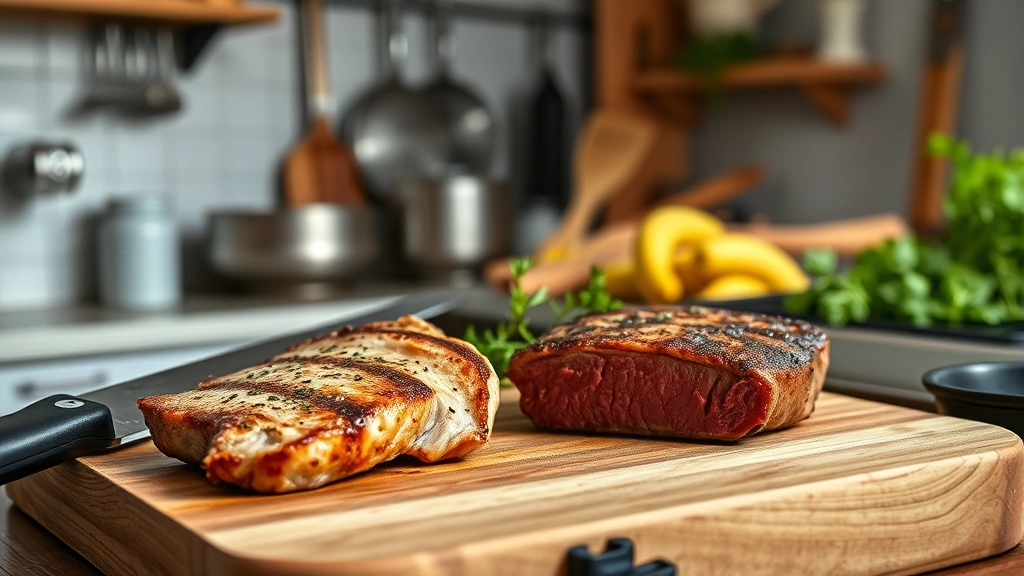
Beaten chicken breasts are perfect for chicken piccata, a classic Italian dish where thin cutlets are breaded and pan-fried. The uniform thickness ensures they cook perfectly in just a few minutes.
Try making homemade schnitzel with pounded pork or veal cutlets. Bread them and fry until golden for a crispy, tender result that rivals any restaurant version. Serve alongside steamed broccoli or balsamic brussels sprouts for a complete meal.
Beef cutlets beaten thin are excellent for chicken-fried steak, a Southern comfort food classic. Pound them until they’re very thin, bread them, and fry until crispy. Serve with creamy gravy.
Tenderized pork chops work beautifully in quick weeknight stir-fries or as the base for stuffed pork chops. Cut a pocket into the flattened chop and stuff with cheese, herbs, or vegetables before cooking.
Create Asian-inspired lettuce wraps with thinly beaten chicken breast. The uniform thickness means it cooks through in minutes, and the tender texture makes it perfect for wrapping.
Frequently Asked Questions
How thin should I beat my meat?
The thickness depends on the recipe and meat type. For chicken cutlets, aim for about ½ inch thick. For beef or pork cutlets destined for frying, ¼ to ⅜ inch is ideal. For general tenderizing without flattening too much, keep it at ⅜ to ½ inch. The goal is uniform thickness, not paper-thin.
Can I beat meat that’s been marinating?
Yes, but it’s easier to beat meat before marinating. If you want to beat marinated meat, pat it dry first with paper towels to prevent slipping. The marinade won’t affect the beating process, but dry meat is easier to control.
Does beating meat affect food safety?
Properly done, beating doesn’t compromise food safety. The plastic wrap barrier prevents cross-contamination. Any bacteria on the surface are killed during cooking regardless of whether the meat was beaten. Just follow normal food safety practices: wash your hands, sanitize surfaces, and cook meat to proper temperatures.
Is a meat mallet worth buying?
If you cook meat regularly, absolutely. A good meat mallet costs $10-20 and lasts for years. It makes the job easier and more effective than improvised tools. It’s one of those small kitchen investments that pays dividends in cooking quality and consistency.
Can I beat frozen meat?
No, frozen meat is too hard and won’t respond properly to beating. Always thaw meat completely first. Use proper thawing methods in the refrigerator (safest) or in cold water, then pat dry before beating.
How long can I keep beaten meat before cooking?
Ideally, cook beaten meat within an hour of preparation. If you must store it longer, refrigerate in an airtight container for up to 24 hours. The sooner you cook it after beating, the better the texture and quality.
Final Thoughts
Mastering how to beat your meat is a fundamental cooking skill that elevates your results immediately. Whether you’re preparing weeknight dinners or special occasion meals, proper meat tenderizing ensures juicy, tender, evenly-cooked results every time. Start with a basic meat mallet, practice the technique with chicken breasts, and soon you’ll be producing restaurant-quality meat dishes at home. The investment in learning this skill—and potentially purchasing a simple tool—pays dividends in every meal you prepare. Your family will notice the difference in texture and quality, and you’ll gain confidence in the kitchen knowing you’ve mastered one of cooking’s essential techniques.


