
Learning how to bake chicken wings in the oven is one of those kitchen skills that’ll change your game forever—seriously, once you nail this technique, you’ll never order wings out again. The secret isn’t some complicated recipe or fancy equipment; it’s about understanding the fundamentals of heat, timing, and prep work. I’ve spent years perfecting this method, and I’m going to walk you through exactly what works.
Table of Contents
Prep Your Wings Right
Start by patting your chicken wings completely dry with paper towels—this is non-negotiable. Moisture is the enemy of crispiness, so don’t skip this step. If your wings are frozen, you’ll want to know how long it takes chicken to thaw properly before cooking. Thaw them in the refrigerator overnight, not on the counter. Once thawed and dried, separate the flats from the drumettes if they’re still attached. Some people like to trim the wing tips off and save them for stock—that’s a pro move right there.
Arrange your prepped wings on a large cutting board and give them a quick inspection. You’re looking for any remaining moisture or stubborn feathers. Pat them down one more time if needed. The drier your wings are at this stage, the crispier they’ll be when they come out of the oven. I usually let them sit uncovered on a plate in the fridge for 30 minutes before seasoning to help them dry out even more.
Seasoning Secrets That Work
Here’s where most people mess up: they underseason their wings. Don’t be shy with the salt and pepper. I use a ratio of about 1.5 teaspoons of kosher salt per pound of wings, plus freshly cracked black pepper. Mix in your seasonings in a small bowl first, then sprinkle them evenly over all the wings, making sure to coat both sides and get into the crevices.
If you want to get fancy, create a dry rub with garlic powder, paprika, onion powder, and a pinch of cayenne. The beauty of baking wings is that you can customize the seasoning to match whatever sauce you’re planning to use. For buffalo-style wings, keep it simple with just salt and pepper. For Asian-inspired wings, add some five-spice powder and ginger to your dry rub. The key is building flavor layers before the wings even hit the oven.
Oven Temperature & Timing
Preheat your oven to 250°F for the first phase. I know that sounds low, but trust me—this initial low-temperature phase renders out the fat without drying out the meat. Place your seasoned wings on a wire rack set over a baking sheet (the rack is crucial; it allows air to circulate underneath). Bake at 250°F for 30 minutes. During this time, the wings will release their fat and start to cook through gently.
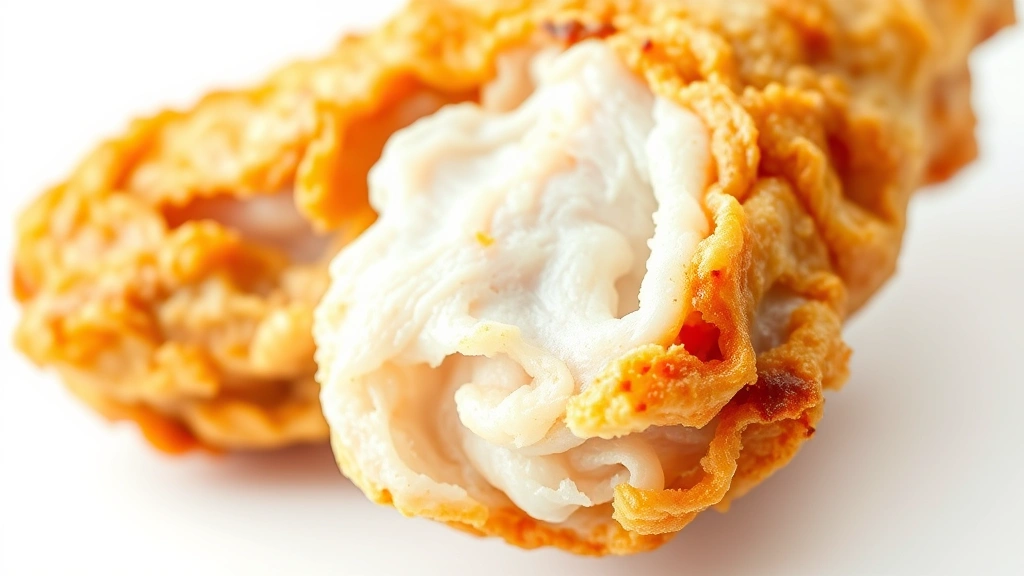
After 30 minutes, increase the oven temperature to 425°F and bake for another 40-50 minutes until the wings are golden brown and crispy. This two-stage cooking method is the game-changer that separates restaurant-quality wings from mediocre ones. The low-temperature start keeps the meat juicy while the high-temperature finish crisps up the skin perfectly. You’ll know they’re done when the skin is deeply browned and pulls away slightly from the bone.
The Crispy Factor
Achieving that crispy exterior is all about surface moisture and airflow. The wire rack is absolutely essential—never bake wings directly on a sheet pan. The rack allows hot air to circulate completely around each wing. If you don’t have a proper wire rack, create one by crumpling aluminum foil into balls and arranging them on your baking sheet, then setting a smaller cooling rack on top.
Another trick: after the initial 30 minutes at 250°F, flip each wing over before cranking up the heat. This ensures both sides get equal exposure to the higher temperature. Some people like to toss the wings halfway through the 425°F phase, but I find flipping them once at the temperature change works just fine. The skin should be crackling and pulling away from the bone slightly—that’s your visual cue that they’re properly crispy.
Sauce Application Methods
If you’re making sauced wings, here’s the timing: remove the wings from the oven when they’re fully cooked and crispy, then let them cool for just 2-3 minutes. Transfer them to a large bowl and pour your sauce over them. Toss gently but thoroughly to coat every wing. The residual heat helps the sauce stick and slightly rehydrate the exterior, creating that signature sticky coating.

For buffalo sauce, combine melted butter with hot sauce in a 1:1 ratio. For barbecue wings, use your favorite BBQ sauce. For Asian-style wings, mix soy sauce, honey, ginger, and garlic. The beauty of oven-baked wings is that they’re sturdy enough to handle wet sauces without falling apart. If you want extra-saucy wings, you can return them to the oven at 375°F for 5 minutes after saucing to help the sauce set.
Advanced Cooking Techniques
Once you’ve mastered the basic method, you can experiment with variations. Some people add a tablespoon of baking powder to their dry rub—it reacts with the heat to create extra crispiness. Make sure it’s aluminum-free baking powder, and use it sparingly (about 1 teaspoon per pound of wings). The science here is that baking powder raises the pH of the chicken skin, allowing it to brown more efficiently.
Another advanced technique is brining your wings before cooking. Dissolve 1/4 cup of salt in 4 cups of water and submerge your wings for 2-4 hours. This seasons the meat throughout and helps it retain moisture. Pat them completely dry after brining before seasoning and cooking. You can also try smoking wings in your oven by placing a smoker box filled with soaked wood chips on your preheated oven rack, though this requires more specialized equipment.
Troubleshooting Common Issues
If your wings come out soggy, you either didn’t dry them properly beforehand or you’re not using a wire rack. Go back to basics: pat them dry, use a rack, and don’t skip the low-temperature phase. If they’re dry and tough, you’ve overcooked them. The 30 minutes at 250°F plus 40-50 minutes at 425°F is the sweet spot; don’t go longer than 55 minutes total at the high temperature.
If your sauce is sliding off the wings, they’re too hot when you apply it. Let them cool for 3-5 minutes before tossing with sauce. If the sauce is burning in the oven, your temperature is too high or you’re cooking them too long after saucing. Keep it at 375°F for that final 5-minute phase, and watch them closely. If wings are sticking to your rack, lightly oil the rack before placing the wings on it.
Serving and Storage
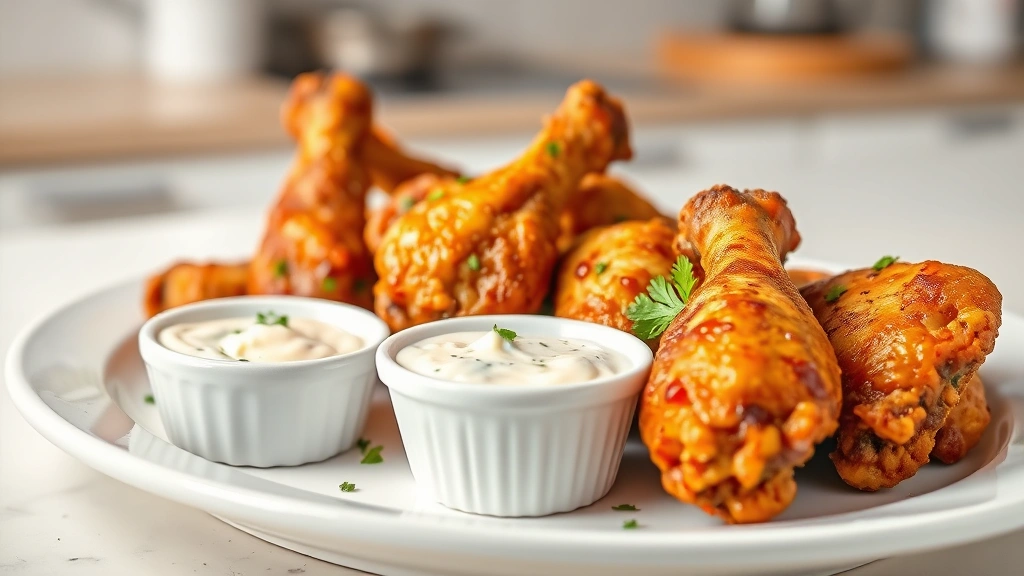
Serve your wings immediately while they’re still warm and crispy. Set up a proper wing-eating station with plenty of napkins, wet wipes, and dipping sauces on the side. Blue cheese dressing and ranch are classics, but don’t sleep on hot honey, sriracha mayo, or even a simple lemon aioli. These wings pair perfectly with healthy dinner recipes for 2 if you’re cooking for a smaller group.
For storage, let the wings cool completely, then transfer them to an airtight container. They’ll keep in the refrigerator for up to 4 days. Reheat them in a 350°F oven for 10-12 minutes to restore the crispiness—the microwave will make them soggy. You can also freeze cooked wings for up to 3 months; just thaw them in the fridge overnight before reheating. These wings are also fantastic for high protein recipes since they’re packed with lean protein.
Frequently Asked Questions
Can I bake wings without a wire rack?
Technically yes, but you won’t get the same crispiness. The rack allows air to circulate underneath the wings, which is essential for that crispy exterior. If you don’t have a rack, create one using crumpled foil or invest in an inexpensive cooling rack.
How long does it take to bake chicken wings?
Total cooking time is approximately 70-80 minutes using the two-stage method: 30 minutes at 250°F followed by 40-50 minutes at 425°F. This timing produces perfectly cooked, crispy wings.
Should I flip the wings during cooking?
I recommend flipping them once when you increase the temperature from 250°F to 425°F. Some people flip them again halfway through the high-temperature phase, but one flip is usually sufficient for even cooking.
What’s the best seasoning for oven-baked wings?
Salt and pepper are the foundation, but you can build from there with garlic powder, paprika, onion powder, or cayenne. The best seasoning depends on what sauce you’re planning to use—keep it simple if you’re going with a bold sauce.
Can I cook wings from frozen?
You can, but I don’t recommend it. Frozen wings take significantly longer to cook and won’t brown as evenly. Thaw your chicken wings in the refrigerator overnight for best results.
How do I know when wings are fully cooked?
Wings are done when the internal temperature reaches 165°F and the skin is deeply browned and crispy. The meat should pull away slightly from the bone, and there should be no pink near the joints.
Can I add sauce before baking?
You can, but you’ll lose crispiness. For maximum crispiness, bake the wings plain and add sauce after cooking. If you must sauce them before baking, do it in the last 5-10 minutes of cooking.
What’s the difference between baked and fried wings?
Fried wings are cooked in oil, which creates a different texture and flavor. Baked wings use dry heat and are healthier, though they require proper technique to achieve similar crispiness. The two-stage method I’ve described gets you very close to fried results without the oil.
Now you’ve got everything you need to make restaurant-quality wings at home. The two-stage cooking method is your secret weapon—it’s not complicated, but it delivers results that’ll impress everyone. Start with proper prep work, nail your seasoning, and don’t skip that wire rack. Before you know it, you’ll be making these wings regularly, and people will be asking you for your secret. Go ahead and give it a shot; I guarantee you’ll be amazed at how crispy and delicious they turn out.


