

Let’s be honest—how to apply eyeliner is one of those skills that looks effortless when someone else does it, then feels impossible when you pick up the pencil. You’re not alone. Shaky hands, uneven lines, and that moment when one eye looks dramatically different from the other? That’s the eyeliner experience for most people. The good news: with the right technique, tools, and a little practice, you can nail this. This guide breaks down everything from choosing the right formula to executing flawless application, whether you’re going for a subtle everyday look or dramatic winged liner.
Choosing the Right Eyeliner Type for Your Needs
Before you even think about application technique, you need to pick the right weapon for the job. There are four main eyeliner formulas, and each one behaves differently. Think of it like choosing between a pencil, pen, and marker—they’re all writing tools, but they perform very differently.
Pencil eyeliners are the most forgiving. They’re soft, blendable, and won’t punish you if your hand shakes. They’re also easier to sharpen and control for beginners. The downside? They smudge faster and fade throughout the day, especially if you have oily lids. A wooden pencil liner from a trusted brand like MAC or Urban Decay will run you $20-30, but drugstore options work fine too.
Liquid eyeliners are the drama queens. They create that bold, crisp line that photographs beautifully and lasts through sweating, crying, and humidity. The tradeoff is precision—you need a steady hand or serious practice. Liquid liners come with felt-tip applicators or brush tips. Felt tips are easier to control; brush tips give you more artistic freedom but require more skill. If you’re new to liquid liner, start with a felt-tip formula.
Gel eyeliners sit in the middle ground. They’re creamier than liquid, easier to apply than pencil, and they last longer than both. You’ll need a brush to apply them (they usually come in a pot), but the payoff is a smooth, buildable line. Gel liners are fantastic for creating softer, more blended looks.
Kohl eyeliners are thick, pigmented pencils that are super creamy. They’re perfect for smudged, smoky looks and work beautifully on the waterline. However, they smudge easily and migrate throughout the day on most skin types.
Pro Tip: If you have oily or combination skin, stick with liquid or waterproof gel liners. If you have dry skin or are learning, pencil or gel liners are more forgiving. Test formulas on your hand first—some brands are drier or creamier than others, and that changes how they apply.
Prep Your Eyes for a Flawless Foundation
This is the step most people skip, and it’s exactly why their eyeliner looks patchy or won’t stay put. Your eyelids are not a flat canvas—they have texture, oils, and dead skin. You need to prepare them like you’d prep a wall before painting.
Start with a clean slate. Wash your face with a gentle cleanser and pat your eyelids dry completely. Moisture is the enemy of eyeliner longevity. If you have any makeup residue from the day before, use a makeup remover first.
Apply eyeshadow primer or concealer. This is non-negotiable if you want your eyeliner to last past lunch. A primer creates a slightly sticky surface that eyeliner clings to. You don’t need much—just a tiny dab on each lid, blended with your finger. Brands like Urban Decay Primer Potion or even a light concealer work. The primer also prevents the oils on your lids from breaking down your eyeliner pigment.
Optional: Set with a light powder. If you have very oily lids, dust a translucent powder over the primer using a fluffy brush. This creates an even more stable surface. Don’t overdo it—you want a light veil, not a cake.
Consider your eyeshadow. If you’re wearing eyeshadow, apply it before your eyeliner. Eyeshadow goes on the lid; eyeliner goes on the lash line. This order prevents you from accidentally smudging your carefully drawn line.
Basic Application Techniques: Where the Magic Happens
Now for the actual how to apply eyeliner part. Let’s start with the fundamentals that work for any formula.
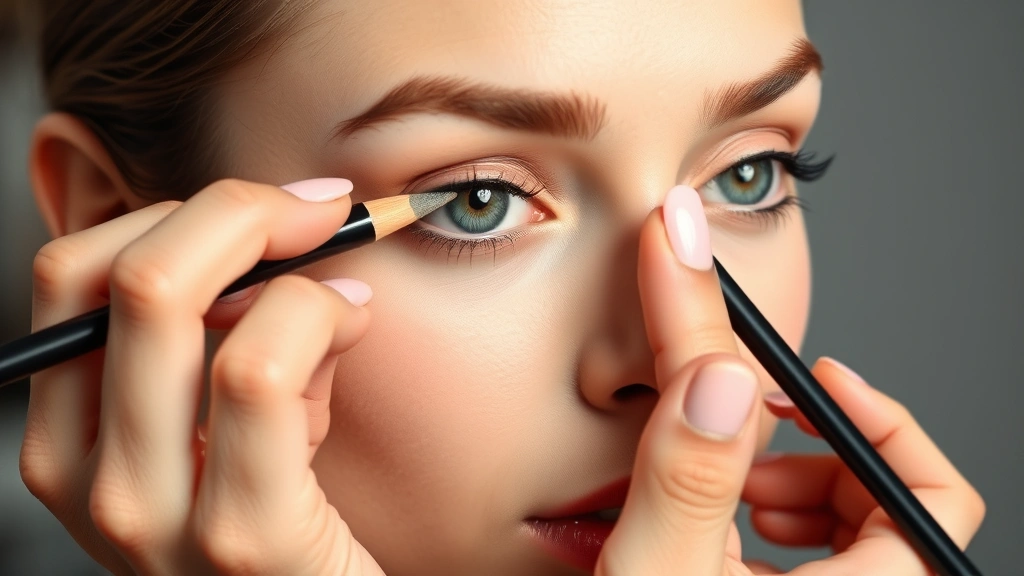
Stabilize your arm and hand. This is the biggest game-changer. Don’t hold your arm in the air like you’re reaching for something. Rest your elbow on a table or counter. Use your non-dominant hand to gently stretch the skin at the outer corner of your eye, pulling it slightly upward and outward. This flattens the lash line and makes it much easier to draw a straight, even line. Your hand should feel supported and stable—like you’re drawing on a piece of paper, not in midair.
Find your lash line. Close your eye and look in the mirror. You should see the line where your lashes emerge from the lid. This is your target. Some people apply liner to the waterline (inside the eye), some to the lash line, and some do both. For beginners, stick to the lash line—it’s more forgiving and looks intentional.
Apply in small sections. Don’t try to draw one long continuous line from inner corner to outer corner. Instead, break it into thirds: inner third, middle, outer third. This gives you better control and lets you adjust as you go. Start at the inner corner with a light hand, then build up the line. You can always add more, but you can’t take it away easily.
Use a tapping motion for pencil liners. Instead of dragging the pencil along your lash line, use small tapping motions. This deposits color more evenly and prevents tugging on the delicate eye area. Think of it like stippling in painting—multiple small touches rather than one long stroke.
Use a smooth, confident stroke for liquid liners. Liquid liner works best with one smooth motion. If you hesitate or stop midway, you’ll get a bump or uneven thickness. Take a breath, position yourself, and draw the line in one fluid movement. If it’s wobbly, that’s okay—you can clean it up with a cotton swab dipped in makeup remover.
Build color gradually. Start with a light line. You can always go darker or thicker on the second pass. This approach prevents you from overshooting and having to start over.
Blend if desired. With pencil or gel liners, you can use a clean, damp brush or your finger to soften the line slightly. This creates a more natural, blended look. For a defined line, skip this step.
Safety Note: Never apply eyeliner to the inner waterline unless you’re using a product specifically formulated for that use. Some formulas contain ingredients that aren’t safe for the eye area. Stick to lash-line application if you’re unsure.
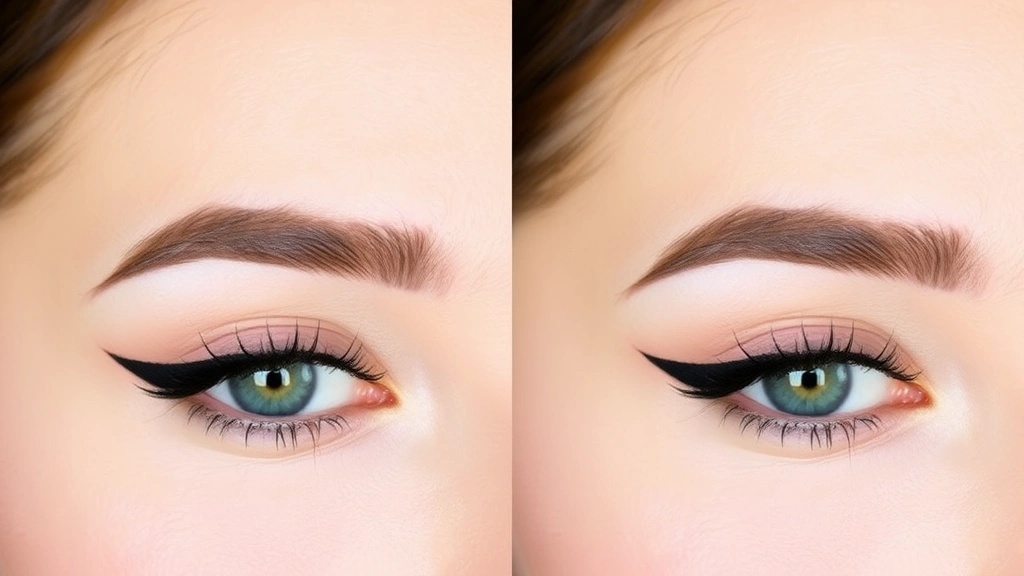
Mastering the Winged Eyeliner (The Intimidating Part)
The winged eyeliner—also called a cat-eye or flick—is the move that separates casual eyeliner users from the confident ones. Here’s the secret: it’s not actually harder than a regular line; it just requires one extra step and a different angle.
Draw your baseline first. Apply eyeliner along your upper lash line as you normally would, from the inner corner to the outer corner. Don’t worry about the wing yet—just focus on a clean, even line.
Determine your wing angle. Look at your eye shape. Your wing should follow the natural angle of your lower lash line. Tilt your head slightly and imagine a line extending from the outer corner of your eye toward your temple. This is your wing direction. For most people, this creates a flattering 45-degree angle, but adjust based on your face.
Draw the wing guideline. Using the same eyeliner, draw a thin line from the outer corner of your eye upward and outward along your determined angle. This is just a guide—it doesn’t need to be perfect. Stop about a quarter-inch to half-inch past your eye, depending on how dramatic you want it.
Connect the wing to your lash line. This is the tricky part. Draw a line from the tip of your wing back down to the outer corner of your lash line, creating a triangle. Then fill in this triangle with eyeliner. Now you have the wing shape defined.
Thicken and refine. Go back over your wing to make it bolder and sharper. Use multiple thin layers rather than one thick application—this gives you better control and a cleaner edge. If you’re using liquid liner, let each layer dry slightly before adding the next.
Clean up the edges. Use a cotton swab dipped in makeup remover or micellar water to clean up any wobbly edges. This is where your wing goes from “pretty good” to “actually flawless.” Take your time here.
Pro move: Use tape. If you’re still struggling with symmetry, try using a small piece of tape (like scotch tape or painter’s tape) as a guide. Place it at an angle from the outer corner of your eye toward your temple, then draw your wing along the tape edge. Remove the tape carefully. This sounds like cheating, but professional makeup artists use this trick all the time.
Common Mistakes and How to Fix Them
Even experienced people mess up eyeliner application sometimes. Here’s what goes wrong and how to recover.
Uneven lines (one thicker than the other). This usually happens because you’re applying different pressure to each eye or because one eye is slightly different from the other. Solution: Use the thicker line as your guide and build up the thinner line to match it. Remember, your eyes are not identical—a tiny difference is normal and actually more natural-looking.
Shaky, wobbly lines. Your hand isn’t steady enough or you’re not supported. Solution: Rest your elbow on the counter and use your other hand to stabilize your eyelid. Take breaks if your hand gets tired. Practice with a pencil liner first—it’s more forgiving than liquid.
Eyeliner that smudges or migrates. You’re either not using primer, or your formula isn’t waterproof enough for your skin type. Solution: Always use primer. If you have very oily lids, switch to a waterproof liquid or gel formula. Some pencil liners are more smudge-proof than others—experiment with different brands.
Eyeliner that flakes or cracks. The formula might be too dry, or you’re applying it too thickly. Solution: Try a creamier formula. If you’re using liquid liner, don’t apply it so heavily—build it up with thin layers instead.
Eyeliner that won’t blend. You’re either using a formula that’s not meant to blend (like some liquid liners), or your brush is too dry. Solution: Use a damp brush for blending. If you want a blendable eyeliner, choose pencil or gel formulas.
Difficulty applying to the waterline. The waterline is wet and slippery. Solution: Use a waterproof kohl pencil, which is creamier and adheres better. Pat the area dry with a tissue first. This is optional—many people skip waterline application entirely and still look great.
Eyeliner Techniques for Different Eye Shapes
Your eye shape determines which eyeliner styles will look best on you. This isn’t about “rules” you have to follow—it’s about understanding what angles and placements are most flattering for your unique features.
Almond eyes. You’re lucky—almost any eyeliner style works. Try a classic line along the lash line, or experiment with winged liner. You can also go bold with a graphic or double-liner look.
Round eyes. Elongate them by extending your eyeliner slightly past the outer corner (hello, wing). Avoid heavy eyeliner on the inner corner, which can make eyes look even rounder. Focus the thickness on the outer two-thirds of your eye.
Hooded or monolid eyes. Apply eyeliner thickly along the visible lash line. You might not see much of your eyeliner when your eyes are open due to the hood, so go bolder than you think you need to. Some people with hooded eyes prefer a thicker wing that’s visible when the eye is open.
Downturned eyes. Lift the eye by angling your wing upward more dramatically than you would for other eye shapes. Avoid heavy eyeliner on the lower lash line, which can emphasize the downward angle. Keep the inner corner lighter.
Upturned eyes. You can go heavier on the outer corner without it looking exaggerated. A subtle wing or even a graphic liner style complements this shape beautifully.
Close-set eyes. Start your eyeliner slightly away from the inner corner (leave a tiny gap) to create the illusion of more space between your eyes. Make your wing more dramatic to draw attention outward.
Wide-set eyes. Bring your eyeliner all the way to the inner corner and even slightly onto the inner lid to create the illusion of eyes that are closer together. Keep your wing more subtle.
Making Your Eyeliner Last All Day (And Removing It Properly)
A beautiful eyeliner line is only great if it lasts. Here’s how to maximize longevity and protect your eye health.
Use primer—seriously. We mentioned this before, but it’s worth repeating. Eyeshadow primer or a light concealer under your eyeliner increases wear time by hours. This is the single biggest factor in whether your liner stays put.
Set with powder if you have oily lids. A light dusting of translucent powder over your primer creates an extra-stable base. This is especially important if you’re wearing liquid eyeliner.
Choose waterproof formulas if you’ll be sweating, swimming, or crying. Waterproof doesn’t mean it won’t budge at all, but it significantly increases longevity. Keep in mind that waterproof formulas are harder to remove, so you’ll need a proper makeup remover.
Avoid touching or rubbing your eyes. This is the fastest way to smudge your eyeliner. If you wear contacts, insert them before applying eyeliner. If you need to rub your eyes, do it gently and try not to disturb the liner.
Blot, don’t wipe. If you get a little oil or sweat on your eyeliner, blot it away with a tissue. Wiping will smudge it.
Remove eyeliner properly every night. Use a proper makeup remover—micellar water, oil-based remover, or a dedicated eye makeup remover. According to the American Academy of Ophthalmology, leaving makeup on overnight can cause eye infections and irritation. Apply the remover to a cotton pad, hold it against your closed eye for a few seconds to let it dissolve the liner, then gently wipe away. Never scrub or tug.
Don’t share eyeliner. Eyeliner that touches the eye area can harbor bacteria. Sharing increases infection risk. This is especially important for waterline application.
Pro Tip: Keep a makeup remover pen or cotton swabs dipped in remover in your bag for touch-ups throughout the day. If your eyeliner smudges, you can clean it up quickly without removing everything and starting over.
Frequently Asked Questions
What’s the best eyeliner for beginners?
– Pencil eyeliner is the most forgiving for beginners. Look for a soft, creamy formula (not a hard, waxy one) that glides smoothly without tugging. Brands like Maybelline, NYX, and Rimmel make affordable, beginner-friendly pencil liners. Practice with pencil first, then move to liquid or gel once you feel confident.
How do I apply eyeliner to hooded eyes?
– With hooded eyes, apply your eyeliner thickly along the visible lash line. You can also try lifting the hood slightly with your finger to see the full lash line while applying. Since much of your eyeliner won’t be visible when your eyes are open, go bolder than you would with other eye shapes. A thicker wing that extends upward can be very flattering.
Why does my eyeliner smudge even with primer?
– You might be using a formula that’s not waterproof or durable enough for your skin type. If you have very oily lids, switch to a waterproof liquid or gel liner. Also check that you’re using primer correctly—it should be a thin layer, not a thick one. Too much primer can actually make things slippery. Finally, make sure you’re not touching your eyes or rubbing them throughout the day.
Can I wear eyeliner on my waterline?
– Yes, but only with a product specifically formulated for waterline use. Waterline eyeliners are usually kohl pencils that are creamy and cling to wet skin. Never use a regular eyeliner on your waterline, as it may contain ingredients not approved for that use. If you’re unsure, stick to lash-line application.
How do I fix eyeliner mistakes?
– For small mistakes, use a cotton swab dipped in makeup remover to gently erase the error. For larger mistakes, you might need to remove the entire eyeliner and start over. This is less frustrating if you keep makeup remover and cotton swabs nearby while applying. Some people use tape as a guide to prevent mistakes in the first place.
What’s the difference between eyeliner and kohl?
– Kohl is a specific type of eyeliner—a thick, creamy pencil that’s highly pigmented and easily blendable. All kohls are eyeliners, but not all eyeliners are kohls. Kohl is best for smudged, smoky looks and waterline application. Regular eyeliners include pencils, liquids, and gels that might be harder or more precise.
How often should I replace my eyeliner?
– Pencil eyeliners last about 2-3 years if stored properly. Liquid and gel eyeliners in pots last about 6-12 months once opened. If your eyeliner starts to smell strange, looks dried out, or causes irritation, throw it away. Never use expired eye products, as bacteria can grow in them.
Is it bad to wear eyeliner every day?
– Wearing eyeliner every day is fine as long as you remove it properly every night and keep your eyeliners clean. Don’t share eyeliners, and replace them regularly. If you experience any redness, itching, or irritation, take a break and see an eye doctor. For more information on eye health and makeup, check out the American Academy of Ophthalmology’s eye health resources.
What’s the best way to sharpen a pencil eyeliner?
– Use a pencil sharpener designed for makeup, not a regular pencil sharpener. Makeup pencil sharpeners have a slightly different blade angle that prevents the pencil from breaking or crumbling. Sharpen in short, gentle twists rather than aggressive ones. If your pencil keeps breaking, it might be too soft or too cold—try warming it up slightly before sharpening.


