How to Add Table of Contents in Word: Easy & Essential Guide

A professional document needs organization, and knowing how to add table of contents in Word is essential for anyone creating lengthy reports, theses, or manuals. A table of contents (TOC) automatically generates a clickable roadmap of your document’s structure, saving you time and impressing readers with polished formatting. Whether you’re working on a 5-page proposal or a 200-page dissertation, mastering this skill transforms your Word documents from amateur to professional in minutes.
Quick Answer: To add a table of contents in Word, first format your document headings using Styles (Heading 1, Heading 2, etc.), then click the References tab, select Table of Contents, and choose your preferred style. Word automatically generates a clickable TOC that updates with one right-click. This process takes under two minutes and works in all modern Word versions.
Tools & Materials Needed
- Microsoft Word (2016 or newer recommended)
- A document with multiple sections or headings
- Proper heading styles applied throughout your document
- Basic understanding of document structure
Why Your Document Needs a Table of Contents
Adding a table of contents isn’t just about aesthetics—it’s about functionality and professionalism. Readers navigating a long document appreciate a clear roadmap showing what’s inside and where to find it. When you know how to add table of contents in Word, you’re solving a real problem: helping your audience quickly locate relevant sections without scrolling endlessly.
A TOC also demonstrates that you’ve invested effort in organizing your thoughts logically. Academic institutions, corporate environments, and publishing professionals expect this feature in formal documents. Beyond appearance, Word’s table of contents is interactive—readers can click directly to sections, making digital document navigation seamless.
The beauty of Word’s automatic TOC system is that it’s dynamic. Change a heading, and your table of contents updates instantly. This saves hours compared to manually maintaining a static list that becomes outdated with every revision.
Preparing Your Document: The Heading Hierarchy
Before you can successfully add a table of contents in Word, your document must be properly formatted with heading styles. This is the critical foundation that Word uses to generate your TOC. Without proper heading styles, Word won’t recognize your document structure, and you’ll end up with a blank or incomplete table of contents.
Understanding Heading Levels: Word recognizes a hierarchy of headings: Heading 1 (main chapters), Heading 2 (subsections), Heading 3 (sub-subsections), and so on. Your main topics should use Heading 1, and any subdivisions should use progressively lower heading levels. This hierarchy tells Word how to organize your table of contents.
To apply heading styles, select your heading text, then go to the Home tab and click the appropriate heading style from the Styles gallery. Avoid using bold text or manual formatting as a substitute for actual heading styles—Word won’t recognize these as headings for your TOC.
If you’re working with an existing document that needs reformatting, take time to apply styles consistently throughout. This upfront investment ensures your table of contents will be accurate and professional. As mentioned in our guide on how to add a line in Word, proper formatting is the foundation of all Word document features.
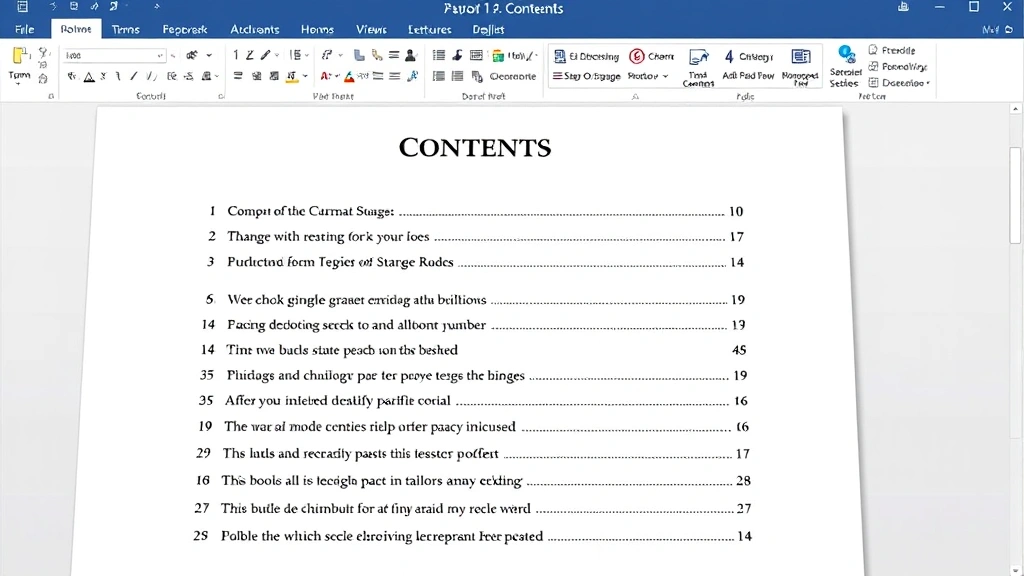
Step-by-Step: How to Add Table of Contents in Word
Now that your document is properly formatted, adding a table of contents is straightforward. Follow these precise steps to insert a professional TOC that updates automatically.
Step 1: Position Your Cursor Click at the location where you want your table of contents to appear—typically on a new page after your title page or introduction. Press Ctrl+Enter to insert a page break if needed, ensuring your TOC starts on a fresh page.
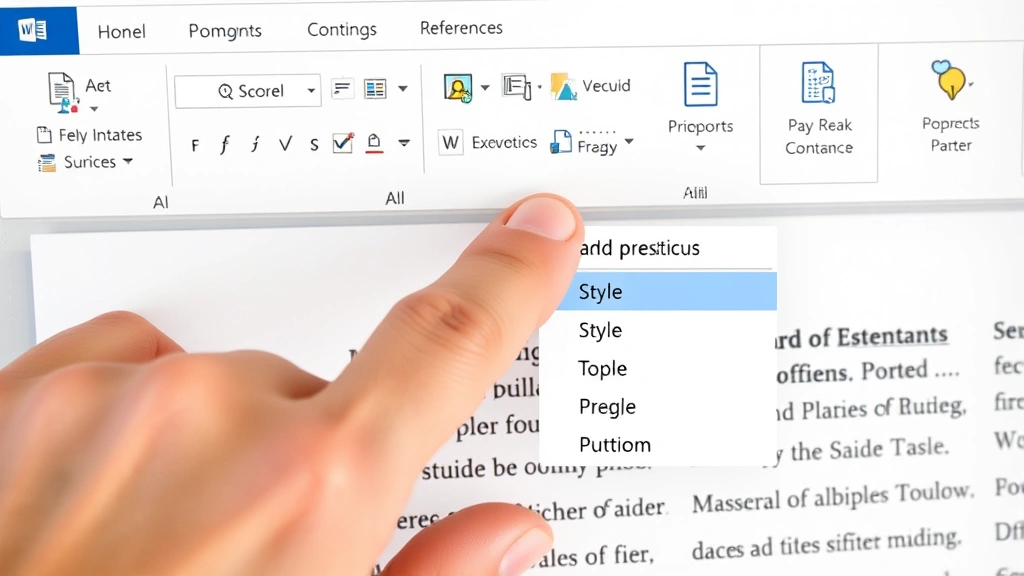
Step 2: Access the References Tab Click the References tab in Word’s ribbon menu. This tab contains all the tools needed for how to add table of contents in Word and managing document references.
Step 3: Click Table of Contents In the References tab, locate and click the Table of Contents button. A dropdown menu appears showing several pre-designed TOC styles including Automatic Table 1, Automatic Table 2, and Manual Table options.
Step 4: Select Your Preferred Style Choose from the available styles. The “Automatic Table” options use your document’s heading styles to generate the TOC automatically. Select the style that matches your document’s design aesthetic. The preview shows how your table of contents will appear.
Step 5: Review and Verify Word inserts your table of contents at the cursor position. Review it to ensure all major sections appear and page numbers are correct. If headings are missing, return to your document, apply the correct heading styles, and update the TOC.
Customizing Your Table of Contents Style
Word’s default table of contents styles work well for most documents, but you might want to customize how to add table of contents in Word to match your specific formatting needs. Fortunately, Word offers extensive customization options that let you control appearance without losing functionality.
Changing the TOC Style: Right-click your table of contents and select “Edit Field” or click the Table of Contents button again to choose a different pre-designed style. You can switch styles at any time without losing your TOC’s functionality.
Adjusting Heading Levels: By default, a table of contents includes Heading 1, 2, and 3. If you want to include more or fewer levels, right-click your TOC, select “Edit Field,” then click “Options.” Adjust the “Show levels” number to include only the heading depths you want displayed.
Modifying Formatting Manually: You can manually adjust fonts, colors, and spacing in your table of contents by selecting text and using standard formatting tools. However, these changes will revert if you update the TOC, so consider this a temporary solution. For permanent style changes, modify the TOC heading styles in the Styles panel.
Removing Page Numbers: If you don’t want page numbers in your table of contents, right-click it, select “Edit Field,” check the “Hide page numbers in Web view” option, or use the Options dialog to customize what appears in your TOC.
Updating and Managing Your TOC
One of the most powerful features of Word’s automatic table of contents is its ability to update dynamically. As you revise your document, your TOC can refresh automatically to reflect changes.
Updating Your Table of Contents: After making changes to your document headings or adding new sections, right-click your table of contents and select “Update Field.” A dialog box appears asking whether to update page numbers only or the entire table. Choose “Update entire table” to refresh all headings and page numbers.
Automatic Updates: In some Word versions, you can enable automatic updates. Right-click your TOC, select “Edit Field,” and check options for automatic updating. This ensures your table of contents stays current without manual intervention.
Deleting and Replacing: If you need to replace your table of contents entirely, right-click it and select “Remove Table of Contents.” Then follow the original steps to insert a new one. This is useful if your document structure has changed significantly.
According to WikiHow’s comprehensive guides, keeping your table of contents updated is essential for maintaining document professionalism, especially in collaborative environments where multiple people edit the same file.
Troubleshooting Common Table of Contents Issues
Even experienced Word users encounter problems when working with tables of contents. Understanding common issues helps you resolve them quickly and maintain document quality.
Missing Headings in TOC: If some of your document sections don’t appear in the table of contents, the most common cause is that they’re not formatted with proper heading styles. Select the missing heading, apply the correct style from the Home tab, then update your TOC.
Incorrect Page Numbers: Page numbers in your table of contents might be wrong if you’ve moved sections around or added content. Update the TOC by right-clicking and selecting “Update Field.” If numbers still seem incorrect, check that page breaks are in the right locations.
TOC Shows as Error or Question Marks: This typically occurs when Word can’t find the referenced pages. Update the field again, and if the problem persists, delete and recreate your table of contents.
Formatting Reverts After Update: Manual formatting changes to your TOC disappear when you update it because Word regenerates the entire table. Instead of manually formatting the TOC itself, modify the TOC heading styles in the Styles panel for permanent changes.
Hyperlinks Not Working: In digital documents, TOC entries should be clickable. If clicking doesn’t work, ensure you’re using the digital version and that hyperlinks are enabled. In some cases, you may need to hold Ctrl while clicking to follow the link.
Advanced Tips for Professional Documents
Once you’ve mastered basic table of contents creation, these advanced techniques elevate your documents to professional standards. These tips are particularly useful for long reports, theses, and formal business documents.
Creating a Separate TOC Page: Insert your table of contents on its own page by placing it after a page break. This is standard practice in formal documents and gives your TOC proper prominence. Add a title like “Table of Contents” above it for clarity.
Using Multiple TOCs: Large documents might benefit from multiple tables of contents—one at the beginning for the full document and additional TOCs for major sections. Each can be customized to show different heading levels.
Combining with Other Features: Your table of contents works seamlessly with other Word features. Consider pairing it with headers and footers for complete document organization. If you’re also working with spreadsheets, understanding how to pin a row in Excel and lock a row in Excel helps when embedding data in Word documents.
Protecting Your TOC: In collaborative documents, you might want to protect your table of contents from accidental editing. Right-click the TOC, select “Edit Field,” and enable protection options to prevent unauthorized changes.
Exporting and Sharing: When sharing documents via email or collaboration platforms, ensure recipients can interact with your table of contents. PDF exports preserve TOC functionality in most readers, making this an excellent format for final submissions.
As Family Handyman demonstrates, even complex projects become manageable with proper organization—the same principle applies to document creation. A well-structured table of contents is your reader’s roadmap to understanding your work.
FAQ
Q: Can I manually create a table of contents instead of using Word’s automatic feature?
A: Yes, you can create a manual table of contents by selecting Table of Contents > Manual Table. However, automatic TOCs are superior because they update automatically when your document changes. Manual TOCs require constant updating and are prone to errors.
Q: What if my document doesn’t have any headings?
A: You must apply heading styles before Word can generate a table of contents. Go through your document and apply Heading 1, 2, or 3 styles to all section titles. Then insert your TOC.
Q: How many heading levels should I use in my table of contents?
A: Most documents work well with 2-3 heading levels. Using too many levels makes your TOC cluttered and difficult to scan. Use Heading 1 for main sections, Heading 2 for subsections, and Heading 3 only if you have sub-subsections.
Q: Can I edit the text in my table of contents directly?
A: You can make temporary edits, but they’ll disappear when you update the TOC. Instead, edit the actual headings in your document and update the TOC to reflect changes.
Q: Does the table of contents work in older versions of Word?
A: Yes, table of contents functionality exists in Word 2010 and later. The steps are essentially the same, though the ribbon interface may look slightly different. The fundamental process of how to add table of contents in Word remains consistent across versions.
Q: How do I remove a table of contents?
A: Right-click your table of contents and select “Remove Table of Contents.” This deletes the TOC but doesn’t affect your document’s heading styles or content.
Q: Can I have different table of contents styles for different sections?
A: Word generates one main table of contents per document. However, you can create separate TOCs for different sections by using section breaks and inserting multiple tables of contents, each showing different heading levels.
Q: Why are some of my headings not appearing in the table of contents?
A: Ensure those headings use proper Heading styles (not just bold text). If they’re formatted as body text or custom styles, Word won’t recognize them as headings for your TOC.
Mastering how to add table of contents in Word transforms your document creation process, saving time and impressing readers with professional organization. Whether you’re preparing a business report, academic paper, or formal proposal, following these steps ensures your table of contents is accurate, functional, and visually polished. Start with proper heading styles, insert your TOC in minutes, and enjoy the benefits of automatic updates throughout your document’s lifecycle. For additional Office productivity tips, explore resources like HowStuffWorks and Lifehacker for comprehensive guides on maximizing your software efficiency. If you frequently work with email alongside Word documents, learning how to BCC in Outlook and understanding how to retract an email in Outlook completes your professional communication toolkit.