
Learning how to add freon to automobile air conditioner systems is one of those skills that’ll save you serious cash and keep you cool on summer road trips. Your car’s AC isn’t some mysterious black box—it’s a straightforward system that you can maintain yourself with the right tools and a little patience. Whether your AC is blowing weak or not at all, low refrigerant is usually the culprit, and topping it off is totally doable in your driveway.
Table of Contents
Understanding Your AC System
Before you crack open that freon can, let’s talk about what’s actually happening under your hood. Your car’s air conditioning system works by circulating refrigerant (freon) through a closed loop. The compressor pressurizes the liquid freon, it flows through the condenser where it releases heat, then it expands in the evaporator to absorb heat from your cabin air. When your system runs low on refrigerant, this whole dance breaks down and you get warm air from your vents instead of that glorious cold blast.
The most common refrigerant types are R-134a (found in most cars made after 1994) and the newer R-1234yf (used in newer vehicles). Your vehicle’s manual or a sticker under the hood will tell you which one you’ve got. This matters because you can’t just grab any freon can—you need the right type for your specific vehicle. Using the wrong refrigerant can damage your compressor and void your warranty faster than you can say “oops.”
Tools and Supplies You’ll Need
Here’s what you’ll want to gather before you start. First, grab a freon recharge kit that matches your car’s refrigerant type—these typically run $30-$60 and include the can, hose, and gauge. You’ll also need a thermometer to monitor vent temperatures, some safety glasses (freon can irritate eyes), and work gloves to protect your hands from the cold.
A AC manifold gauge set is the pro move if you want to do this right—it’ll set you back $40-$100 but gives you precise readings of your system’s pressure. You’ll also want some newspaper or cardboard to catch any spills and a wrench set in case you need to access the service ports. Keep a rag nearby too—things get messy when you’re working with pressurized refrigerant.
Checking Your Refrigerant Level
The first step is figuring out if you actually need more freon. Start your engine and turn the AC to maximum cold with the fan on high. Feel the large and small hoses connected to your compressor—the large one should be cold and the small one should be warm. If both feel the same temperature, you’re probably low on refrigerant.
Most recharge kits come with a built-in pressure gauge that’ll give you a rough idea of your system’s condition. Hook it up to the low-pressure service port (usually on the larger hose) and check the reading. You’re looking for pressures between 25-40 PSI on the low side when the engine’s running. Anything below that means it’s time to add some freon. If you want precise measurements, that’s where your conversion knowledge comes in handy for understanding refrigerant weight specifications.
Preparing Your Vehicle
Park your car in a well-ventilated area—your garage is fine, but cracking the door open helps. You don’t want freon fumes building up in an enclosed space. Make sure the engine is running and the AC is set to maximum cooling before you connect anything. This is important because the system needs to be operating to properly distribute the new refrigerant.
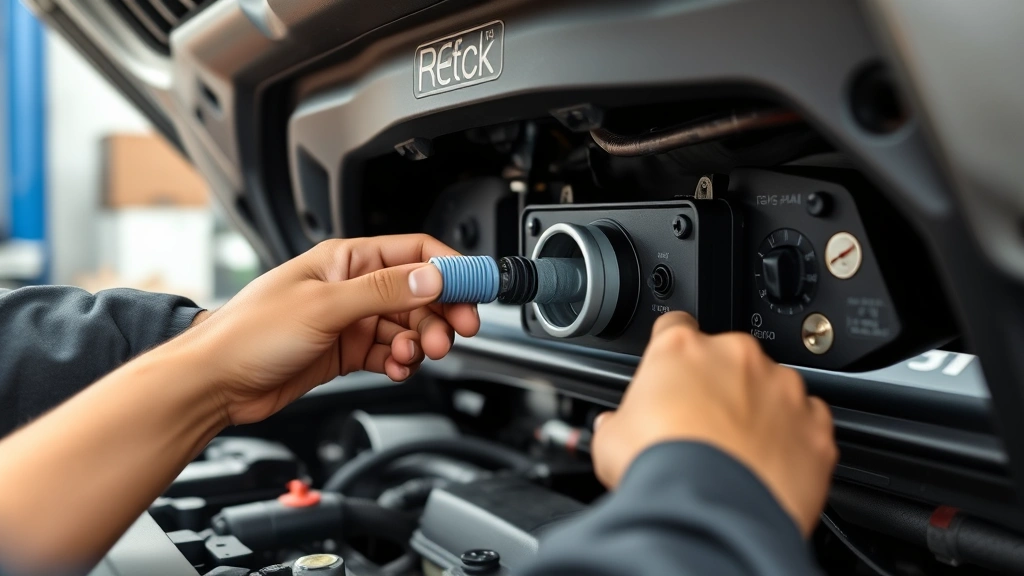
Locate your low-pressure service port. On most vehicles, it’s on the larger diameter hose coming from the compressor, usually on the driver’s side of the engine bay. It’ll look like a tire valve stem with a cap on it. Pop that cap off and set it somewhere safe—you don’t want to lose it. Clean around the port with a rag to remove any dirt or debris that could contaminate your system.
Adding Freon: Step-by-Step
Now for the main event. Shake your freon can vigorously for about 15-20 seconds—this ensures the refrigerant is properly mixed. Screw the recharge hose onto the low-pressure service port hand-tight. Don’t force it; you want a good seal but not a wrestling match.
Most kits have a button or trigger you’ll press to release freon into your system. Start by pressing it in short 5-10 second bursts, checking your gauge between pulses. You’re aiming for that 25-40 PSI sweet spot on the low side. This isn’t a “fill it to the top” situation—it’s about hitting the right pressure range. Adding too much freon is just as bad as having too little; it’ll reduce cooling efficiency and put extra strain on your compressor.
As you’re adding freon, feel the vent temperature with your hand or thermometer. You should notice the air getting noticeably colder. Keep checking the gauge and adjusting until you hit the target pressure. The whole process usually takes 10-15 minutes. Once you’re satisfied with the pressure reading, disconnect the hose by twisting it counterclockwise, then immediately screw the service port cap back on.
Safety Precautions Matter
Freon is nothing to mess around with. It’s under high pressure and can cause frostbite if it contacts your skin directly. Always wear your safety glasses and gloves—this isn’t optional. If freon gets in your eyes, flush them immediately with water and seek medical attention. It might sound dramatic, but this stuff is serious business.
Never smoke or use an open flame near your work area. Freon becomes toxic when exposed to high heat, and your engine bay gets pretty warm. Work in a well-ventilated space and avoid breathing the fumes directly. If you feel lightheaded or dizzy, stop immediately and get fresh air. Also, never overcharge your system—excess pressure can burst hoses or damage the compressor, turning a $50 fix into a $1,000 nightmare.
Common Mistakes to Avoid
The biggest mistake folks make is adding freon without checking if there’s actually a leak. If your system keeps losing refrigerant, you’ve got a problem that freon alone won’t fix. A small leak might be worth living with, but a major one means you’re just throwing money away every time you top off. Professional shops have leak detection equipment that’ll pinpoint the issue.
Another common blunder is using the wrong type of refrigerant. R-134a and R-1234yf are not interchangeable. Using the wrong one will damage your compressor and create a headache you don’t need. Check your vehicle’s manual or the label under the hood before you buy anything. Also, don’t connect to the high-pressure port—it’s the smaller hose and connecting there can damage your gauge and create a dangerous situation. Stick to the low-pressure port, period.
When to Call a Professional
Sometimes you need to know when you’re in over your head. If your system has a major leak, you’ll need professional service. If your AC compressor isn’t engaging (you’ll hear a clicking sound when you turn on the AC), that’s another sign you need expert help. A failing compressor can’t be fixed with freon—it needs replacement.
If you’ve added freon and the system still isn’t cooling properly, there might be an electrical issue, a clogged expansion valve, or a problem with your compressor clutch. These situations require diagnostic equipment and expertise that most home mechanics don’t have. It’s also worth calling a pro if you’re uncomfortable working with pressurized systems or if you don’t have the right tools. Sometimes spending $100-150 on a professional diagnosis saves you from making a $500 mistake.
Maintenance Tips for AC Health
Keep your AC running smoothly by using it regularly, even in winter. Running your AC for 10 minutes monthly keeps the seals lubricated and prevents leaks from developing. Check your condenser fins for debris and clean them gently with a soft brush—blocked fins reduce cooling efficiency. You can also learn about keeping your vehicle’s electrical connections clean, which helps maintain overall system reliability.
Have your system inspected annually by a professional who can spot small leaks before they become big problems. If you notice your AC performance dropping gradually, address it sooner rather than later. A small leak caught early might just need a seal replacement, but ignored it could lead to compressor damage. Keep records of your AC service and refrigerant additions—this helps you spot patterns and potential issues.
Consider having your system flushed and recharged professionally every 2-3 years if you live in a hot climate or use your AC heavily. This removes moisture and contaminants that accumulate over time. It’s not strictly necessary for occasional users, but it’s good preventative maintenance that extends your system’s lifespan.
Frequently Asked Questions
How often should I add freon to my car?
If your system is sealed properly, you shouldn’t need to add freon regularly. A healthy AC system loses only about 10% of its refrigerant annually under normal conditions. If you’re adding freon every season, you’ve got a leak that needs professional attention. Most cars can go years without needing a top-off if everything’s working right.
Can I add freon myself or do I need a license?
In the U.S., you can legally purchase and add freon to your own vehicle without certification. However, if you’re working on someone else’s vehicle for profit, you need EPA Section 609 certification. For your own car in your own driveway, you’re good to go. Just follow the instructions carefully and respect the safety precautions.

What’s the difference between R-134a and R-1234yf?
R-1234yf is the newer, more environmentally friendly refrigerant that’s required in vehicles manufactured after 2017. R-134a is older and has a higher global warming potential. They’re not compatible with each other, and using the wrong one will damage your system. Always check your vehicle’s specifications before purchasing.
How much does it cost to add freon professionally?
Professional AC recharge typically costs $100-200 at a dealership and $75-150 at an independent shop. DIY recharge kits run $30-60, so you’re saving significant money doing it yourself. However, if you need leak detection or compressor work, expect to pay considerably more—$300-1,000 depending on what’s wrong.
Why is my AC still not cold after adding freon?
Several things could be happening. You might have a leak that’s preventing the refrigerant from staying in the system. There could be an electrical issue preventing the compressor from engaging properly. The expansion valve might be clogged or stuck. Or you might have added the wrong type of refrigerant. This is when professional diagnostic equipment becomes invaluable.
Is it dangerous to work with freon?
Freon itself isn’t toxic at normal concentrations, but it can cause frostbite on skin contact and becomes toxic when exposed to high heat. The main dangers are pressure-related—the system is under significant pressure and improper connections can cause hose ruptures. Follow safety precautions, wear protective gear, and work carefully and you’ll be fine.
How do I know if my AC has a leak?
The main sign is that your system keeps losing refrigerant. If you add freon and it’s gone within a few months, you’ve got a leak. Small leaks might be around fittings, while larger ones could be in hoses or the compressor. Professional shops use dye and UV lights to pinpoint leak locations—it’s worth the diagnostic fee if you suspect a problem.
Can I mix different freon types?
No, absolutely not. Mixing R-134a and R-1234yf creates a chemical reaction that damages your compressor and clogs your system. If you accidentally added the wrong type, you need professional help to flush the entire system. This is a serious mistake that requires expert service, so triple-check your refrigerant type before opening any cans.
Conclusion: Adding freon to your car’s air conditioning system is totally manageable if you take your time and follow the steps carefully. The key is checking your pressure readings, using the right refrigerant type, and respecting the safety precautions. Start with a simple recharge kit, monitor your results, and know when to call in the professionals if something doesn’t feel right. With a little confidence and the right approach, you’ll have ice-cold AC blowing in your car without spending a fortune at the shop. Keep your system maintained, watch for signs of leaks, and your AC will keep you cool for years to come.
For more detailed guidance on system diagnostics, check out resources from Family Handyman and Bob Vila for trusted automotive advice. You can also reference EPA guidelines on refrigerant handling for regulatory information.
Related maintenance tasks like cleaning battery terminals keep your vehicle’s electrical systems in top shape, and understanding basic vehicle systems helps you become a more confident DIY mechanic overall.


