
Knowing how long to boil shrimp is the difference between perfectly tender seafood and rubbery disappointment. Whether you’re prepping shrimp for a cocktail, tossing them into pasta, or building the base for easy gumbo, nailing the cooking time takes just a few minutes of attention and zero guesswork.
Table of Contents
Basic Timing Rules
Let’s cut to the chase: most shrimp take 2 to 3 minutes of boiling time. That’s it. The entire cooking window sits between 2 and 4 minutes depending on size. Anything longer and you’re heading toward that rubbery texture nobody wants. The magic happens fast, which is why this cooking method beats pan-searing when you need consistent results across a whole batch.
The reason shrimp cook so quickly comes down to their structure. They’re mostly protein with minimal connective tissue, so heat penetrates fast. Unlike chicken or beef that need sustained heat to break down collagen, shrimp just need enough time for the proteins to set and turn opaque. Once that happens, you’re done.
Size Matters Most
Shrimp sizing is everything when calculating boiling time. The industry uses a count system—how many shrimp per pound. Here’s the breakdown:
- Jumbo (16-20 count): 3-4 minutes
- Large (21-30 count): 2-3 minutes
- Medium (31-40 count): 1.5-2 minutes
- Small (41-50 count): 1-1.5 minutes
That count number on your package is your roadmap. Smaller shrimp cook faster because heat reaches the center quicker. Jumbo shrimp need those extra seconds because they’re thicker. The difference between underdone and overdone might only be 30 seconds, so watch the clock and stay present. This is why batch cooking helps—boil similar-sized shrimp together to avoid the small ones becoming rubber while you wait for the jumbos.
Prep Before Boiling
Before the water hits boiling, get your shrimp ready. Thaw frozen shrimp in the refrigerator overnight or under cold running water for 15 minutes. Never use hot water—it starts cooking them unevenly. Pat them dry with paper towels so they cook evenly and don’t splatter as much when they hit the pot.
Decide whether you want to peel before or after boiling. Leaving shells on protects the meat and keeps it more tender, but peeling first makes plating faster. For crab roll-style dishes where you need naked shrimp, peeling after boiling is actually easier because the shell slides off when the meat’s still warm.
Fill your pot with water—about 2 quarts per pound of shrimp gives them room to move around. Add salt generously (about 1 tablespoon per quart) so the water tastes like the sea. Some cooks add lemon juice, bay leaves, or Old Bay seasoning here. That’s optional flavor work, but it makes a difference if you’re serving the shrimp plain.
The Boiling Process
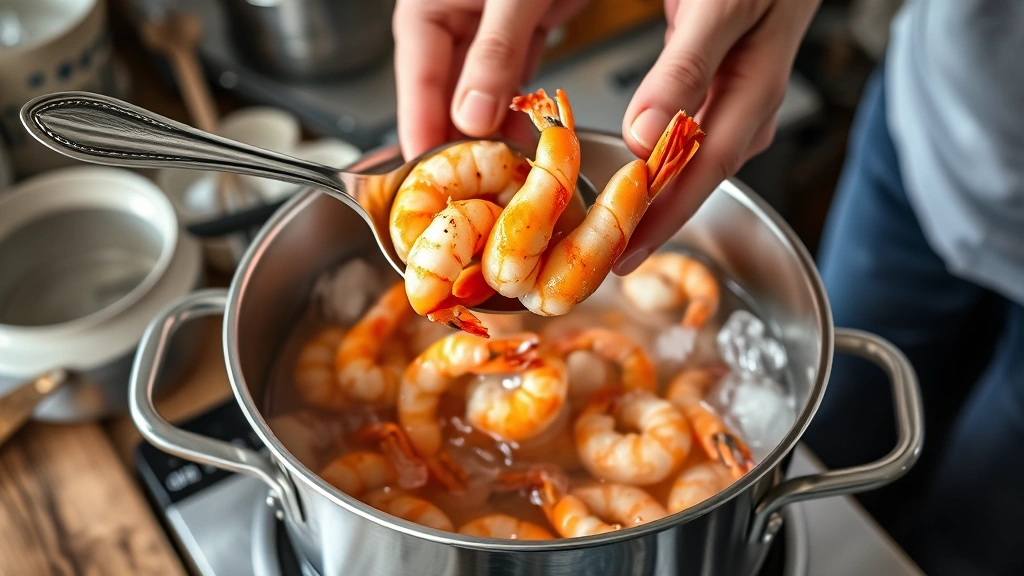
Bring your salted water to a rolling boil before adding shrimp. This is non-negotiable. Cold water start means uneven cooking. Once the water’s boiling hard, drop in your shrimp and stir gently to separate them. They’ll sink initially, then float back up as they cook.
Set a timer the moment shrimp hit the water. Don’t rely on memory or “about a couple minutes.” Use your phone, oven timer, or kitchen timer. The difference between perfect and overcooked is literally 30 seconds at this stage. Keep the water at a gentle boil, not a violent rolling boil—aggressive heat doesn’t cook them faster, it just makes them bounce around and cook unevenly.
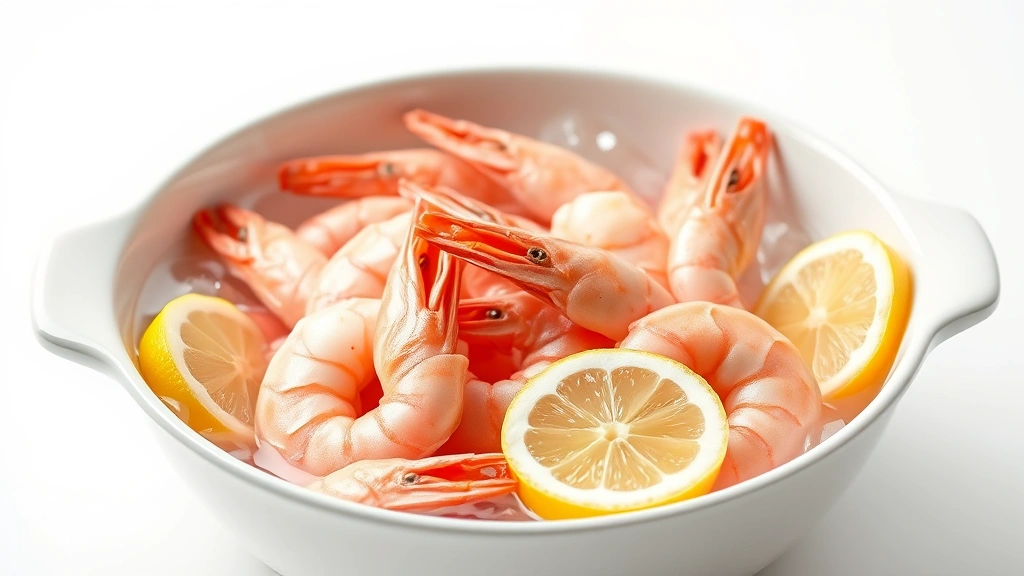
This is the time to prep your ice bath. Fill a bowl with ice water and set it nearby. When your timer goes off, you’re immediately transferring shrimp from boiling water to ice bath. No hesitation, no “let them sit for a minute.” That ice bath stops the carryover cooking that ruins so many batches.
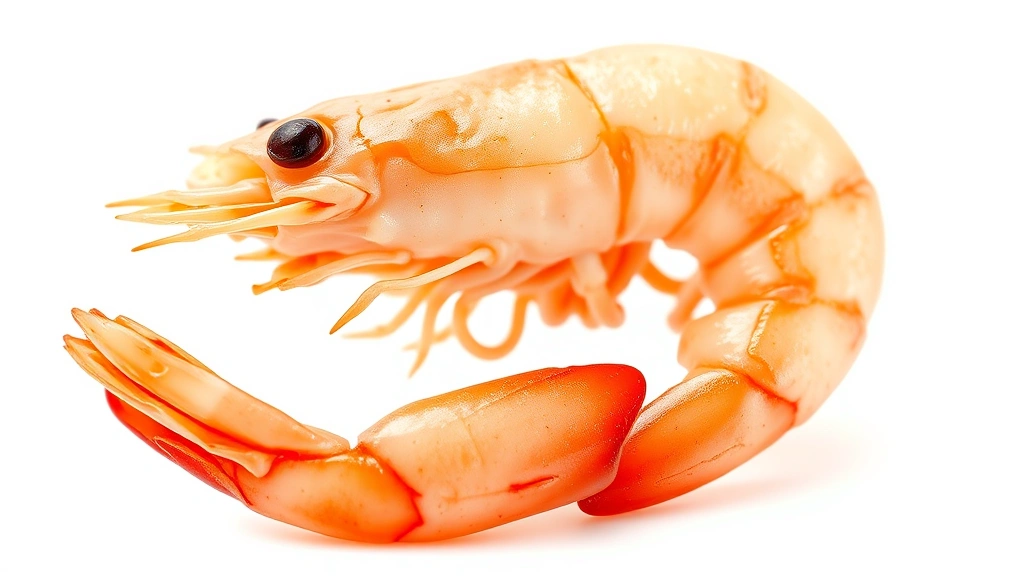
Signs of Doneness
The visual tell is simple: cooked shrimp turn opaque and curl into a C-shape. Raw shrimp are translucent and straight. The color shifts from gray-blue to pink or white depending on the variety. The curl matters—when the protein sets, it naturally contracts. A tight O-shape means overcooked. A gentle C means you nailed it.
If you’re nervous, pull one shrimp out at the minimum time (2 minutes for large) and cut it in half. The meat should be opaque all the way through with no translucent center. If there’s any gray in the middle, give it 30 more seconds. This test-cook approach beats guessing and only costs you one shrimp.
Texture is your other guide. Perfectly cooked shrimp should feel firm but have a slight give when you squeeze gently. Rubbery shrimp feel hard and dense. Undercooked shrimp feel mushy. You’ll develop the feel after cooking a batch or two.
Ice Bath Stops Cooking
The ice bath is your secret weapon against rubbery shrimp. When shrimp leave boiling water, they keep cooking from residual heat—carryover cooking. An ice bath immediately stops this process. Drain your shrimp with a slotted spoon and plunge them into the ice bath for 2-3 minutes. They’ll cool completely and stop cooking mid-perfect.
This step matters more than most home cooks realize. The difference between a batch you ice-bath and one you don’t is noticeable. The ice-bathed shrimp stay tender. The others get slightly firmer as they cool on the counter. It’s a 90-second step that transforms your results.
After the ice bath, drain them well. Pat dry if you’re storing them or using them immediately. If you’re serving them warm, you can skip the ice bath and use them right away, but they’ll be slightly firmer. For cold shrimp cocktail or shrimp salad applications, the ice bath is essential.
Common Cooking Mistakes
The biggest mistake is overcrowding the pot. Dump too many shrimp into water that’s barely boiling and the temperature crashes. The shrimp steam instead of boil, cook unevenly, and end up with that rubbery texture. Work in batches if you have more than a pound. It takes five minutes total instead of one, but the quality difference is worth it.
Skipping the ice bath is mistake number two. You think you’ve got the timing perfect, but carryover cooking ruins it in the next 60 seconds. The ice bath costs nothing and takes 3 minutes. Do it.
Starting with cold water is mistake three. Cold water means the shrimp spend too much time heating up before they start actually cooking. By the time the water comes back to boil, some shrimp have already started cooking while others haven’t. Start with boiling water for consistency.
Cooking different sizes together is mistake four. That medium shrimp finishes in 2 minutes while the jumbo needs 4. You either undercook the jumbo or ruin the medium. Sort by size or cook in separate batches.
Storage and Leftovers
Cooked shrimp keep for 3-4 days in an airtight container in the refrigerator. Store them dry—excess moisture invites bacteria and makes them watery when you reheat. If you’ve made a large batch, portion them into smaller containers so you’re not opening and closing one big container repeatedly.
Freezing works too. Cooked shrimp freeze for up to 3 months. Freeze them on a sheet tray first so they don’t clump, then transfer to freezer bags. Thaw in the refrigerator overnight before using. Frozen cooked shrimp work great in seafood dishes where they’re being reheated, but they lose some texture compared to fresh.
Reheating matters. Never microwave cooked shrimp—they’ll toughen up instantly. Instead, thaw in the refrigerator and serve cold, or warm gently in a pan with a touch of butter over low heat for 1-2 minutes. Quick and gentle is the rule.
Recipe Ideas Beyond Basics
Once you’ve mastered the boil, shrimp work in everything. Toss them into Dutch oven recipes for seafood stews. Make a classic shrimp cocktail with sauce for dipping. Build a shrimp pasta by tossing warm boiled shrimp with butter, garlic, and white wine. The boiling method gives you a clean canvas to build on.
For a quick weeknight dinner, boil shrimp and toss with cooked pasta, olive oil, garlic, and fresh lemon. Takes 15 minutes total. For meal prep, boil a big batch and portion into containers for salads, grain bowls, or quick protein additions throughout the week. The boiling method is fast enough that you can cook shrimp while your water for pasta is coming to a boil.
Frequently Asked Questions
Can you boil shrimp from frozen?
Yes, but thaw them first for even cooking. Frozen shrimp added to boiling water cook unevenly—the outside cooks before the inside thaws. Thaw under cold running water for 15 minutes, then boil. The timing stays the same once they’re thawed.
What if your shrimp are still translucent after boiling?
Give them 30-60 more seconds. They weren’t done yet. Pull one out and cut it open to check. Undercooked shrimp are safe to eat if they’re fresh, but the texture is mushy and unpleasant. Finish cooking them.
Should you add vinegar or lemon to boiling water?
It’s optional flavor work. Lemon juice or vinegar adds brightness and helps prevent the shrimp from smelling too fishy, but it doesn’t affect cooking time. Add it if you like the flavor. Skip it if you’re using the shrimp in dishes where it doesn’t fit.
Can you boil shrimp in salted water?
Absolutely. In fact, you should. Salted water (about 1 tablespoon per quart) seasons the shrimp as they cook. This is especially important if you’re serving them plain or in a shrimp cocktail. The salt penetrates the meat during cooking.
How do you know if boiled shrimp are bad?
Fresh cooked shrimp smell like the ocean—clean and slightly salty. If they smell ammonia-like or off, don’t eat them. The texture should be firm, not mushy or slimy. Trust your nose and eyes. When in doubt, throw them out.
Is it better to boil or pan-sear shrimp?
Boiling is faster and more consistent for large batches. Pan-searing gives you more control over texture and browning if you’re cooking smaller quantities. For speed and reliability, boiling wins. For restaurant-style results, pan-searing edges ahead. Both methods work—it depends on what you’re making.


