
How long to boil chicken depends on several factors—cut size, starting temperature, and whether you’re going for shredded meat or firm chunks. Get it right, and you’ll have tender, juicy protein ready for salads, soups, and sandwiches. Get it wrong, and you’re stuck with rubbery disappointment.
I’ve boiled thousands of chicken pieces over the years, and I’m going to walk you through the exact timing and techniques that work every single time. No guessing, no dry meat, no wasted effort.
Table of Contents
Boiling Times by Cut
The golden rule: thicker pieces take longer. Whole chickens sit at the top of the time ladder, while thin cutlets finish in minutes. Here’s what you’re looking at:
- Whole chicken (3-4 lbs): 1 hour to 1 hour 15 minutes
- Chicken breasts (bone-in, skin-on): 12-15 minutes
- Chicken breasts (boneless, skinless): 10-12 minutes
- Chicken thighs (bone-in): 15-20 minutes
- Chicken drumsticks: 15-20 minutes
- Chicken wings: 8-10 minutes
- Diced chicken pieces (1-inch cubes): 8-10 minutes
These times assume you’re starting with room-temperature or cold chicken dropped into already-boiling water. If you’re starting from cold water, add 5-10 minutes to account for the heating phase.
Prep Before Boiling
Don’t just toss raw chicken into a pot and hope for the best. A few minutes of prep work transforms the whole experience. Rinse your chicken under cold water and pat it dry with paper towels. This removes surface bacteria and helps prevent excess splashing when it hits the hot water.
If you’re working with a whole bird, consider removing the giblets from the cavity first. Trim any excess fat or skin hanging off the edges—this stuff can make your broth cloudy and greasy. For breasts, if you have particularly thick ones, you can butterfly them or pound them slightly to ensure even cooking.
Season your water before adding chicken. Use salt, peppercorns, bay leaves, carrot chunks, celery, and onion. This isn’t just flavor theater—you’re building a foundation for either a delicious broth or seasoned chicken that doesn’t taste like cardboard.
Water Temperature Matters
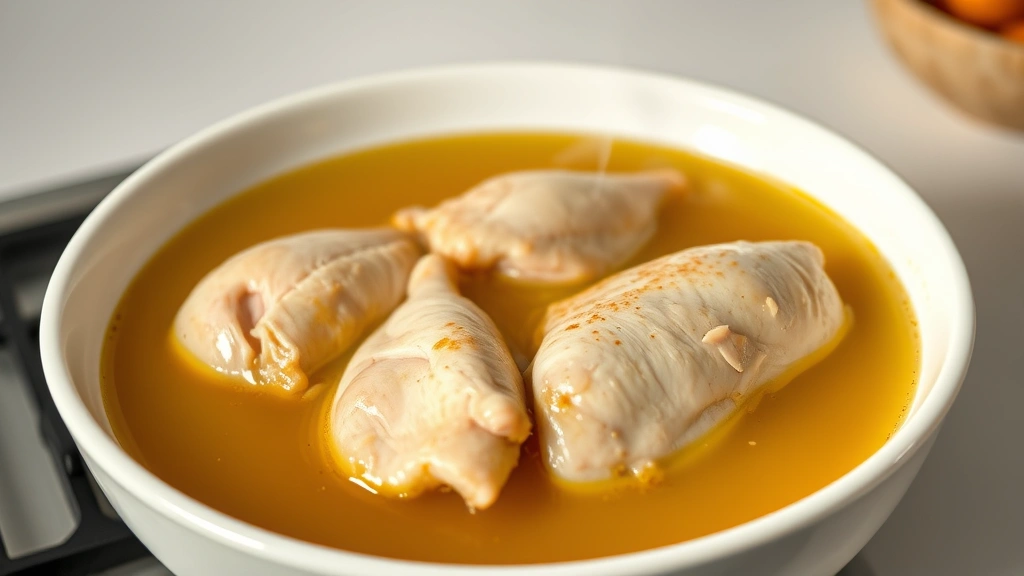
Here’s where most people go wrong: they use cold water. Don’t. Fill your pot with enough water to cover the chicken by 2 inches, then bring it to a rolling boil before adding your meat. Once the chicken hits that boiling water, reduce the heat to a gentle simmer. You want small, steady bubbles breaking the surface, not a violent rolling boil that batters your chicken into submission.
A gentle simmer cooks the chicken evenly and keeps it from getting tough and stringy. If your water is too hot, the outside cooks faster than the inside, and you end up with overcooked exterior and undercooked center. If it’s too cool, bacteria can thrive in that danger zone (40-140°F) while your chicken slowly warms up.
Maintain consistent heat throughout cooking. If your burner runs hot, use medium or medium-low heat to keep that simmer steady. Check the water level halfway through—if it’s dropping noticeably, add more hot water rather than cold water.
Signs Chicken Is Done
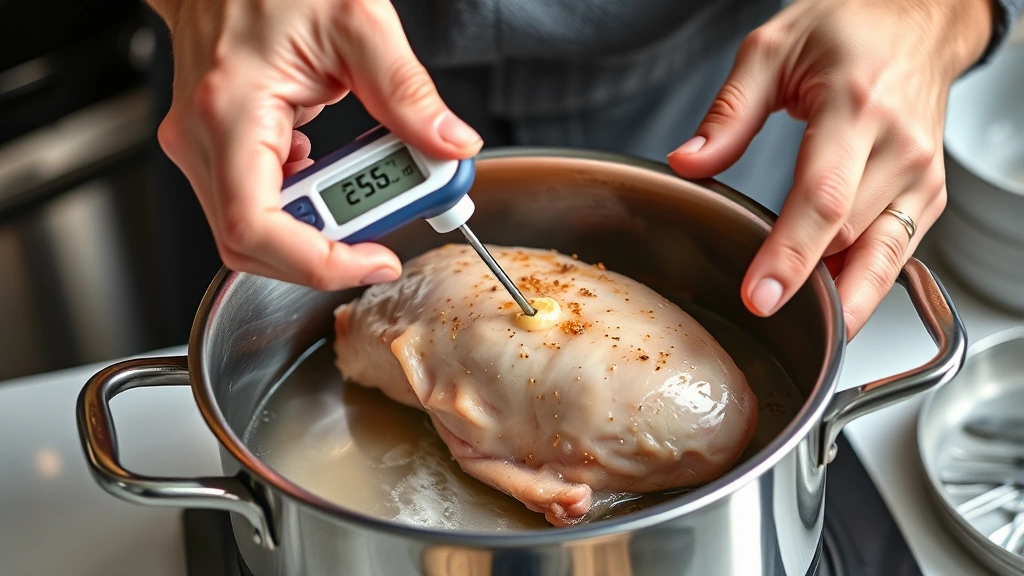
Timing is a guide, not gospel. The real test is internal temperature. Grab an instant-read meat thermometer and insert it into the thickest part of the meat without touching bone. You’re looking for 165°F (74°C). That’s the temperature where harmful bacteria die but the meat stays juicy.
No thermometer? Cut into the thickest piece. The juice should run clear, not pink. The meat should be opaque throughout, with no translucent spots. If you’re cooking boneless, skinless breasts and they look slightly pale, they’re probably done—those things dry out fast if you overcook them.
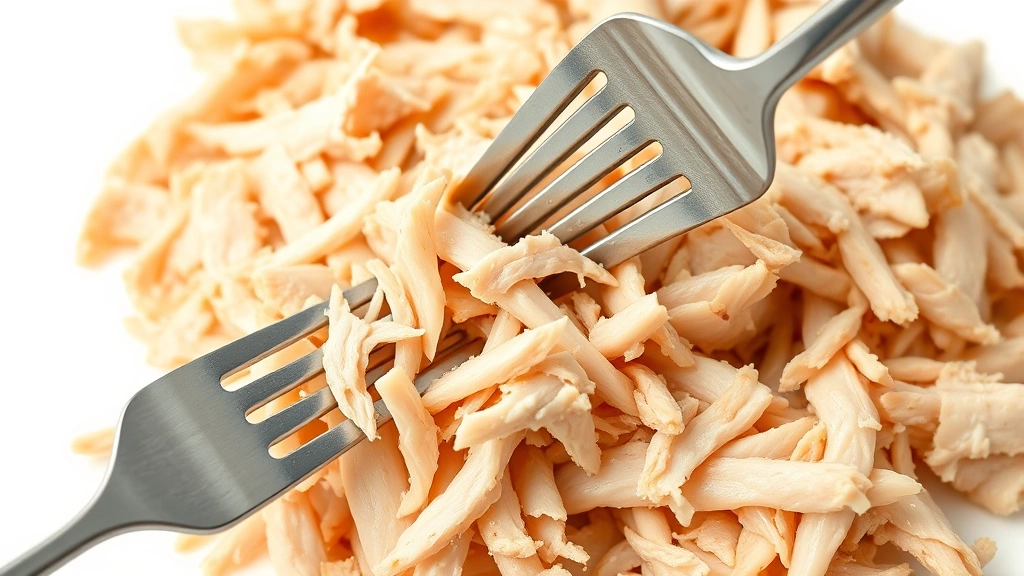
For shredded chicken (like for pulled chicken salads or soup), you actually want to cook it slightly past the 165°F mark—aim for 170-175°F. At that temperature, the muscle fibers relax and shred cleanly instead of staying in tough chunks.
Cooling and Shredding
Once your chicken reaches temperature, remove it from the pot with tongs or a slotted spoon. Transfer it to a cutting board and let it rest for 5-10 minutes. This isn’t just about comfort—it lets the juices redistribute throughout the meat, keeping it moist when you slice or shred it.
For shredding, let the chicken cool enough that you can handle it comfortably (about 10-15 minutes). Use two forks, one in each hand, and pull the meat apart along the grain. The meat should separate easily if it’s cooked properly. If it’s tough and resistant, it either wasn’t cooked long enough or your water was too hot.
For slicing, use a sharp knife and cut against the grain. This shortens the muscle fibers and makes each bite more tender. A dull knife will shred the meat instead of slicing it cleanly.
Common Boiling Mistakes
I see the same errors over and over. The biggest one: overcrowding the pot. If you jam too much chicken into too little water, the water temperature drops, and you end up with uneven cooking. Give your chicken room to move. Work in batches if you need to.
Second mistake: skipping the seasoning. Plain boiled chicken tastes like sadness. Salt your water generously. Add aromatics. If you’re not going to use the broth, at least season the cooking liquid so the chicken absorbs flavor.
Third: cooking at too high a temperature. That violent boil might look impressive, but it breaks down the chicken’s structure and makes it dry and stringy. Gentle simmer wins every time.
Fourth: not using a thermometer. You’re guessing at doneness, which means you either undercook (food safety issue) or overcook (dry meat). A $15 instant-read thermometer solves this forever.
Broth Bonus Round
Don’t dump that cooking water. You just made stock. Strain it through a fine-mesh sieve into a bowl, let it cool to room temperature, then refrigerate it overnight. The fat will solidify on top—skim it off and save it for cooking, or discard it if you want lower-fat broth.
That golden liquid underneath is pure umami. Use it as a base for soups, rice, or gravies. You can freeze it in ice cube trays for portion control. This is the kind of thing that separates home cooks from people eating store-bought broth.
For richer broth, add extra bones, chicken feet, or roasted vegetable scraps to your pot alongside the chicken. Simmer everything together for the full time. The longer everything cooks, the more collagen breaks down into gelatin, and your broth becomes silkier and more flavorful.
Storage Tips
Cooked boiled chicken lasts 3-4 days in the refrigerator in an airtight container. Store it in the broth if possible—it stays moister that way. If you want to keep it longer, freeze it. Frozen cooked chicken keeps for 2-3 months without quality loss.
For freezing, portion it into meal-sized amounts before it goes in the freezer. Shredded chicken freezes beautifully in zip-top bags—flatten it before freezing so it thaws faster and takes up less space. Label everything with the date so you don’t end up with mystery meat in your freezer.
Thaw frozen chicken in the refrigerator overnight, never on the counter. This keeps it out of the danger zone where bacteria multiply. If you’re in a hurry, use the defrost setting on your microwave, but cook it immediately afterward.
Frequently Asked Questions
Can I boil frozen chicken without thawing?
Yes, but add 50% more time to your cooking. A frozen chicken breast might take 18-20 minutes instead of 12-15. The outside will cook before the inside catches up, so stick with a gentle simmer and use a thermometer to verify doneness. Thawing first gives you more even results, but frozen-to-boiled works in a pinch.
Why is my boiled chicken tough and stringy?
Three reasons: water too hot (causing the proteins to contract aggressively), cooked too long (past 175°F for shredded meat), or the chicken was already older/lower quality. Use a gentle simmer, don’t exceed 175°F, and buy fresh chicken when possible. Tougher birds are tougher to fix.
Should I add salt to the boiling water?
Absolutely. Salt your water to about the salinity of seawater—roughly 1 tablespoon per quart. This seasons the chicken as it cooks and helps it retain moisture. Unsalted water produces bland chicken no matter how much you season it afterward.
How do I know if boiled chicken is done without a thermometer?
Cut into the thickest piece. Clear juices and opaque meat throughout means it’s done. Pink juices or translucent meat means it needs more time. For whole birds, check the thigh—that’s the last part to cook through. The juices should run clear when you pierce it.
Can I use the same water to boil multiple batches?
You can, but strain it between batches to remove any debris. The broth will get richer and more flavorful with each batch, which is great for flavor but means you’re also accumulating more fat and impurities. For cleaner results, use fresh water for each batch.
What’s the difference between boiling and poaching chicken?
Boiling means the water is at a rolling boil when the chicken goes in. Poaching means the water is brought to a boil, then reduced to a simmer before the chicken is added. Poaching gives you more tender results because the gentler heat is less likely to toughen the meat. For everyday purposes, start with boiling water then immediately drop to a simmer—that’s essentially poaching.
The Bottom Line
Boiling chicken is one of the simplest cooking techniques once you understand the timing and temperature dynamics. Start with boiling water, drop to a gentle simmer, and use a meat thermometer to verify 165°F (74°C) for safety and 170-175°F (77-79°C) for shredding. Season your water, don’t overcrowd the pot, and save that broth for future cooking. You’ll get tender, juicy chicken every time—no guesswork required.
The techniques here work whether you’re preparing protein for meal prep, making chicken salad, or building the base for a killer soup. Once you nail the timing on your first batch, you’ll never think twice about it again. That’s the mark of a solid kitchen skill—it becomes automatic.


