
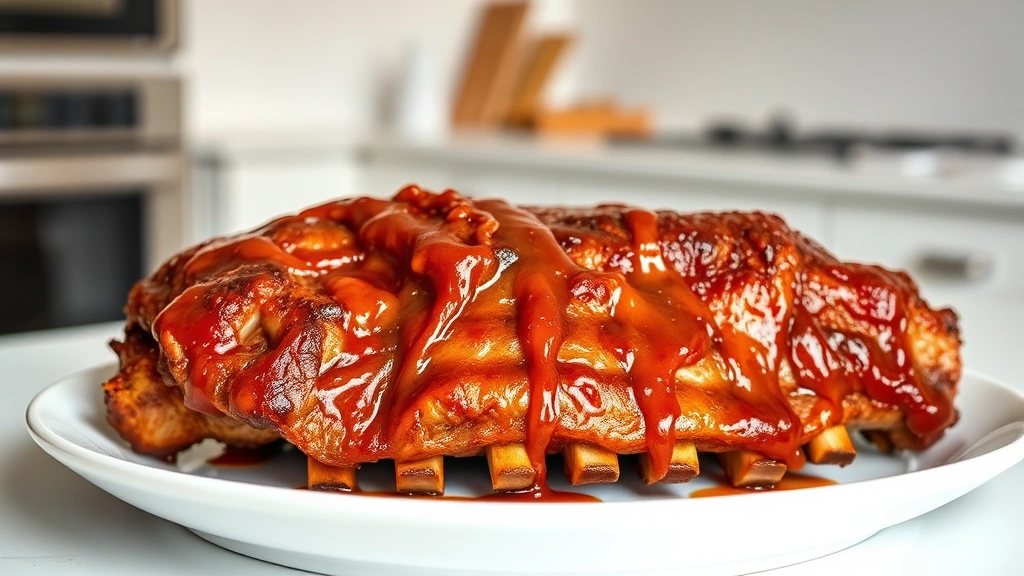
Learning how long to bake ribs in oven is one of those kitchen skills that’ll make you look like a pro without requiring a smoker or backyard setup. The truth? You can pull off restaurant-quality ribs in your home oven, and it’s way simpler than most people think. We’re talking fall-off-the-bone tender meat with a caramelized exterior that’ll have everyone asking for your secret.
Table of Contents
Basic Oven Baking Times
The standard answer for oven-baked ribs is 2.5 to 3 hours at 275°F for baby back ribs, which is what most home cooks work with. Spare ribs need about 3 to 3.5 hours, while beef short ribs might stretch to 4 hours. But here’s the thing—these times are starting points, not gospel. Every oven runs a bit different, and rib thickness varies. The real indicator of doneness isn’t the clock; it’s how the meat behaves when you test it.
If you’re in a hurry, you can crank the heat to 325°F and shave off 30-45 minutes, but you’ll sacrifice some of that tender, juicy texture. The low-and-slow approach wins every time if you’ve got the patience.
Different Rib Types Matter
Not all ribs are created equal, and baking times shift depending on what you’re working with. Baby back ribs are the most popular for home cooking—they’re smaller, more tender, and cook faster than their cousins. Spare ribs come from lower on the rib cage and carry more fat, which means they need extra time to render down and get tender.
Beef short ribs are a whole different animal. They’re thicker and meatier, almost like small steaks on the bone. You’re looking at the longest cook time here. St. Louis-style ribs are spare ribs trimmed into a rectangular shape, so they cook about the same as regular spare ribs. If you’re planning a mixed rib platter, start the beef short ribs first, then add the others partway through so everything finishes together.
Prep Work Before Baking
Before those ribs hit the oven, you’ve got some prep to handle. First, grab a sharp knife and remove the membrane on the back of the rib rack. Slide the knife under it, wiggle it loose, and peel it off. This step matters because the membrane blocks seasoning and smoke absorption—skip it and your ribs won’t taste as good.
Next, pat the ribs dry with paper towels. Moisture is the enemy of browning, so don’t skip this. Now’s the time to apply your dry rub generously. You want a solid coating on both sides and into the crevices. Let the seasoned ribs sit at room temperature for 30 minutes before baking—this helps them cook more evenly. If you’re planning ahead, you can rub them the night before and let them rest in the fridge, which actually deepens the flavor.
Temperature and Heat Settings
The sweet spot for oven-baked ribs is 275°F. This temperature is low enough to break down collagen and fat slowly, turning them into gelatin that makes the meat tender and juicy. It’s also hot enough to develop a nice color and flavor without drying things out.
Set your oven to 275°F and let it preheat for 15 minutes. Line your baking sheet with foil for easy cleanup—trust me, you’ll want this. If your oven runs hot (and many do), you might need to drop it to 250°F. The best way to check? Use an oven thermometer. They’re cheap and reveal whether your dial is accurate or lying to you.
Low and Slow Method Explained
This is the method that separates decent ribs from unforgettable ones. You’re cooking low (275°F) and slow (2.5-3 hours for baby backs) to let the heat gently transform tough connective tissue into something tender. The fat renders gradually, basting the meat from the inside out.
Here’s the technique: bake uncovered for the first hour and a half to let the surface dry out slightly and develop color. Then, if you want extra tenderness, cover with foil and continue cooking. Some pitmasters swear by the “3-2-1” method—3 hours uncovered, 2 hours wrapped in foil with some liquid (like apple juice or broth), then 1 hour unwrapped with sauce. It’s a bit more hands-on, but the results are incredible. The foil steams the meat, speeding up the tenderizing process, while that final hour with sauce caramelizes everything.

Finishing Touches and Sauce
Around the 2-hour mark for baby backs, brush on your sauce if you’re using one. This gives it time to caramelize without burning. If you’re doing the 3-2-1 method, add sauce during that final unwrapped hour. The sauce should be thick enough to stick to the ribs without sliding off.
If you want to level up, make a simple glaze with brown sugar, ketchup, vinegar, and a touch of mustard. Or keep it simple with just your favorite BBQ sauce. Some cooks add a light brush of sauce at the 1.5-hour mark and another at 2.5 hours, building layers of flavor. The key is not to add it too early, or it’ll burn and turn bitter.
Testing for Perfect Doneness
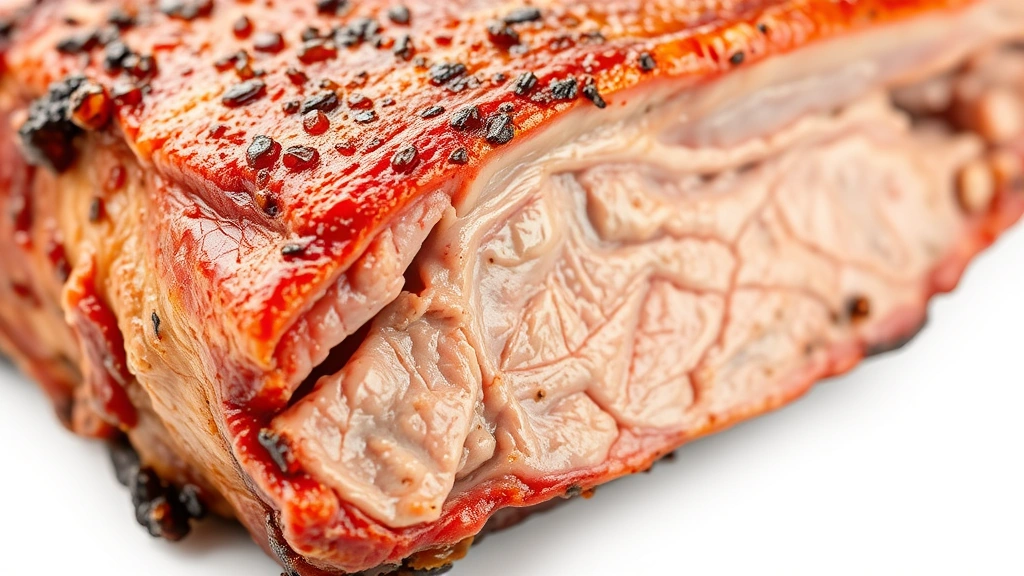
The bend test is your best friend here. Grab the rack with tongs and pick it up in the middle. If it bends easily and the meat starts to tear away from the bones, you’re golden. If it’s still stiff, it needs more time. You’re aiming for that sweet spot where the meat pulls back from the bones about a quarter inch.
Another check: use a toothpick or skewer and poke it between the bones. It should slide through with just a little resistance. The meat should look slightly pulled back from the bone ends, and when you twist a bone, it should move with minimal effort. Don’t go by time alone—these tests are what actually matter.
Mistakes to Avoid
The biggest mistake? Cooking too hot or too fast. People want ribs done in an hour and crank the oven to 400°F. You’ll end up with dry, tough meat that’s technically cooked but completely disappointing. Patience is the real secret ingredient.
Another common error is skipping the membrane removal. It seems like a small thing, but it affects how your seasonings penetrate and how the ribs taste overall. Don’t neglect it. Also, avoid flipping the ribs constantly. Let them sit in the oven and do their thing. Every time you open the door, heat escapes and your cooking time extends.
Using a wet rib rack instead of a dry one slows browning. And adding sauce too early guarantees a burnt, bitter coating. Wait until the last hour, and you’ll get that glossy, caramelized finish that looks and tastes amazing.
Storage and Reheating
Leftover ribs? Wrap them tightly in foil and refrigerate for up to 4 days. To reheat, wrap them in foil and warm them in a 300°F oven for about 15 minutes. The foil traps moisture so they don’t dry out. If you want them even more tender, brush with a little apple juice or broth before wrapping.
You can also freeze ribs for up to 3 months. Wrap them individually in plastic wrap, then foil, and label with the date. Thaw overnight in the fridge before reheating. Frozen ribs actually reheat beautifully because the slow thaw and gentle warming keeps them moist.
Frequently Asked Questions
Can I bake ribs at a higher temperature to save time?
Yes, but there’s a trade-off. At 325°F, you’ll cut about 30-45 minutes off the total time, but the meat won’t be quite as tender or juicy. The low-and-slow method at 275°F really is superior. If you’re short on time, consider starting ribs earlier or planning ahead rather than rushing the cooking process.
Should ribs be covered or uncovered while baking?
It depends on your method. For straight baking, uncovered for the first 1.5-2 hours, then covered with foil for the remainder works great. The uncovered time develops color and flavor, while foil traps steam for faster tenderizing. The 3-2-1 method specifically calls for uncovered, then foil, then uncovered again for maximum texture and caramelization.
How do I know when ribs are done without a meat thermometer?
Use the bend test: pick up the rack with tongs and it should bend easily. Use the poke test: a toothpick should slide between bones with minimal resistance. The pull-back test: meat should pull back from bones about a quarter inch. When a bone twists easily, you’re there. These three tests together are more reliable than any timer.
Can I bake ribs ahead and reheat them?
Absolutely. Bake them a day or two ahead, wrap tightly, and refrigerate. Reheat wrapped in foil at 300°F for 15 minutes. This actually works great for entertaining because you can prep ahead and just warm them up. Brush with a little liquid before reheating to restore moisture.
What’s the difference between baking and smoking ribs?
Smoking adds a distinct smoky flavor that you can’t replicate in an oven, but baking is faster and more convenient for most home cooks. If you want oven-baked ribs with a smoky taste, add liquid smoke to your rub or sauce. The cooking method and timing are similar; the main difference is flavor profile and the equipment required.
Do I need a special rib rack for baking?
No, a standard baking sheet works fine. Some people use a wire rack to elevate the ribs so heat circulates underneath, which can help with even cooking and browning. If you don’t have a rack, foil works perfectly—just make sure to flip the ribs halfway through if you want even coloring on both sides.
Final Thoughts on Perfect Oven-Baked Ribs
Mastering how long to bake ribs in oven comes down to understanding that time is just a guideline. The real skill is recognizing when your specific ribs in your specific oven are truly done. Start with 2.5-3 hours at 275°F for baby backs, use the bend and poke tests to check doneness, and don’t be afraid to give them extra time if needed.
The low-and-slow approach might feel slow when you’re hungry, but it’s the difference between ribs that are okay and ribs that people remember. Add a good dry rub, consider the 3-2-1 method if you want to get fancy, and finish with sauce during that last hour. You’ll pull a rack from the oven that looks and tastes like it came from a real pitmaster’s kitchen.
For more meal prep ideas, check out our guide to easy dessert recipes to feed a crowd for finishing touches to your rib dinner. If you’re planning a full menu, we’ve also got tips on beans and greens recipe options that pair perfectly with ribs. And if you’re interested in other protein cooking methods, explore our how to cook swordfish guide for seafood alternatives.


