

Getting how long to bake pork tenderloin right is the difference between a juicy, restaurant-quality dinner and a dried-out disappointment. I’ve tested this cut dozens of times, and the answer isn’t just about minutes—it’s about understanding your oven, your meat thickness, and the magic of proper resting. Stick with me, and you’ll nail it every single time.
Table of Contents
Baking Time Basics
The standard rule for pork tenderloin is 15-20 minutes per pound at 425°F (220°C). For a typical 2-pound tenderloin, you’re looking at 30-40 minutes total. But here’s the thing—this is your starting point, not gospel. I’ve found that most home ovens run slightly hot or cold, so you need to verify doneness with a meat thermometer, not just a clock.
The cut itself is forgiving once you understand its nature. Pork tenderloin is lean, which means it has less fat to keep it moist, but it also means it cooks faster than fattier cuts. That’s why timing precision matters here. A 3-pound tenderloin might take 45-50 minutes, while a smaller 1.5-pound version could be done in 22-30 minutes.
Temperature Matters Most
Your oven temperature is the real MVP here. I always preheat to 425°F (220°C) for pork tenderloin—this high heat creates a beautiful crust while the interior stays tender. Some cooks prefer 400°F for a slightly gentler approach, which adds about 5 minutes to your total time. Either works, but consistency is what matters.
The USDA recommends an internal temperature of 145°F (63°C) for pork, which is actually much lower than the old 160°F standard. At 145°F, your pork will still have a slight pink blush and maximum juiciness. Pull it off at 140°F if you like it more medium-rare, but don’t go below that unless you’re comfortable with slight underdone pork.
Preparation Steps First
Before you even think about baking time, prep your meat properly. Remove the pork tenderloin from the refrigerator 30-45 minutes before cooking—room temperature meat cooks more evenly. Pat it completely dry with paper towels; moisture on the surface prevents browning.
Trim any silverskin (that thin, tough membrane) from the surface using a sharp knife. This isn’t just for appearance—silverskin doesn’t break down during cooking and creates chewy patches. Take your time here; it’s worth the 2-3 minutes of work.
Thickness Affects Timing
Pork tenderloin thickness varies wildly depending on where it’s cut. The thicker end might be 3-4 inches, while the thin end tapers to barely 2 inches. This uneven cooking is the enemy. I butterfly thicker sections or tie the tenderloin with kitchen twine to create uniform thickness—about 2.5 inches all around. This simple step reduces your cooking time variation from 10+ minutes down to just 2-3 minutes.
If you don’t want to fuss with butterflying, just accept that the thin end will finish first. Some cooks tent that section with foil halfway through baking to prevent overcooking while the thick end catches up.
Internal Temperature Check
This is non-negotiable: use an instant-read meat thermometer. I insert it horizontally into the thickest part of the meat without touching bone (there usually isn’t any, but if you have a tenderloin with a bone, avoid it). Check at the 25-minute mark for a 2-pound tenderloin, then every 2 minutes after that.
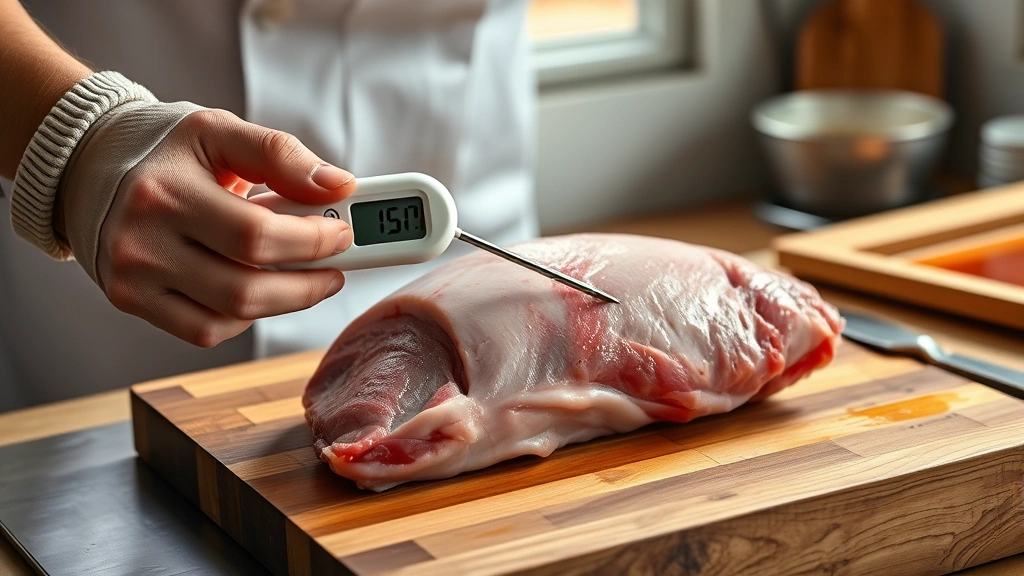
The temperature will rise 3-5°F after you remove it from the oven (carryover cooking), so I actually pull mine at 140-142°F to account for that. It’s the difference between perfect and overdone. Get a decent thermometer—the $15-25 digital ones are worth every penny and far more accurate than dial types.
Resting Period Crucial
Here’s where most home cooks fail: they slice immediately after removing the meat from the oven. Don’t do this. Let your pork tenderloin rest for 5-10 minutes, tented loosely with foil. This allows the juices to redistribute throughout the meat instead of running all over your cutting board.
During resting, the meat continues to cook slightly (that carryover cooking I mentioned). This is why I pull it at 140°F—by the time it rests, it’ll reach 145°F perfectly. Resting also makes slicing easier because the muscle fibers relax and hold together better.
Seasoning and Searing
Simple seasoning is best for pork tenderloin. I use kosher salt, fresh black pepper, and maybe some garlic powder applied generously 30 minutes before cooking. The salt has time to penetrate the meat, seasoning it throughout rather than just the surface.
For extra flavor, I sear the tenderloin in a hot cast-iron skillet for 2 minutes per side before transferring to the oven. This creates a golden crust and adds depth. If you do this, your total baking time might drop by 5 minutes since the meat’s already partially cooked. This searing method is especially useful if you’re making a bearnaise sauce recipe to serve alongside—the fond in the pan becomes part of your sauce.
Common Mistakes to Avoid
Overcooking is the biggest culprit. Pork tenderloin is lean, so even 5 degrees over your target temperature makes a noticeable difference in texture. Get that thermometer and trust it more than your intuition.
Skipping the resting period is mistake number two. I know you’re hungry, but those 5-10 minutes transform the final product from good to great. Serve it with healthy dinner recipes for 2 that you’ve prepped while the meat rests.
Not seasoning enough is number three. Pork is mild, so be generous with salt and pepper. Underseasoned tenderloin tastes bland no matter how perfect your timing. Season like you mean it.
Complementary Side Dishes
While your pork tenderloin bakes, you have time to prepare sides. Roasted vegetables work beautifully—asparagus, Brussels sprouts, or green beans all roast at the same 425°F temperature. Toss them with olive oil and seasoning, and pop them in for the last 20 minutes of the pork’s cooking time.

If you want something heartier, consider pairing it with classic Bolognese recipe Italian style—though that’s more unconventional. Honestly, a simple starch like roasted potatoes or rice pilaf lets the pork shine. The tenderloin is the star here; don’t overshadow it.
Frequently Asked Questions
Can I bake pork tenderloin at a lower temperature?
Yes, you can bake at 375°F (190°C), but it’ll take 25-30 minutes per pound instead of 15-20. The lower heat produces less browning but still yields tender results. Just use your meat thermometer to verify doneness.
What if my pork tenderloin is frozen?
Thaw it completely in the refrigerator first—this takes 24 hours for a 2-3 pound piece. Never bake from frozen; you’ll get uneven cooking with a cooked outside and raw center. Plan ahead.
How do I know if it’s overcooked?
Overcooked pork tenderloin is dry and tough. If you sliced it and it looks pale with no pink at all and feels firm when you bite it, you’ve overdone it. Next time, pull it 5 degrees earlier. For future reference, check out how how long does chicken take to boil to understand different protein timing.
Can I cook it at 350°F?
You can, but it’s not ideal. At 350°F, you’re looking at 30-35 minutes per pound with minimal browning. The lower temperature doesn’t develop the crust that makes pork tenderloin special. Stick with 400-425°F for best results.
Should I cover it with foil?
I don’t recommend covering the whole thing—you lose the browning benefit. If the top starts browning too fast, tent it loosely with foil for the last 10 minutes. But uncovered is usually better.
What’s the difference between tenderloin and pork loin?
Tenderloin is much smaller (1-3 pounds) and more tender, cooking in 30-45 minutes. Pork loin is larger (3-5 pounds) and tougher, requiring 20-25 minutes per pound. Don’t confuse them—timing and techniques differ significantly.
Can I marinate it beforehand?
Absolutely. Marinate for 2-8 hours in the refrigerator. Acidic marinades (with vinegar or citrus) help tenderize the lean meat. Pat it dry before cooking though—moisture prevents browning.
Final Thoughts
Nailing how long to bake pork tenderloin comes down to three things: proper temperature (425°F), accurate timing (15-20 minutes per pound), and a meat thermometer (targeting 140-145°F). Skip the guesswork, trust your tools, and you’ll produce restaurant-quality results every time. The whole process, from prep to table, takes about an hour—perfect for a weeknight dinner that impresses.


