
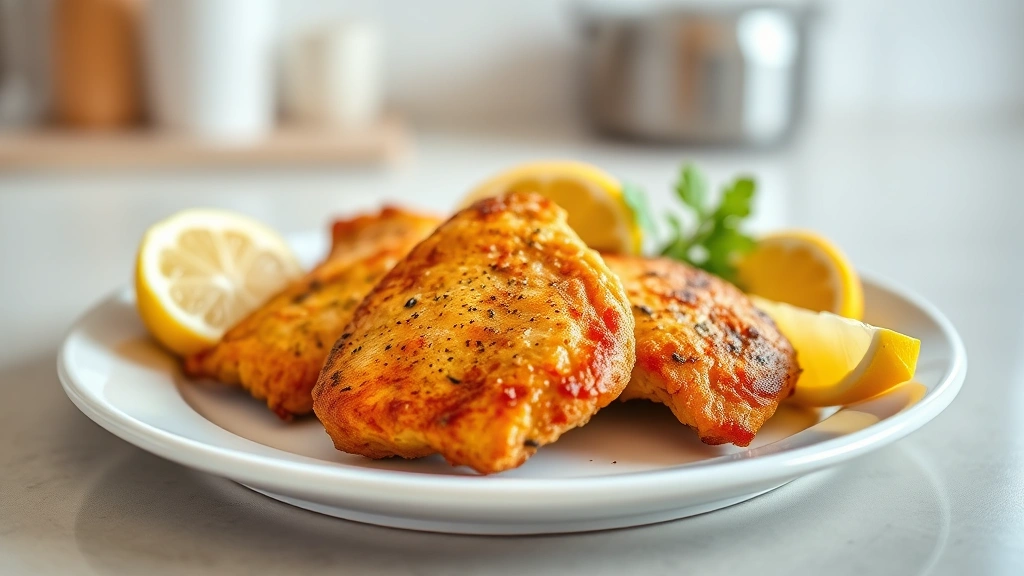
Figuring out how long to bake chicken tenders is one of those kitchen skills that separates crispy, juicy results from dry, overcooked disappointments. Whether you’re feeding a crowd of picky eaters or meal-prepping for the week, nailing the timing and temperature makes all the difference. I’m going to walk you through exactly what you need to know to get perfect chicken tenders every single time.
Table of Contents
Baking Time and Temperature
The sweet spot for baking chicken tenders is 400°F for 15-20 minutes. This temperature gives you a golden, crispy exterior while keeping the inside moist and tender. If your tenders are thicker or you’ve pounded them to extra thickness, you might need the full 20 minutes. Thinner ones can be done in 15 minutes.
The key is that internal temperature needs to hit 165°F at the thickest part. This is the food-safety standard for poultry and ensures any bacteria is eliminated. I always use an instant-read thermometer to verify—it takes the guesswork out of the equation and prevents both undercooked and overcooked results.
Some folks prefer 375°F if they want a slightly gentler bake, but that’ll add 3-5 minutes to your cooking time. The trade-off is a less crispy exterior, which defeats the purpose of baking tenders instead of poaching them.
Why Prep Work Matters
Before your tenders even hit the oven, preparation is where the magic happens. Start with quality chicken—fresh or properly thawed is non-negotiable. Pat them completely dry with paper towels. Moisture is the enemy of crispiness, so don’t skip this step.
If your tenders are uneven in thickness, gently pound them to about ½-inch uniform thickness. This ensures even cooking throughout. You can use the flat side of a meat mallet or even the bottom of a heavy pan. Consistent thickness means no more dried-out edges while waiting for the center to cook.
Season your chicken generously on both sides at least 15 minutes before breading. Salt penetrates the meat and helps it retain moisture during cooking. This is a pro move that most home cooks skip, but it genuinely makes a difference in the final texture.
Breading Techniques That Stick
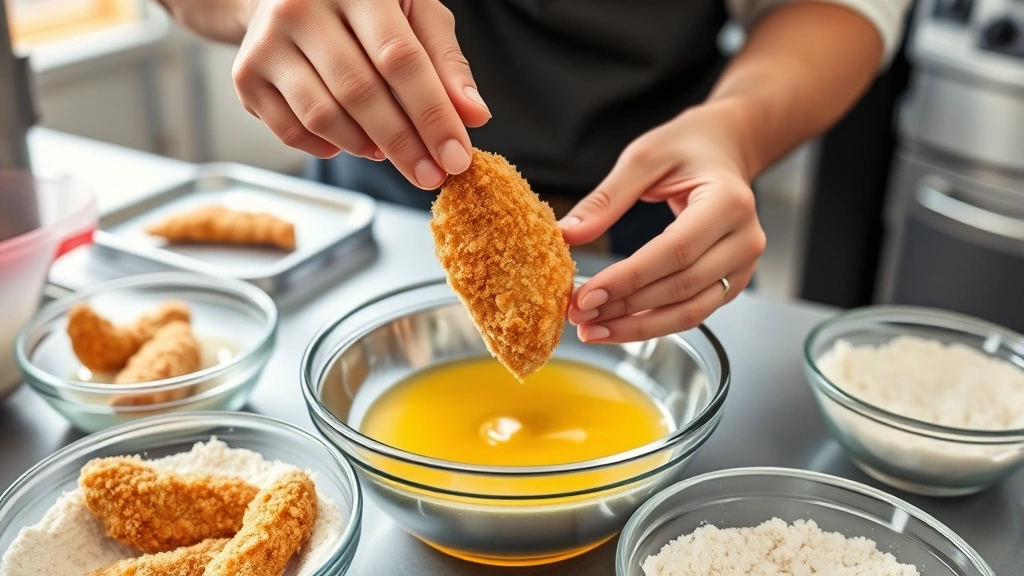
A proper breading setup uses three bowls: one with seasoned flour, one with beaten eggs, and one with your chosen breadcrumb mixture. The classic is panko breadcrumbs mixed with a bit of salt, pepper, and garlic powder. Some people add grated Parmesan for extra flavor.
Coat each tender in flour first, shaking off excess. Then dip in egg, letting the excess drip back into the bowl. Finally, press into breadcrumbs, making sure every surface is covered. This triple-dredge technique creates a solid crust that doesn’t fall off during baking.
For extra crispiness, let your breaded tenders sit on a wire rack for 10-15 minutes before baking. This allows the coating to set and adhere better. If you have time to refrigerate them for 30 minutes, even better—cold chicken bakes more evenly.
Setting Up Your Oven Right
Preheat your oven for at least 15 minutes before baking. This ensures consistent heat and even browning. Use an oven thermometer to verify your oven’s actual temperature—many home ovens run hotter or cooler than the dial indicates.
Arrange tenders on a wire rack set over a baking sheet. The rack is crucial because it allows heat to circulate underneath, preventing soggy bottoms. If you don’t have a wire rack, you can use a baking sheet, but flip the tenders halfway through for more even cooking.
Lightly spray or brush the tenders with cooking oil or melted butter. This helps them brown and crisp up. You don’t need much—just enough to coat the surface. This step is especially important if you’re avoiding deep frying but want that fried-chicken texture.
How to Check for Doneness
The foolproof method is using an instant-read meat thermometer. Insert it into the thickest part of the largest tender without touching bone. It should read 165°F. This is the only temperature that matters for food safety.
Visual cues are secondary but helpful. The exterior should be golden brown, and if you cut into the thickest part, the juices should run clear with no pink. The meat should be opaque throughout, not translucent.
Don’t rely on time alone. Every oven is different, and thickness variations mean some tenders might be done in 15 minutes while others need 18. Always verify with a thermometer. It takes 10 seconds and eliminates all doubt.
Common Mistakes to Avoid
The biggest mistake is skipping the wire rack. Baking tenders directly on a sheet creates a steam pocket underneath, resulting in a soggy bottom crust. That wire rack is non-negotiable if you want crispy results all around.
Another common error is overcrowding the baking sheet. Tenders need space for air to circulate. If they’re touching or too close together, they steam instead of bake. Use two sheets if necessary—it’s worth it.
Flipping tenders multiple times is unnecessary and can damage the breading. Bake them undisturbed for the first 10 minutes, then check one. If the bottom is browning nicely, leave them alone. Only flip if the top isn’t browning as fast as the bottom.
Using wet chicken is another guarantee for disappointment. Moisture prevents browning and creates a pale, limp coating. Pat those tenders dry before you even think about breading them.
Flavor Variations and Coatings
Beyond basic breadcrumbs, you can get creative with coatings. Mix panko with crushed crackers, cornflakes, or even crushed pretzels for texture. Add spices like paprika, cayenne, Italian seasoning, or garlic powder to the breadcrumb mixture.
For a healthier twist, try almond flour mixed with panko. It adds richness and keeps carbs lower. You can also use crushed nuts like walnuts or pecans for a completely different flavor profile.
Some people mix a tablespoon of hot sauce or Dijon mustard into the egg wash for subtle flavor that carries through the coating. This is also where you might incorporate gochujang recipe ideas if you want an Asian-inspired kick to your tenders.
Storage and Reheating
Cooked chicken tenders keep in the refrigerator for 3-4 days in an airtight container. They’re great for meal prep—make a big batch on Sunday and portion them out for the week.
To reheat, use a 350°F oven for about 8-10 minutes. This restores crispiness better than a microwave, which will make them rubbery. Spread them on a wire rack again so the bottom doesn’t get soggy.
You can also freeze cooked tenders for up to 3 months. Freeze them on a baking sheet first, then transfer to a freezer bag. Reheat from frozen at 375°F for 12-15 minutes. Raw breaded tenders freeze well too—bake directly from frozen, just add 5-7 minutes to the cooking time.
Frequently Asked Questions
Can I bake frozen chicken tenders?
Yes, but add 5-7 minutes to the baking time. Don’t thaw them first—bake directly from frozen at 400°F. Check that internal temperature reaches 165°F before serving. Frozen store-bought tenders often have different coatings, so follow the package instructions as a baseline.
What’s the difference between chicken tenders and chicken breasts?
Chicken tenders are the small, tender strip of meat naturally found on the underside of the chicken breast. They’re thinner and cook faster than whole breasts. If you only have breasts, you can cut them lengthwise into tender-sized strips.
Why are my baked tenders dry?
This usually means they cooked too long or at too high a temperature. Stick to 400°F and pull them at 165°F internal temperature, not a minute longer. Also make sure you’re using fresh chicken, not previously frozen and thawed multiple times.
Do I need to flip chicken tenders while baking?
Not necessarily. If you’re using a wire rack with proper oil coating, they brown evenly without flipping. If you notice the top isn’t browning as fast as the bottom, flip halfway through. But ideally, one flip or no flip is best.
Can I use egg-free breading?
Yes. Use milk, Greek yogurt, or even water mixed with a bit of cornstarch as your binding agent. The egg just helps the breadcrumbs stick, so any wet binder works. Some people use mayonnaise for extra richness.
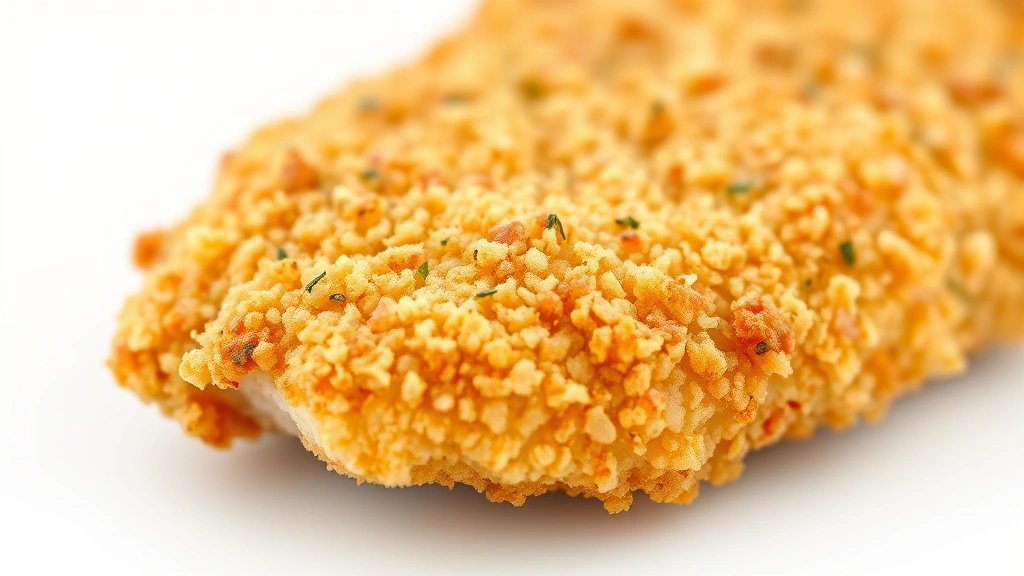
How do I get extra crispy chicken tenders?
Use panko breadcrumbs instead of regular. Spray with cooking oil before baking. Let breaded tenders refrigerate for 30 minutes before baking. Bake at 400°F on a wire rack. These three things combined give you the crispiest results possible without deep frying.
What temperature should chicken tenders be?
165°F internal temperature, measured at the thickest part. This is the USDA food-safety standard for poultry. Use an instant-read thermometer to verify. Don’t guess based on time or appearance alone.
Wrapping It Up
Baking chicken tenders perfectly comes down to a few key principles: proper temperature (400°F), correct timing (15-20 minutes), and verifying doneness with a thermometer (165°F). Prep work matters—dry your chicken, season it, and use a proper breading technique. Set yourself up for success with a wire rack, proper spacing, and a light oil coating.
Once you nail this technique, you’ll never stress about chicken tenders again. They’re quick, reliable, and infinitely customizable. Whether you’re making a weeknight dinner or prepping meals for the family, this method delivers crispy, juicy results every time. The whole process takes less than 30 minutes from raw to ready to eat, making it one of the easiest proteins to master in your kitchen.
For more creative cooking approaches, check out how to make candy apples for dessert pairings or explore popping boba for fun beverage additions. You might also enjoy learning about lavender techniques for seasoning or coffee syrup recipes for creative sauce applications.


