
Figuring out how long to bake chicken breast at 425 degrees is one of those kitchen skills that separates dry, rubbery disasters from juicy, tender perfection. I’ve tested this dozens of times in my own kitchen, and I’m going to walk you through exactly what works.
Table of Contents
Baking Time Basics
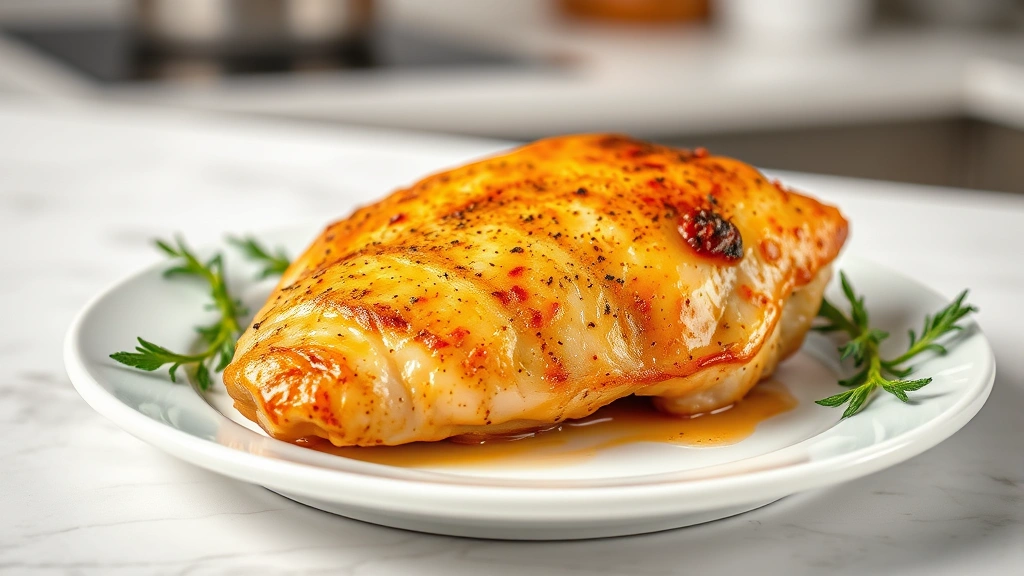
At 425 degrees Fahrenheit, boneless, skinless chicken breasts typically need 15 to 20 minutes to cook through completely. This is the sweet spot where the internal temperature reaches 165°F—the safe minimum according to food safety standards—without overcooking the meat into shoe leather.
The exact time depends on several factors: thickness, whether the chicken is at room temperature or cold from the fridge, and your specific oven’s personality (yes, ovens have personalities). I always recommend using a meat thermometer rather than relying on time alone. It’s the difference between guessing and knowing.
When you’re working with bone-in, skin-on chicken breasts, add another 5 to 10 minutes to that timeline. The bone acts as a heat sink, and the skin provides insulation, so everything takes a bit longer.
Thickness Matters Most
Here’s the real secret: thickness is your biggest variable. A thin chicken breast (about 3/4 inch) can be done in 12 to 15 minutes. A standard 1-inch thick breast needs the full 15 to 20 minutes. If you’ve got a thick breast (1.5 inches or more), you’re looking at 20 to 25 minutes.
This is why I always recommend butterflying or pounding your chicken to an even thickness before baking. Grab a meat mallet, place the chicken between two sheets of plastic wrap, and pound gently until it’s consistently about 3/4 to 1 inch thick. This ensures everything cooks at the same rate—no more dry edges with a cold center.
If you’re prepping multiple breasts, try to select ones that are similar in size. It makes timing much more predictable and takes the stress out of the process.
Temperature Check Method
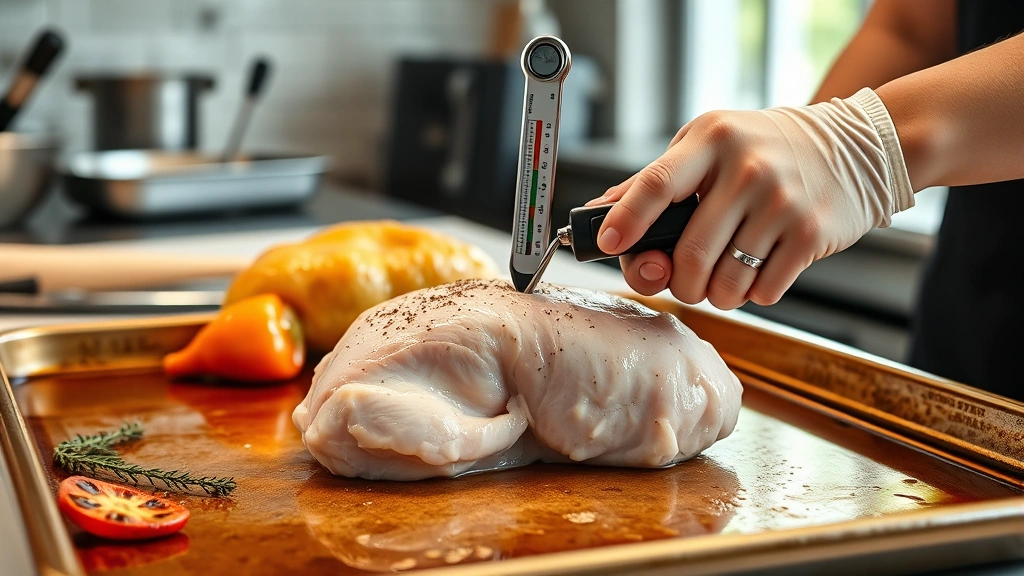
Forget the old trick of cutting into the chicken to check for pink. That releases all the juices and defeats the purpose of baking. Instead, invest in a simple instant-read meat thermometer—they’re cheap and absolutely worth it.
Insert the thermometer into the thickest part of the breast without touching bone (if there is one). The internal temperature needs to hit 165°F. At 425 degrees, you’ll typically see the temperature climb quickly once you hit the 15-minute mark.
Pro tip: Start checking at 12 minutes for thin breasts and 15 minutes for standard thickness. This way, you catch it at the perfect moment instead of overshooting. Every oven is different, and knowing your oven’s quirks saves you from repeated mistakes.
Prep Work Before Baking
The preparation phase makes an enormous difference in your final result. First, let your chicken sit at room temperature for about 15 minutes before baking. Cold chicken straight from the fridge takes longer to cook and tends to cook unevenly—the outside gets done before the inside catches up.
Pat the chicken completely dry with paper towels. Moisture is the enemy of browning and even cooking. If your chicken is wet, it’ll steam instead of bake, and you’ll end up with pale, soggy skin instead of that nice golden exterior.
Place your chicken on a rimmed baking sheet lined with parchment paper or aluminum foil. This makes cleanup infinitely easier and prevents sticking. If you’re cooking multiple breasts, arrange them so they don’t touch—they need air circulation around them to cook evenly.
Seasoning Strategies
Season your chicken generously right before it goes in the oven. I’m talking salt, pepper, and whatever other flavors you want. Don’t be shy—the seasoning won’t penetrate deeply during such a short cooking time, so you need enough on the surface to taste it.
A simple approach: kosher salt, freshly ground black pepper, garlic powder, and dried herbs like thyme or oregano. If you want something more adventurous, try a flavorful sauce or glaze that you can make from the pan drippings afterward.
You can also brush the chicken lightly with olive oil before seasoning. This helps the seasonings stick and promotes browning. A light coating—just enough to glisten—is all you need.
Common Mistakes to Avoid
The biggest mistake I see is starting with chicken straight from the refrigerator. Cold chicken needs longer to cook, and by the time the center reaches 165°F, the outside is already overdone. Let it sit out for 15 minutes first.
Second mistake: opening the oven door constantly to check on things. Every time you open that door, you lose heat, and the temperature inside drops. This extends your cooking time and creates uneven cooking. Check once at the 12-minute mark, then again at 15 minutes if needed.
Third: not using a meat thermometer and relying on time alone. Your oven might run hot or cold. That fancy new convection setting might cook faster than you expect. A thermometer removes all the guesswork.
Fourth: skipping the resting period. I know you’re hungry, but those five minutes make a real difference in juiciness.
The Critical Resting Period
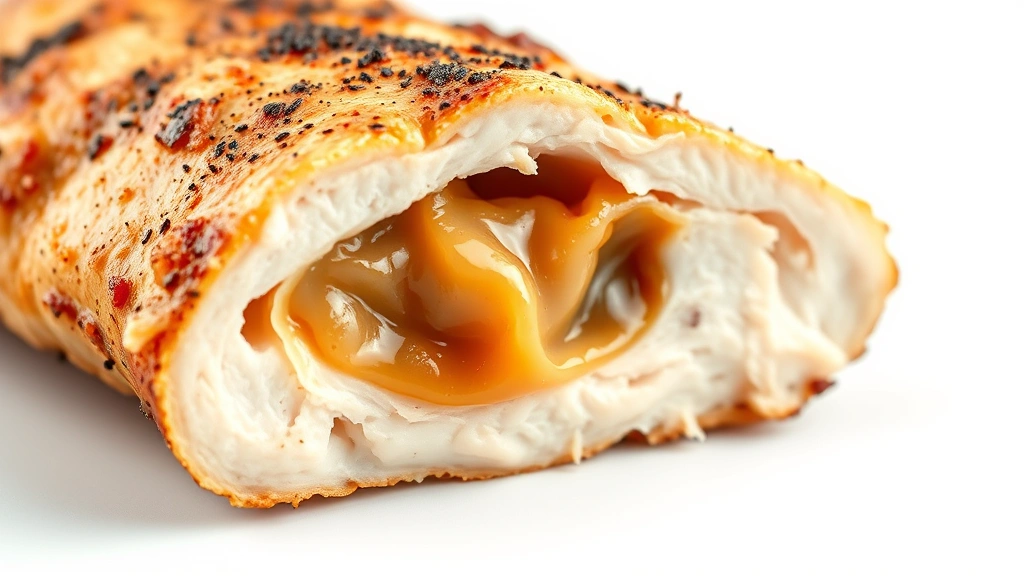
Once your chicken hits 165°F internally, pull it out of the oven and let it rest for 5 minutes before cutting into it. This isn’t just busywork—it’s science. During cooking, the heat pushes all the juices toward the center of the meat. Resting allows those juices to redistribute throughout the chicken.
If you cut into it immediately, all those juices run out onto your plate instead of staying in the meat. You end up with dry chicken even though you cooked it perfectly. Five minutes of patience makes a massive difference in the final eating experience.
Tent the chicken loosely with foil during resting if you want to keep it warm. This traps some heat while still allowing steam to escape, so it doesn’t get soggy.
Storage and Leftovers
Cooked chicken keeps in the refrigerator for 3 to 4 days in an airtight container. Let it cool to room temperature first, then refrigerate. Cold chicken is perfect for meal prep and building quick lunches throughout the week.
You can also freeze cooked chicken for up to 3 months. Wrap individual breasts in plastic wrap, then place them in a freezer bag to prevent freezer burn. Thaw overnight in the refrigerator before reheating.
To reheat, place the chicken in a 350°F oven for about 10 minutes, or until it’s warmed through. You can also reheat it in a skillet with a splash of broth to add moisture back in. Avoid the microwave if possible—it tends to dry things out further.
Frequently Asked Questions
Can I bake chicken breast at 425 with the skin on?
Yes, absolutely. Skin-on, bone-in breasts will take 20 to 25 minutes at 425°F. The skin helps retain moisture and creates a nice exterior. Pat the skin dry before baking and season generously. You can brush it with a little oil to help it crisp up.
What if my chicken is still pink inside at 20 minutes?
Pink doesn’t always mean undercooked—sometimes it’s just how the meat looks. Always trust your meat thermometer over appearance. If it hasn’t hit 165°F yet, put it back in for another 3 to 5 minutes and check again. If it’s at 165°F, it’s safe to eat regardless of color.
Should I cover the chicken with foil while baking?
No. Uncovered baking at 425°F gives you nice browning and a slightly firmer exterior. If your chicken is browning too fast on top before the inside is done, you can tent it loosely with foil for part of the cooking time, but remove it for the last few minutes to finish browning.
Can I bake frozen chicken at 425?
You can, but it’s not ideal. Frozen chicken takes significantly longer—roughly 50% more time. It’s much better to thaw it overnight in the refrigerator first. If you’re in a pinch, thaw it quickly by sealing it in a bag and submerging it in cold water for 1 to 2 hours, changing the water every 30 minutes.
Why is my chicken always dry?
The most common culprits: cooking from a cold start, overcooking past 165°F, or not letting it rest. Make sure you’re starting at room temperature, using a thermometer to avoid overcooking, and always resting for 5 minutes before cutting. You can also try brining your chicken in saltwater for 2 to 4 hours before baking—this helps it retain moisture.
Can I cook multiple breasts at once?
Yes, as long as they’re not overlapping on the baking sheet. Arrange them in a single layer with space between each one. If your breasts are similar in thickness, they’ll cook at roughly the same rate. If they’re different sizes, you might need to remove the smaller ones a few minutes early.
Final Thoughts
Baking chicken breast at 425°F is genuinely simple once you know the fundamentals: 15 to 20 minutes for standard thickness, a meat thermometer to confirm 165°F, and a 5-minute rest before cutting. Start with room-temperature chicken, keep the oven door closed, and you’ll have juicy, perfectly cooked chicken every single time.
The beauty of this method is its reliability. Once you’ve done it a few times, it becomes second nature. You’ll stop worrying about whether it’s done and start confidently serving restaurant-quality chicken at home. And if you’re looking for ways to use that perfectly cooked chicken, you’ll have plenty of time to plan your meals while you master this fundamental cooking skill.


