
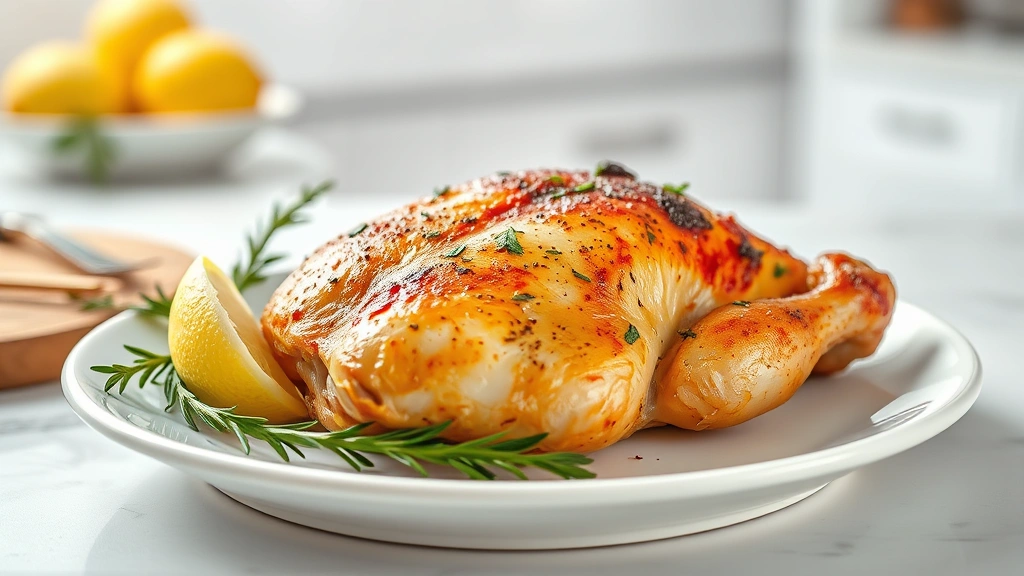
So you’re wondering how long to bake chicken at 400—and you want it juicy, not dry. I get it. Nothing kills dinner faster than rubbery chicken. The good news? Nailing this is straightforward once you understand the basics. At 400°F, most chicken pieces hit that sweet spot between cooking through and staying moist. Let me walk you through exactly what you need to know.
Table of Contents
Cooking Times by Cut
Here’s where precision matters. At 400°F, different chicken cuts need different timing—and getting this right is the foundation of perfect poultry.
Chicken breasts (6-8 oz, boneless skinless): 20-25 minutes. If they’re thicker, add 5 minutes. Bone-in, skin-on breasts? Add another 5-10 minutes because the bone and skin slow heat penetration.
Chicken thighs (bone-in, skin-on): 30-35 minutes. Thighs are forgiving because they have more fat. Even if you push them a few minutes over, they stay juicy. This is your friend if you’re nervous about drying things out.
Chicken drumsticks: 35-40 minutes. They’re small but dense, so don’t rush them. The bone takes time to heat through completely.
Whole chicken (4-5 lbs): 60-75 minutes. This depends heavily on size. A 4-pounder might need 60 minutes; a 5-pounder could hit 75. Use a meat thermometer—that’s your real timer here.
Chicken wings: 20-25 minutes. They’re quick, which makes them perfect for weeknight cooking. Toss them in sauce for the last 5 minutes if you want that sticky finish.
Temperature Matters Most
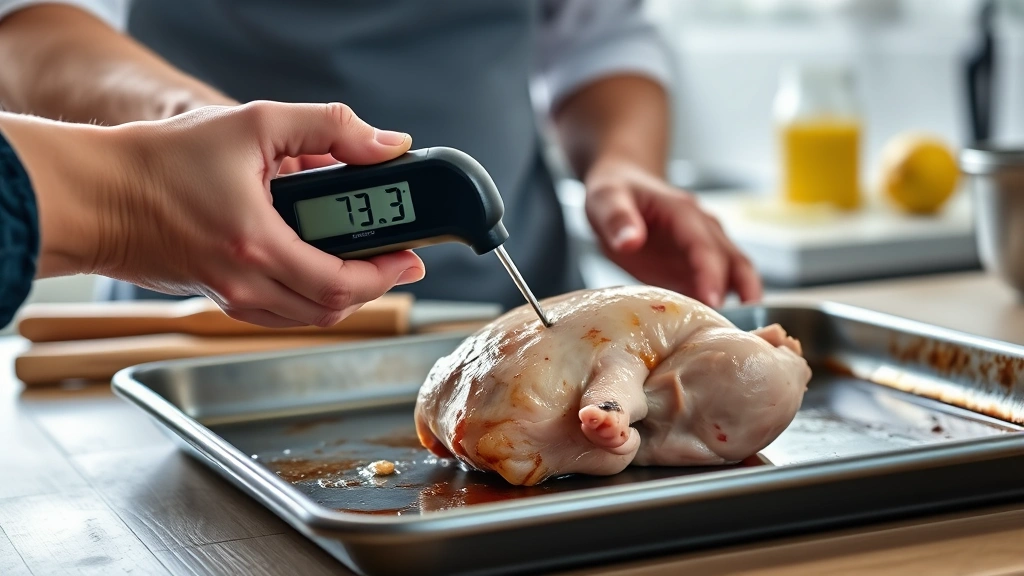
Forget guessing. A meat thermometer is non-negotiable if you want consistent results. Insert it into the thickest part of the meat—for a whole chicken, that’s the thigh without touching bone. The target: 165°F (74°C). That’s the USDA safe temperature, and it’s also where chicken stays juicy.
Here’s the thing: chicken breast hits 165°F and starts drying out quickly if you keep cooking. Thighs and drumsticks can go to 170-175°F and still taste moist because of their fat content. Knowing this lets you pull breasts earlier while keeping darker meat cooking longer on the same pan.
I recommend an instant-read thermometer. Stick it in, wait 3 seconds, and you’ve got your answer. No more cutting into chicken to check—that releases juices and defeats the purpose.
Prep Work Setup
Before the chicken hits the oven, you’ve got work to do. Pat your chicken completely dry with paper towels. Moisture on the surface steams instead of roasts, and you lose that golden, flavorful exterior. Seriously—don’t skip this step.
Season generously inside and out. Salt, pepper, garlic powder, paprika—whatever your style. Season at least 15 minutes before cooking (or up to overnight in the fridge). This lets the seasoning penetrate the meat, not just sit on top.
Arrange chicken on a sheet pan lined with foil or parchment. Don’t crowd the pan. Each piece needs air circulation around it. If pieces touch, they steam instead of roast. Space them about an inch apart.
Optional: rub with a little olive oil. This helps browning and keeps the surface from drying. About 1 tablespoon per pound of chicken is plenty. You can also try our gravy from pan drippings technique to capture all those flavors.
Moisture Retention Tricks
Want the secret to juicy baked chicken? Control the cooking environment. Here are the moves that actually work:
Brine beforehand. Soak chicken in saltwater (1/4 cup salt per quart of water) for 2-4 hours before cooking. This lets the meat absorb and retain moisture during cooking. It sounds fancy—it’s not. It’s just salt water and patience.
Use a roasting pan with sides. This traps a little steam around the chicken without making it soggy. The sides of a sheet pan work fine too.
Don’t skip the resting period. More on this below, but it’s crucial for moisture retention.
Avoid opening the oven door. Every time you peek, heat escapes and cooking time extends. If you must check, do it once, halfway through.
Consider a glaze in the last 5 minutes. A honey-soy glaze or simple barbecue sauce adds flavor and a protective layer. Brush it on near the end so it caramelizes without burning.
Checking for Doneness
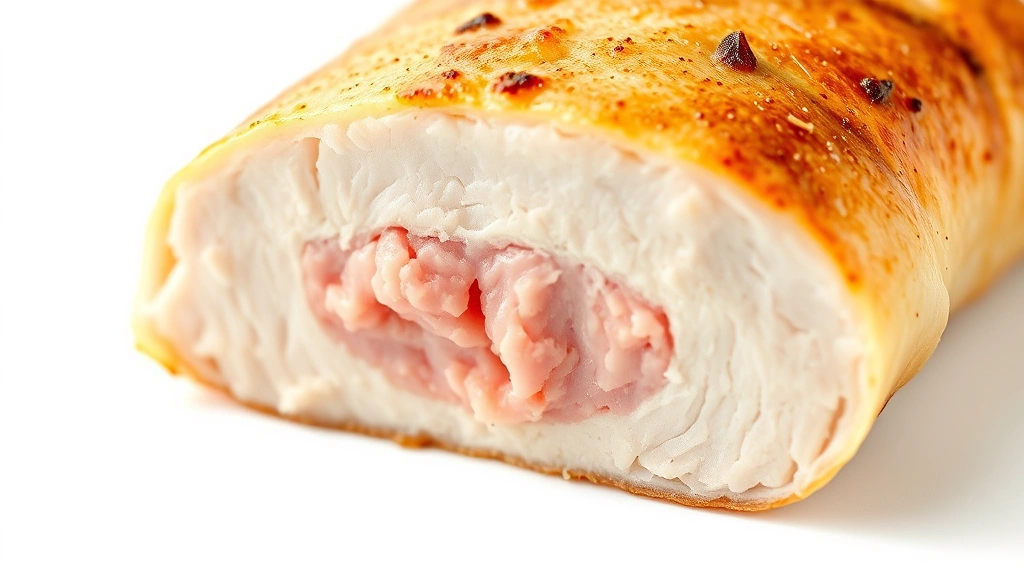
The thermometer is your primary tool. But here’s a backup check: pierce the thickest part with a knife or skewer. The juices should run clear, not pink. If they’re still pink, you need more time—even if the thermometer says you’re close. Give it another 3-5 minutes.
Visually, the skin (if you have it) should be golden brown, not pale. If your chicken looks pale after the recommended time, crank the oven to 425°F for the last 5 minutes to brown it up. Color doesn’t mean doneness, but it means better flavor from the Maillard reaction.
Press the meat with your finger (use tongs—it’s hot). Fully cooked chicken feels firm but not hard. Undercooked feels squishy; overcooked feels like rubber. You’ll develop a feel for this after a couple tries.
The Resting Period
Pull the chicken from the oven when it hits 165°F. Now stop. Don’t cut into it. Let it rest for 5-10 minutes, covered loosely with foil. During this time, the internal temperature rises 3-5 degrees (carryover cooking), and more importantly, the juices redistribute throughout the meat instead of running out onto your plate.
This resting period is the difference between juicy chicken and dry chicken. It’s not optional. It takes 10 minutes. Your sides can stay warm while this happens. It’s worth it.
Common Mistakes to Avoid
Cooking at too high a temperature. Some recipes say 425°F or 450°F. That’s faster, but the outside browns before the inside cooks through, and you end up with burnt skin and undercooked meat. 400°F is the sweet spot.
Not using a thermometer. Guessing leads to either dry chicken or undercooked chicken. Neither is good. A $12 instant-read thermometer solves this forever.
Crowding the pan. I mentioned this, but it’s worth repeating. Crowded chicken steams. Spaced chicken roasts. Roasting is what you want.
Skipping the resting period. I know you’re hungry. Wait the 10 minutes. The difference is real.
Not seasoning enough. Chicken is bland on its own. Season it like you mean it. You can always add more flavor with jasmine rice sides or other accompaniments, but the chicken itself needs salt and flavor.
Cooking from cold. Let chicken sit at room temperature for 15-20 minutes before cooking. This helps it cook evenly. Cold chicken takes longer and tends to dry out.
Recipe Variations
The basic timing holds, but here’s how to adapt for different styles:
Marinated chicken. Marinate for 2-8 hours (longer = more flavor). Pat dry before cooking. The timing stays the same, but the flavor deepens.
Stuffed chicken. Add 10-15 minutes to the cooking time. The stuffing needs to heat through. Use a thermometer in the stuffing too—it should hit 165°F.
Glazed chicken. Apply glaze in the last 5-10 minutes. If you glaze earlier, it burns. Build the glaze layers near the end for best results.
Herbed chicken. Fresh herbs (rosemary, thyme, oregano) can go under the skin or on top. They add flavor without changing timing. Try pairing with air fryer sweet potatoes for a complete meal.
Asian-style chicken. Use soy sauce, ginger, and garlic in a marinade or glaze. The timing doesn’t change, just the flavor profile. Serve over rice for a complete dish.
Frequently Asked Questions
Can I bake chicken at 400°F from frozen?
Technically yes, but I don’t recommend it. Frozen chicken takes 50% longer to cook (roughly 30-40 minutes for breasts), and it cooks unevenly. The outside can overcook while the inside is still cold. Thaw in the fridge overnight or use the cold-water method (30 minutes in a sealed bag in cold water). It’s worth the prep time.
Why is my chicken always dry?
Three reasons: overcooking (use a thermometer), not resting (wait 10 minutes), or not brining (soak in saltwater beforehand). Pick one and fix it. Usually it’s overcooking. Chicken breast at 165°F is done—not 170°F, not 175°F. That extra 5 degrees dries it out.
Should I cover the chicken while baking?
No. Covering steams the chicken and prevents browning. Let it roast uncovered. If the skin is browning too fast (unlikely at 400°F), you can tent with foil for the first half, then remove it. But usually, just let it roast naked.
Can I use a convection oven?
Yes. Reduce the temperature by 25°F (so 375°F instead of 400°F) and reduce cooking time by about 10%. Convection circulates hot air, so it cooks faster and more evenly. A convection oven is actually ideal for chicken—you’ll get better browning and more consistent results.
How do I know if the chicken is done without a thermometer?
Check the juices (should run clear) and pierce with a knife (no pink). But honestly? Get a thermometer. They’re cheap, accurate, and eliminate guessing. It’s the single best investment for cooking chicken consistently.
Can I bake chicken at 400°F with vegetables?
Absolutely. Arrange vegetables (potatoes, carrots, onions) around the chicken. They’ll cook in the same time if you cut them into similar-sized pieces. Add them to the pan at the start. Root vegetables take the full time; softer vegetables (like zucchini) can go in halfway through to avoid overcooking.
What’s the difference between baking and roasting?
Technically, roasting uses higher heat and is meant to brown the exterior. Baking is gentler. At 400°F, you’re basically roasting—you’ll get browning and flavor. The terms are pretty interchangeable in home cooking. Both work fine for chicken.
Can I bake multiple chickens at once?
Yes, but don’t stack them. Arrange on separate racks if needed, or use multiple pans. Each chicken needs air circulation. Cooking time stays roughly the same if they’re similar sizes. Use a thermometer on each bird to be sure—they might cook at slightly different rates depending on oven hot spots.
Final Thoughts
How long to bake chicken at 400°F? The answer depends on the cut—breasts need 20-25 minutes, thighs 30-35, and a whole bird 60-75. But the real answer is: use a meat thermometer and cook to 165°F. That’s your insurance policy against dry chicken.
The moves that matter: pat the chicken dry, season well, space it on the pan, don’t peek, and rest it for 10 minutes after cooking. Those five things will transform your chicken from mediocre to genuinely good.
Start with bone-in, skin-on thighs if you’re nervous—they’re harder to overcook. Once you nail those, move to breasts. Before long, you’ll be pulling perfectly juicy chicken out of the oven every time. And your family will notice the difference.
One more thing: save those pan drippings. They’re liquid gold for making gravy or adding to rice. Nothing goes to waste when you’re cooking smart. Now get in that kitchen and make some chicken.


