
So you’re wondering how long does it take to boil chicken breast—and honestly, it’s one of the most straightforward cooking techniques you can master. Whether you’re meal prepping for the week, making chicken salad, or building a protein-packed lunch bowl, boiling chicken breast is fast, reliable, and foolproof. In most cases, you’re looking at 12-15 minutes for standard boneless, skinless breasts, but there’s more to it than just dropping them in hot water and hoping for the best.
Table of Contents
Basic Timing Guide
Let’s cut straight to it: boneless, skinless chicken breasts take about 12-15 minutes to boil when they’re at a rolling boil. If you’re starting with frozen chicken, add another 5-10 minutes depending on thickness. The key is maintaining a gentle boil—not a raging, violent bubble-fest that’ll dry out your meat. Think steady, consistent heat where bubbles are breaking the surface regularly but not aggressively.
For breasts that are particularly thick (over 1.5 inches), you might stretch toward 18-20 minutes. Thinner cutlets can be done in as little as 10 minutes. The sweet spot for most home cooks is right around 12-14 minutes—that’s when you get tender, juicy meat without any pink in the middle.
Factors That Affect Cook Time
Not all chicken breasts are created equal, and several variables will impact your actual cooking time. Thickness is the biggest player here—a thin, pounded-out breast cooks way faster than a naturally thick one. If you’re working with breasts that vary in thickness, pound them out to an even 3/4-inch thickness before boiling. This ensures they cook uniformly.
Water temperature matters too. If you start with room-temperature water, add 3-5 extra minutes. Cold water from the tap? You’re looking at closer to 20 minutes total. Starting with hot water or even boiling water before adding chicken cuts time down significantly. The altitude where you’re cooking also plays a role—high altitude means lower boiling points, which requires longer cooking times.
Frozen versus thawed makes a real difference. Thawed chicken at room temperature boils fastest. Chicken straight from the fridge needs a couple extra minutes. Completely frozen breasts need about 5-10 minutes longer than thawed ones, depending on size.
Step-by-Step Boiling Process
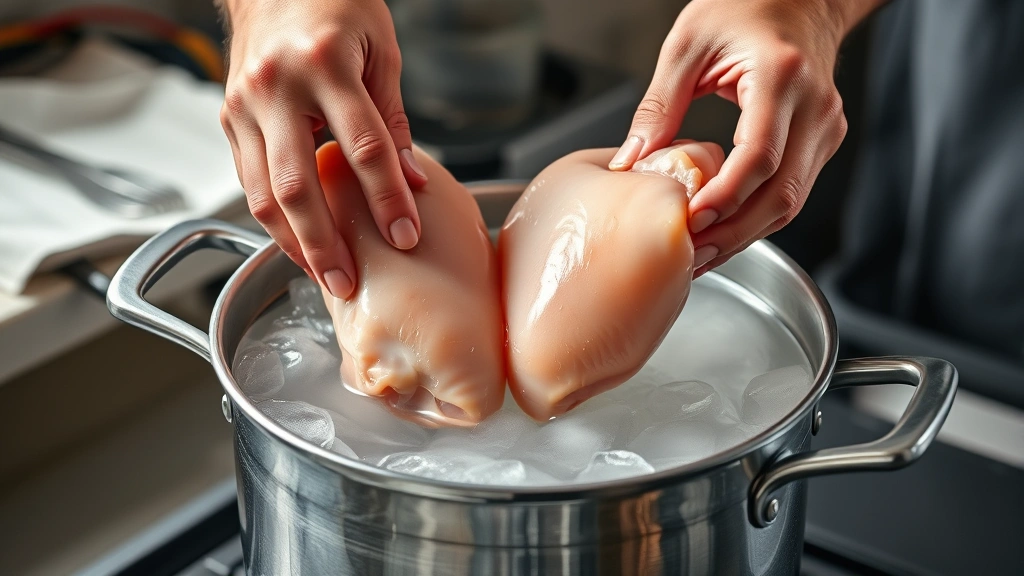
Here’s how to nail it every time. Start by placing your chicken breasts in a pot large enough that they’re not crowded—they should have room to move around a bit. Cover them with cold water, leaving about an inch of water above the meat. Add salt (about 1 teaspoon per quart of water) and any aromatics you want: bay leaves, peppercorns, garlic cloves, or onion chunks all work great.
Bring the water to a rolling boil over high heat. Once it’s boiling, reduce the heat to medium or medium-low so you get a gentle, steady boil rather than an aggressive one. Set your timer for 12 minutes if you’re working with standard boneless breasts. Don’t cover the pot—you want to see what’s happening in there.
Around the 10-minute mark, you can start checking for doneness without removing the chicken. Use a meat thermometer if you have one (more on that below), or use the visual and tactile methods we’ll cover. When the time’s up, carefully remove one breast and let it rest for a minute before cutting into the thickest part to check for any pink.
How to Check for Doneness
The most reliable method is a meat thermometer. Chicken breast is safely cooked when it reaches an internal temperature of 165°F (74°C). Insert the thermometer into the thickest part of the breast, away from bone (if there is one), and wait 3-5 seconds for a reading. This is the gold standard—no guessing, no cutting into the meat and letting juices escape.
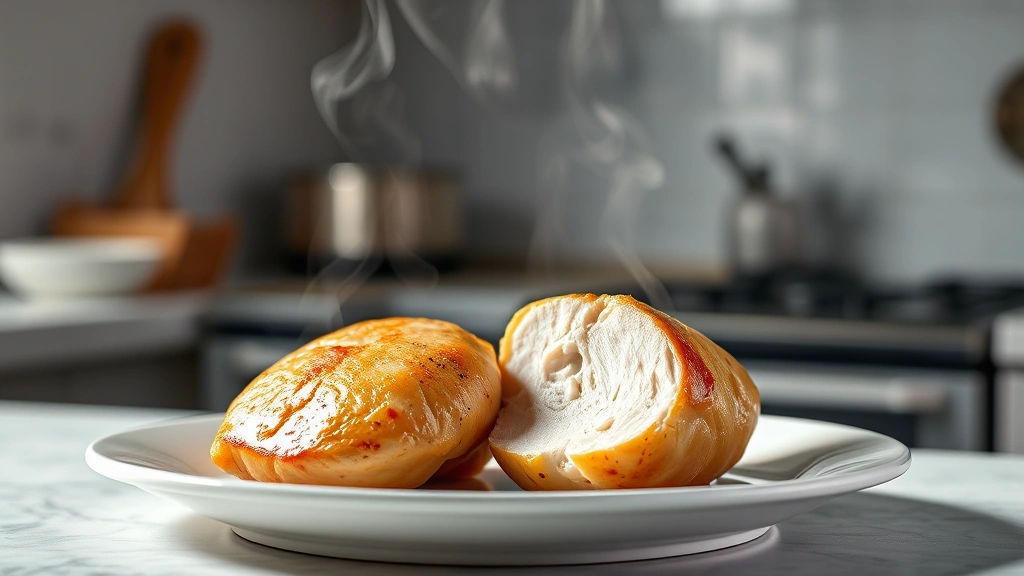
If you don’t have a thermometer, the visual check works fine. Cut into the thickest part of the largest breast. There should be absolutely no pink—the meat should be white or pale throughout. Any pink means it needs more time. The meat should feel firm but not hard when you press it with a fork.
Another trick: the juices should run completely clear when you pierce the thickest part. If there’s any pink tint to the juices, keep boiling for another 2-3 minutes. These methods aren’t as precise as a thermometer, but they’re reliable when you know what you’re looking for.
Bone-In vs Boneless Breasts
Bone-in chicken breasts take longer—figure on 15-20 minutes depending on size. The bone insulates the meat and slows down heat transfer, so you can’t use the same timing as boneless. The upside? Bone-in breasts tend to stay juicier because the bone helps retain moisture during cooking. They also have more flavor, which is why they’re worth the extra few minutes.
With bone-in breasts, the same thermometer rule applies: 165°F internal temperature. Make sure you’re measuring in the thickest part of the meat, not touching the bone. If you’re doing a mix of bone-in and boneless in the same pot, put the bone-in ones in first and add the boneless ones a few minutes later so they finish around the same time.
Skin-on breasts (with or without bone) also take a bit longer—maybe 2-3 extra minutes. The skin acts as insulation. Some folks prefer to remove the skin before boiling to speed things up and reduce fat content, while others leave it on for added flavor and moisture retention.
Seasoning While Boiling
The water is your seasoning vehicle here. Don’t skip the salt—it actually helps the chicken stay moist and flavorful. Use about 1 teaspoon of salt per quart of water. Some folks go up to 1.5 teaspoons, especially if they’re making healthy lunch recipes for meal prep where the chicken will be the star.
Aromatics are your friends. Bay leaves add subtle depth. Peppercorns give a gentle spice note. A halved onion, crushed garlic cloves, or fresh thyme sprigs transform the cooking liquid into something more like broth. Some folks add a splash of chicken broth instead of plain water—this boosts flavor without changing cook time.
Avoid adding too much acid (like vinegar or lemon juice) during boiling, as it can make the meat tough. Save your citrus and vinegar-based marinades for after the chicken is cooked. If you want a more intensely flavored result, let the cooked chicken cool in the seasoned broth for 30 minutes before removing it.
Storage and Meal Prep
Boiled chicken is perfect for summer recipes and meal prep because it keeps well. Once it’s cooked and cooled, store it in an airtight container in the fridge for up to 4 days. You can also freeze it for up to 3 months. For freezing, let it cool completely, pat it dry, and wrap individual breasts in plastic wrap before placing them in a freezer bag.
Pro tip: Save that cooking liquid. It’s now chicken broth, and it’s liquid gold for soups, rice, or reheating your chicken later. Let it cool, strain out the aromatics, and store it in the fridge for up to 5 days or freeze it in ice cube trays for later use.
When you’re prepping multiple batches, you can boil several pounds at once—just make sure they’re all submerged and have room to cook evenly. A large stockpot can handle 4-6 breasts without issue. Divide them into containers once cooled, and you’ve got protein ready for the whole week.
Common Mistakes to Avoid
The biggest mistake is boiling too aggressively. High heat and violent bubbling actually toughens the meat and can cause it to dry out. Aim for a gentle, steady boil where bubbles are breaking the surface regularly but not violently.
Don’t skip the salt. Unsalted boiling water produces bland chicken. You need salt in the water to season the meat properly as it cooks. Another common error is overcrowding the pot. If chicken breasts are stacked or crammed together, they won’t cook evenly. Give them space.

Starting with cold water and expecting the same timing as starting with hot water will throw off your results. Be consistent with your water temperature if you’re trying to hit specific cook times. Finally, don’t assume all chicken breasts are the same size. Always check for doneness rather than relying solely on the clock—use a thermometer if you can.
Frequently Asked Questions
Can I boil frozen chicken breast without thawing?
Yes, absolutely. Frozen chicken takes about 5-10 minutes longer than thawed, depending on thickness. The exact time depends on how frozen it is and the size of the breast. A good rule of thumb is 18-25 minutes for frozen boneless, skinless breasts. Always check internal temperature to be sure.
Why is my boiled chicken tough and dry?
This usually happens from overcooking or boiling too aggressively. Keep the heat at medium or medium-low for a gentle boil. Also, don’t let chicken sit in the hot water after it’s done cooking—remove it promptly. Overcooking by even 5 minutes can make a noticeable difference in texture.
Should I cover the pot while boiling?
No, leave it uncovered. Covering the pot can trap too much heat and cause the water to boil too aggressively, which toughens the meat. You also want to see what’s happening in there. An uncovered pot gives you better control and visibility.
Can I use the boiling water as broth?
Definitely. The liquid becomes a light chicken broth that’s perfect for soups, rice, or reheating chicken. Strain out the aromatics and store it in the fridge for up to 5 days, or freeze it for later. It’s a great way to add flavor to other dishes.
What’s the difference between boiling and poaching?
Technically, boiling means the water is at a rolling boil (212°F), while poaching is gentler—usually 160-180°F. For chicken breast, a gentle boil is what most home cooks do, which is somewhere between the two. The result is tender, moist chicken without the aggressive bubbling of a hard boil.
How do I keep boiled chicken moist?
Don’t overcook it. Use a thermometer and remove it at exactly 165°F. Don’t let it sit in hot water after cooking. If you’re meal prepping, store it in an airtight container, and consider keeping it in some of the cooking broth—this helps retain moisture. You can also explore other cooking methods if you find boiling consistently dries out your chicken.
Can I boil chicken with skin on?
Yes, skin-on breasts take about 2-3 minutes longer than skinless. The skin helps keep the meat moist and adds flavor. Some folks prefer to remove the skin before boiling to reduce fat content. Either way works—it’s a preference thing.
Final Thoughts
Boiling chicken breast is genuinely one of the easiest cooking techniques you can master. Twelve to fifteen minutes at a gentle boil gets you tender, juicy, perfectly cooked chicken that’s ready for salads, wraps, soups, or meal prep projects. The key is consistency: use a thermometer when you can, maintain a gentle boil, don’t overcrowd your pot, and salt your water.
Once you’ve nailed the basic technique, you can experiment with different seasonings and aromatics in the boiling water. Save that broth, store your chicken properly, and you’ve got a reliable foundation for dozens of meals. Whether you’re prepping for the week or cooking dinner tonight, you now know exactly how long it takes to boil chicken breast and how to do it right. Keep learning about protein preparation and you’ll be a kitchen pro in no time.


