
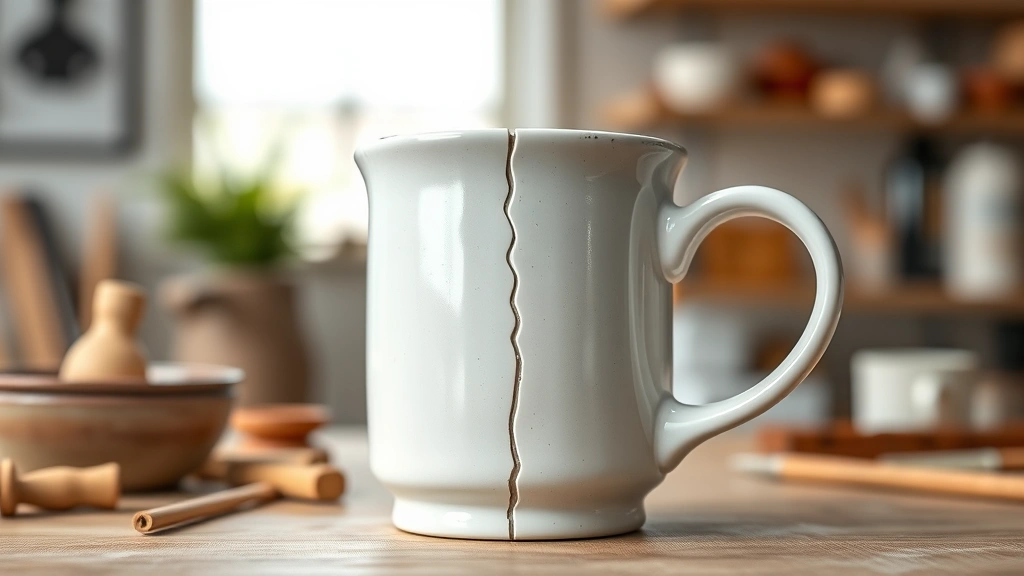
So you’ve got a broken ceramic mug, a snapped plastic handle, or maybe a busted figurine sitting on your workbench. You reach for the super glue bottle because, let’s face it, it’s the fastest fix in the adhesive world. But here’s the real question: how long does it take super glue to dry? The answer isn’t as straightforward as you’d think, and there are some tricks to getting it right every single time.
Table of Contents
Quick Drying Times
Let me cut to the chase. Super glue—also called cyanoacrylate adhesive—typically sets in 30 seconds to 2 minutes on most materials. That’s the initial set, where the bond becomes rigid enough to handle without things falling apart. But here’s where people get confused: setting and full curing are two different animals.
For a basic repair on wood, plastic, or metal, you’re looking at about 24 hours for complete curing. That’s when the bond reaches maximum strength. The first minute or two feels solid, but the glue is still developing its full grip for the next day. I learned this the hard way years ago when I thought a glued wooden box was ready to use after an hour—it wasn’t.
Factors Affecting Dry Time
The drying time of super glue depends on several variables that most people overlook. You can’t just look at the bottle and expect that timeframe to apply to your specific project. Think of it like baking—the recipe gives you a baseline, but your oven, altitude, and humidity all play a role.
The type of materials you’re bonding matters enormously. Porous surfaces like wood and paper absorb the glue differently than non-porous materials like glass or ceramic. The amount of glue you use also affects drying time—too much and it takes longer, too little and it doesn’t bond properly. The fit of your pieces matters as well. If there’s a tight fit with minimal gaps, the glue dries faster than if you’re trying to fill a larger void.
Material Matters Most
Different materials bond at different speeds with super glue. This is crucial information if you want consistent results.
Porous Materials: Wood, paper, leather, and fabric absorb cyanoacrylate quickly. You’ll see a set in 30 seconds to 1 minute. These materials contain moisture and micro-gaps that help the glue polymerize rapidly.
Non-Porous Materials: Glass, ceramic, metal, and plastic take longer—typically 1 to 2 minutes for initial set. Without absorption to help the process, the glue relies more on moisture from the air and the materials themselves.
Rubber and Flexible Materials: These are tricky. Super glue actually doesn’t work great on rubber because it needs a rigid surface to cure properly. If you’re bonding rubber, you might want to consider a flexible adhesive instead.
Humidity and Temperature
Environmental conditions are the silent players in your glue-drying drama. Super glue needs moisture to cure—it’s a chemical reaction that requires water molecules. This seems backward, I know. You’d think a glue called “super glue” would dry faster in dry conditions, but it’s the opposite.
In a humid workshop (60-70% relative humidity), your glue will set faster. In a dry environment, it’ll take longer. Temperature matters too. Room temperature (around 70°F) is ideal. Cooler temperatures slow the curing process significantly. If your workshop is cold, expect longer drying times. Heat speeds things up, but extreme heat can cause the glue to set too quickly and create weak bonds.
If you’re working in a really dry climate or during winter with low humidity, you might need to mist the joint lightly with water or work in a more humid area to get optimal results.
Curing vs Drying
Here’s the distinction that trips up most DIYers: drying and curing are not the same thing. Drying is when the glue becomes dry to the touch and sets. Curing is when it reaches full strength.
Super glue dries in minutes, but it cures over 24 hours. After 30 seconds to 2 minutes, you can let go of your pieces—they won’t fall apart. But if you stress that bond immediately, it might fail. I usually tell people: don’t use your repair for at least 24 hours, even though it feels solid after a few minutes.
Some manufacturers claim their super glue reaches “handling strength” in 5-10 minutes, which means you can pick it up and move it around gently. But “handling strength” isn’t “full strength.” That comes later.
Speeding Up the Process
If you need things to move faster, there are legitimate techniques that actually work.
Use an Accelerator: Super glue accelerators are spray products that dramatically speed up curing. They introduce moisture and chemical catalysts that trigger faster polymerization. With an accelerator, you can go from 24 hours to 5-10 minutes. I keep a spray accelerator in my workshop for urgent repairs.
Increase Humidity: Mist the joint lightly with water or work in a steamy bathroom. The moisture triggers the curing reaction. Don’t soak it—just a light mist.
Use Thicker Formulas: Gel-style super glues and thick versions cure slightly faster than liquid formulas because they don’t spread as much and create a better seal for the moisture-driven reaction.
Clamp Tightly: Pressing pieces together firmly reduces gaps and helps the glue cure more consistently and faster.
Common Mistakes to Avoid
I’ve made most of these mistakes, and I’ve watched others make them too. Learn from our failures.
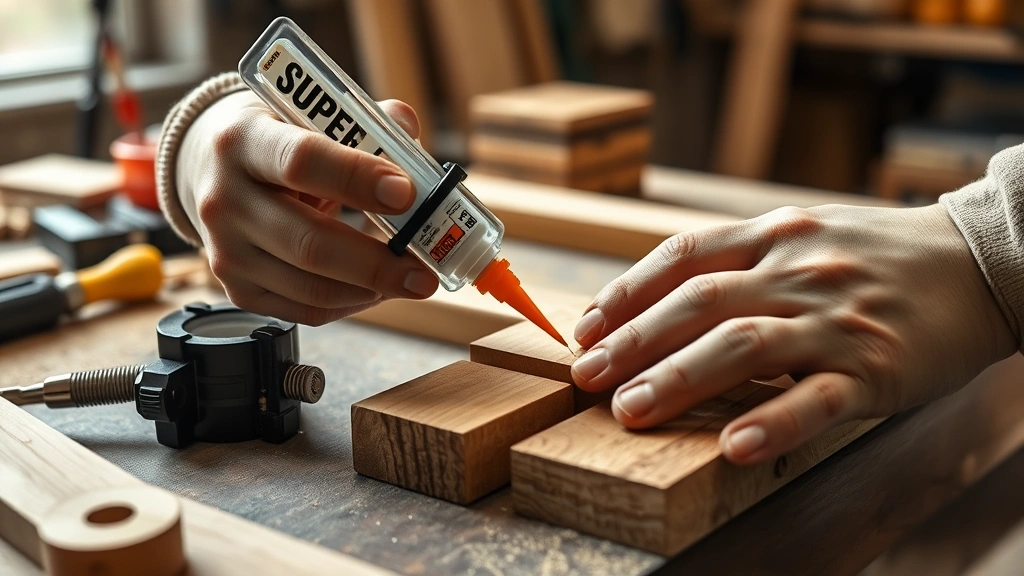
Using Too Much Glue: More glue doesn’t mean a stronger bond. Excess glue creates a thick layer that takes much longer to cure and often results in a weaker joint. Use just enough to coat the surfaces—a thin, even layer is ideal.
Not Clamping: Holding pieces together by hand for the entire set time is exhausting and often results in misalignment. Use clamps, tape, or jigs to hold pieces in position. This also improves bond strength.
Ignoring Surface Preparation: Dirty, oily, or wet surfaces prevent proper bonding. Clean your pieces with a dry cloth before gluing. Remove any dust, oil, or moisture.
Moving Pieces Too Soon: Even though the glue feels dry after a minute, moving or stressing the joint before full cure (24 hours) can weaken the bond permanently.
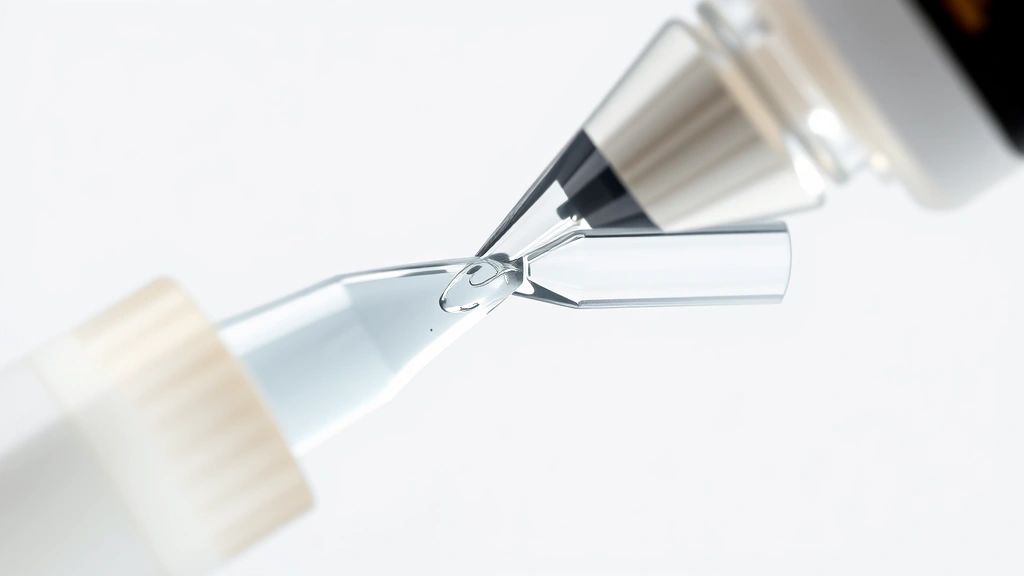
Storing Glue Improperly: Super glue caps need to seal tightly. If air gets in, the glue hardens in the bottle and becomes useless. Store your bottles upside down with caps sealed tight, and keep them in a cool place.
Best Practices for Success
Here’s my workshop checklist for getting super glue right every time:
1. Prep Your Surfaces: Clean both pieces with a dry cloth. Remove any dust, dirt, or oil. If the surfaces are wet or damp, let them dry completely.
2. Fit-Check First: Before applying glue, make sure your pieces fit together the way you want them. Do a dry run.
3. Apply Sparingly: Use a thin bead or small drop. For small repairs, less is more. For larger surfaces, apply a thin, even coat.
4. Press and Hold: Press the pieces together firmly for 30-60 seconds. This ensures good contact and helps the glue spread evenly.
5. Clamp or Secure: Use clamps, tape, or a jig to hold pieces in position while the glue sets. This prevents shifting and improves the final bond.
6. Wait Before Stressing: Even though it feels dry after a few minutes, wait at least 24 hours before putting weight on the repair or using the item normally.
7. Consider an Accelerator: If you’re in a hurry, use a super glue accelerator spray. It’s a legitimate shortcut that actually works.
Frequently Asked Questions
How long does super glue actually take to dry completely?
Super glue sets in 30 seconds to 2 minutes, but full curing takes 24 hours. The glue feels solid after a few minutes, but it continues to strengthen over the next day. For maximum strength, wait the full 24 hours before stressing the bond.
Can I speed up super glue drying time?
Yes. Use a super glue accelerator spray, which reduces curing time from 24 hours to 5-10 minutes. You can also increase humidity by misting lightly with water, or use thicker gel formulas instead of liquid. Clamping pieces tightly also helps.
Does super glue dry faster on wood or plastic?
Super glue dries faster on porous materials like wood because they absorb the adhesive and provide moisture for the chemical reaction. Plastic is non-porous and takes slightly longer, typically 1-2 minutes for initial set versus 30 seconds to 1 minute for wood.
What temperature is best for super glue drying?
Room temperature around 70°F (21°C) is ideal. Cooler temperatures slow curing significantly, while warmer temperatures speed it up slightly. Avoid extreme heat, which can cause the glue to set too quickly and create weak bonds.
Is super glue fully cured after 24 hours?
In most cases, yes. Super glue reaches approximately 95% of its maximum strength after 24 hours on most materials. For critical repairs or maximum strength, some people wait 48 hours, but 24 hours is the standard guideline.
Can humidity affect super glue drying time?
Absolutely. Super glue requires moisture to cure, so higher humidity speeds up the process. In dry environments, drying takes longer. If you’re working in a dry climate, mist the joint lightly with water to speed curing.
What’s the difference between super glue drying and curing?
Drying is when the glue becomes dry to the touch and sets (30 seconds to 2 minutes). Curing is when it reaches full strength (24 hours). You can handle a dried joint, but you shouldn’t stress it until it’s fully cured.
Does super glue work on all materials?
Super glue works best on rigid, non-porous materials like ceramic, glass, and metal, and on porous materials like wood and paper. It doesn’t work well on rubber or flexible materials. For rubber, use a flexible adhesive instead.
Final Thoughts
So, how long does it take super glue to dry? The quick answer is 30 seconds to 2 minutes for initial set, 24 hours for full cure. But as you’ve learned, there’s way more nuance to getting a strong, reliable bond. The material you’re bonding, the humidity and temperature of your workspace, the amount of glue you use, and how you clamp everything together all play crucial roles.
The biggest mistake I see is people thinking super glue is a miracle adhesive that works instantly and perfectly every time. It’s not—it’s a powerful tool that requires respect and proper technique. Prep your surfaces, use the right amount, clamp it tight, and give it time to cure. Do that, and you’ll get repairs that last years, not weeks.
For more information on adhesives and bonding techniques, check out resources from Family Handyman, which has excellent guides on adhesive selection and application. You can also learn more about different glue types and their applications from This Old House, a trusted source for home repair advice. For professional-grade adhesive information, Bob Vila offers detailed product reviews and recommendations.
Keep that super glue bottle in your workshop, but remember: it’s not magic. It’s chemistry. Respect the process, and it’ll serve you well.


