
If you’re wondering how long does it take for wood glue to dry, the answer depends on several factors—but most wood glues reach initial set in 30 minutes to 2 hours, with full cure times ranging from 24 to 48 hours. I’ve spent countless hours in my workshop waiting for glue to cure, and I’ve learned that understanding the timing can make or break your project.
Table of Contents
Drying Times Overview
Let me break down the basics first. Wood glue drying happens in two stages: initial set and full cure. Initial set is when the glue becomes tacky enough to hold pieces together—this typically takes 30 minutes to 2 hours depending on the glue type. Full cure is when the glue reaches maximum strength, which can take 24 to 48 hours or longer.
Most woodworkers get confused because they think initial set means the project is ready to work on. That’s not quite right. Just because your glued joint feels solid after an hour doesn’t mean you should start planing, sanding, or stress-testing it. Patience here pays dividends later.
Types of Wood Glue Explained
Not all wood glues are created equal, and each type has different drying characteristics. PVA (polyvinyl acetate) glues—like Titebond—are the workshop standard. They set in about 30 minutes and cure fully in 24 hours. They’re forgiving, water-based, and easy to clean up, which is why most hobbyists and professionals reach for them first.
Polyurethane glues (like Gorilla Glue) are beast-mode adhesives that expand as they cure. They set in 30 minutes but need 24 hours for full strength. The expansion means you need less glue and lighter clamping pressure, but they’re messier to work with and require moisture to activate properly.
Epoxy glues are two-part systems that give you working time measured in minutes. Some epoxies set in 5 minutes (quick-set), while others give you 30 minutes of working time before hardening. Full cure can take 24 hours or more. These are overkill for most woodworking but shine when you need gap-filling strength.
Hide glue, the old-school choice, sets quickly when it cools but requires heating to apply. It’s reversible with moisture, which restorers love. For modern projects, though, you’re better off with PVA unless you’re doing furniture restoration work.
Factors Affecting Drying Speed
The drying time on the bottle is a baseline, not a guarantee. Several variables in your workshop environment will speed up or slow down the process. Wood type matters—dense hardwoods like oak and maple absorb glue differently than softwoods like pine. Glue line thickness is critical; too much glue actually extends drying time because the moisture has to travel further.
The wood’s moisture content affects everything. Dry wood pulls moisture from the glue faster, accelerating the drying process. Wet or freshly milled wood does the opposite. Air circulation in your workshop makes a measurable difference. A stagnant workshop with no air movement will see slower drying than one with a fan running nearby.
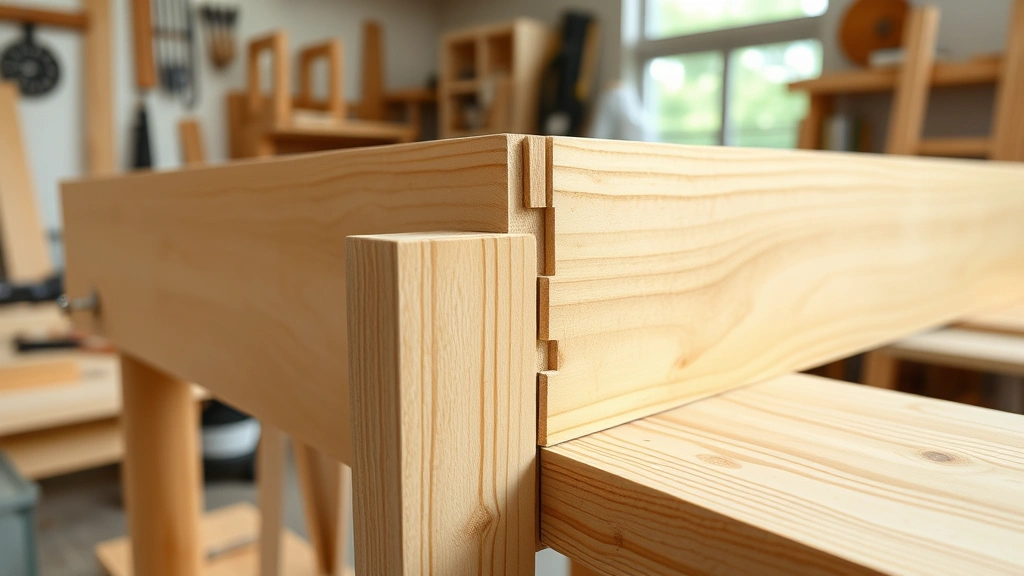
Joint design impacts drying too. A simple butt joint with minimal glue surface area dries faster than a complex mortise-and-tenon joint where glue is trapped in tight spaces. The amount of clamping pressure also plays a role—excessive pressure can squeeze out glue and actually speed drying, while light pressure keeps glue in the joint longer.
Temperature & Humidity Impact
Temperature is your biggest lever for controlling drying time. Most wood glues are formulated to work optimally between 65-75°F. Below 55°F, drying slows dramatically. I once made the mistake of gluing up a large panel in an unheated garage in February—what should have taken 24 hours took nearly 48 because the temperature hovered around 50°F.
Above 85°F, you’re in the sweet spot for faster drying, but don’t go crazy. Extreme heat (over 95°F) can cause the glue to set too quickly, trapping air bubbles and creating weak joints. The ideal scenario is a moderate, stable temperature with no dramatic swings.
Humidity is equally important. High humidity (above 75%) slows drying because moisture in the air reduces the evaporation rate. Low humidity (below 30%) accelerates drying. If your workshop is in a humid climate, plan for longer drying times. If you’re in a dry climate, glue might set faster than the bottle suggests.
How to Speed Up Drying
If you’re on a deadline, there are legitimate ways to accelerate the process without compromising joint strength. First, ensure your workshop temperature is in the 70-75°F range. A space heater or heat lamp can help during cold months. Position a fan to create air circulation around your glued assembly, but don’t point it directly at the joint—gentle air movement is better than a wind tunnel.
Use a dehumidifier if you’re in a humid climate. Dropping the relative humidity from 75% to 50% can noticeably speed drying. Some woodworkers use heat lamps positioned at a safe distance (at least 18 inches away) to warm the joint without overheating it. Be careful with this technique—too much heat can weaken the glue.
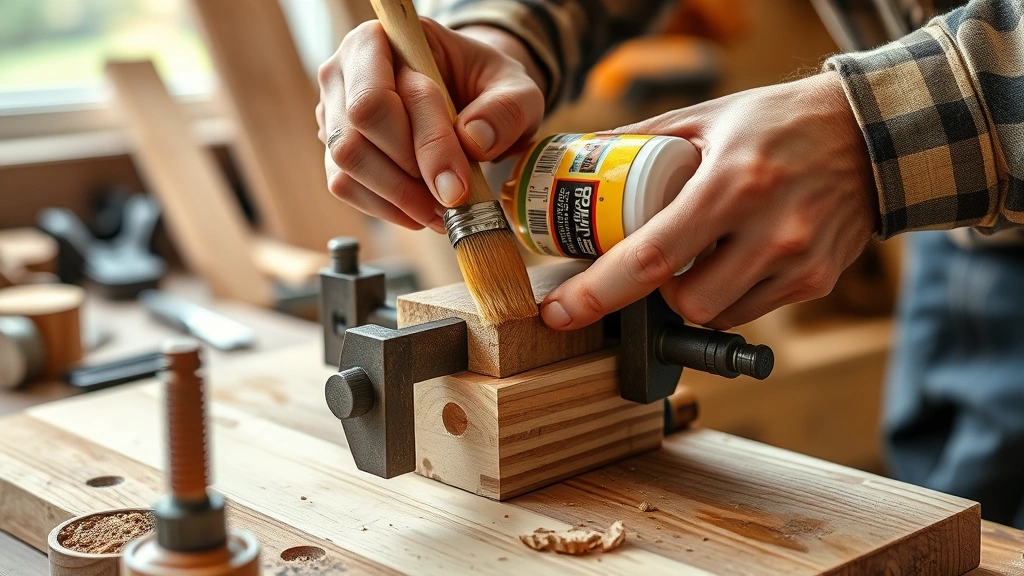
Apply glue sparingly. A thin, even glue line dries faster than a thick one. Use just enough to create a complete bond line—you want to see a tiny bead of squeeze-out around the joint when clamped. This indicates good coverage without excess glue.
Clamping Strategies Matter
How you clamp directly affects drying time and joint strength. Excessive pressure squeezes glue out of the joint, which can actually speed drying but weakens the bond. Most woodworkers apply just enough pressure to bring surfaces into full contact—you should see a slight squeeze-out along the joint line, not a river of glue.
The type of clamp matters too. Bar clamps and pipe clamps distribute pressure evenly, while hand-screw clamps let you apply pinpoint pressure. C-clamps work for small jobs but can distort thin pieces. Leave clamps on for at least the initial set time (30 minutes to 2 hours), but for maximum strength, leave them on for the full recommended cure time—or at least overnight.
I’ve learned that removing clamps too early is a common mistake. Even if the joint feels solid, the glue hasn’t reached full strength. Wait the full 24 hours before removing clamps on important projects. For non-critical assemblies, you can sometimes remove clamps after 4-6 hours if you’re careful not to stress the joint.
Testing if Glue is Ready
There are a few reliable ways to check if your glue has set enough to move forward. The scrape test is my go-to: use a sharp chisel or scraper to gently scrape away excess glue on the joint line. If it peels off in curls, it’s not ready. If it’s hard and resists scraping, you’re good to go.
The flex test
The color test
For critical joints, I recommend the wait-it-out approach: just follow the manufacturer’s recommended cure time and don’t second-guess yourself. It’s the safest option for furniture and heirloom pieces.
Common Drying Mistakes
The biggest mistake I see is removing clamps too early. Woodworkers get impatient after 4-6 hours when the joint feels solid. But PVA glue is still curing internally, and the joint hasn’t reached full strength. Wait the full 24 hours—your future self will thank you when the joint doesn’t fail under stress.
Applying too much glue is another killer. Excess glue doesn’t make stronger joints; it actually weakens them by creating a thick, weak glue line. Plus, it extends drying time significantly. Use just enough glue to coat both surfaces and create squeeze-out when clamped.
Working in a cold workshop is a silent project killer. I learned this the hard way. If your shop is below 60°F, either wait for warmer weather or invest in a space heater. The cost is minimal compared to ruining a project.
Stressing joints before full cure is tempting but risky. Don’t plane, sand, or shape joints until the glue has fully cured. Even light stress can cause micro-failures that weaken the bond permanently.
Finally, don’t ignore humidity. If you live in a humid climate and you’re gluing up during the rainy season, plan for longer drying times. Some woodworkers run a dehumidifier in their shop specifically for glue-up days.
Frequently Asked Questions
Can I speed up wood glue drying with heat?
Yes, but carefully. A heat lamp positioned 18+ inches away can help, as can a space heater warming your workshop to 70-75°F. Avoid direct intense heat, which can weaken the glue. The goal is to reach optimal temperature, not to bake the joint.
Is wood glue fully cured after 24 hours?
Most PVA glues reach 90% strength after 24 hours, but full cure takes closer to 48 hours. For maximum durability, especially on load-bearing joints, wait the full 48 hours before heavy use. Check your specific glue’s technical data sheet for exact cure times.
What happens if I don’t clamp long enough?
Removing clamps too early risks joint failure. The glue may feel set, but it’s still curing internally. Stress on an uncured joint can cause permanent micro-failures. Follow the manufacturer’s recommendations—usually at least the initial set time, and ideally the full cure time.
Does wood type affect glue drying time?
Yes, significantly. Dense hardwoods like oak absorb glue slowly, extending drying time. Softwoods like pine pull moisture from the glue faster, speeding drying. Very wet wood slows drying; very dry wood speeds it up. Account for this in your project planning.
Can I sand or plane glued joints immediately?
No. Wait at least 24 hours, preferably 48, before any aggressive work on glued joints. Even after initial set, the glue is still curing and is vulnerable to stress. Premature sanding or planing can weaken the joint permanently.
What’s the difference between set time and cure time?
Set time is when the glue becomes firm enough to hold pieces together—typically 30 minutes to 2 hours. Cure time is when the glue reaches maximum strength—usually 24 to 48 hours. You can handle the assembly after set time, but don’t stress it until fully cured.
Does humidity really matter that much?
Absolutely. High humidity (above 75%) can extend drying time by 50% or more. Low humidity speeds drying. If you’re in a humid climate, plan for longer drying times or use a dehumidifier during glue-ups. This is especially important for time-sensitive projects.
Final Thoughts
Understanding how long does it take for wood glue to dry is essential for successful woodworking. The short answer is 30 minutes to 2 hours for initial set, 24 to 48 hours for full cure—but that’s just the baseline. Your workshop conditions, glue type, and joint design all play crucial roles.
The real secret isn’t rushing the process; it’s planning ahead. If you know a glue-up is coming, prepare your workspace: get the temperature stable, control humidity if possible, and set aside the time for proper curing. Don’t try to speed things up artificially unless absolutely necessary.
For more detailed guidance on workshop techniques, check out resources like Family Handyman’s woodworking section, This Old House’s project guides, and Bob Vila’s DIY advice. These sources have helped me refine my techniques over the years.
I also recommend checking out our guide on how to clean stainless steel appliances for workshop maintenance tips that keep your space in top condition for projects.
Patience with glue cure time is one of the best investments you can make in your woodworking. It’s the difference between a project that lasts decades and one that fails in a few years. Take your time, follow the recommendations, and let the glue do its job properly.


