
How long does it take for super glue to dry? That’s the million-dollar question every DIYer asks when they’re staring at a broken ceramic mug or snapped plastic handle. The short answer: super glue sets in seconds, but the full cure takes longer. Let me walk you through exactly what happens and how to get the best results every single time.
Table of Contents
Initial Set Time Explained
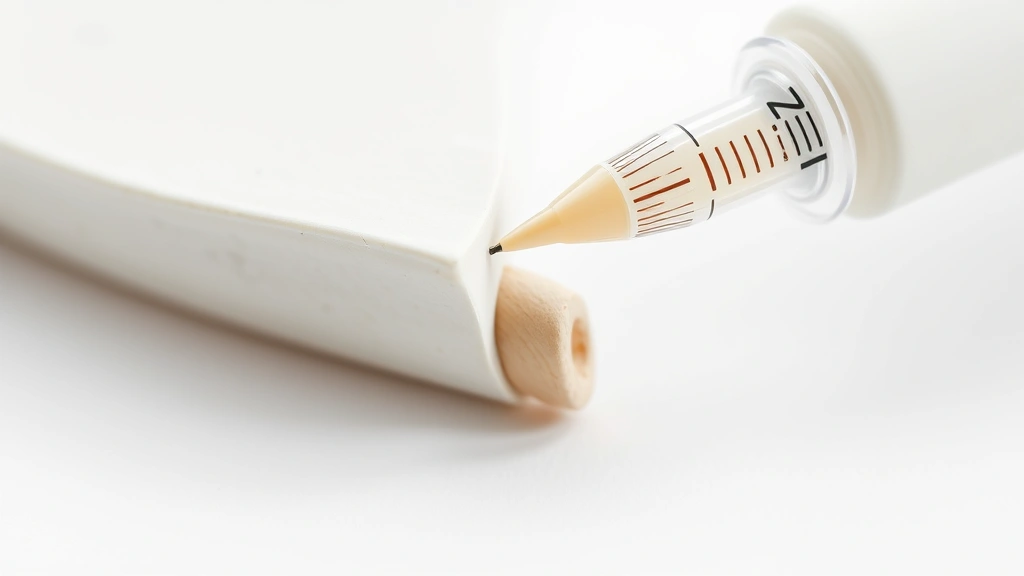
Super glue—technically cyanoacrylate adhesive—works through a chemical reaction with moisture. When you apply it, the glue polymerizes almost instantly. Most super glues reach initial set in 30 seconds to 2 minutes. That’s the magic moment when you can let go and the bond holds.
But here’s the catch: initial set isn’t the same as full cure. Initial set means the pieces won’t slip around anymore. It’s strong enough to hold light pressure, but the joint is still fragile. You’re looking at a bond that might hold a few pounds, but it’s nowhere near maximum strength yet.
The reason for this rapid initial set is the moisture in the air and on your materials. Super glue loves water. The more moisture present, the faster the polymerization happens. This is why super glue works better on slightly damp surfaces than completely dry ones.
Full Cure Timeline
Now let’s talk real numbers. Full cure—where the bond reaches maximum strength—typically takes 24 hours for most standard super glues. Some premium brands claim full strength in 12 hours, while thicker formulations might need the full day.
Here’s a practical timeline you can count on:
- 30 seconds to 2 minutes: Initial set (pieces won’t slip)
- 5 to 10 minutes: Handling strength (light pressure okay)
- 1 to 2 hours: Moderate strength (can use gently)
- 24 hours: Full cure (maximum strength)
I always tell people to wait at least 24 hours before putting real stress on a glued joint. Yeah, it might feel solid after an hour, but you’re gambling with the repair. Wait the full day and you’ll never regret it.
Factors Affecting Drying Speed
Not all super glue jobs are created equal. The drying time varies wildly depending on what you’re gluing and how you’re doing it. Understanding these variables is the difference between a repair that lasts and one that fails in a week.
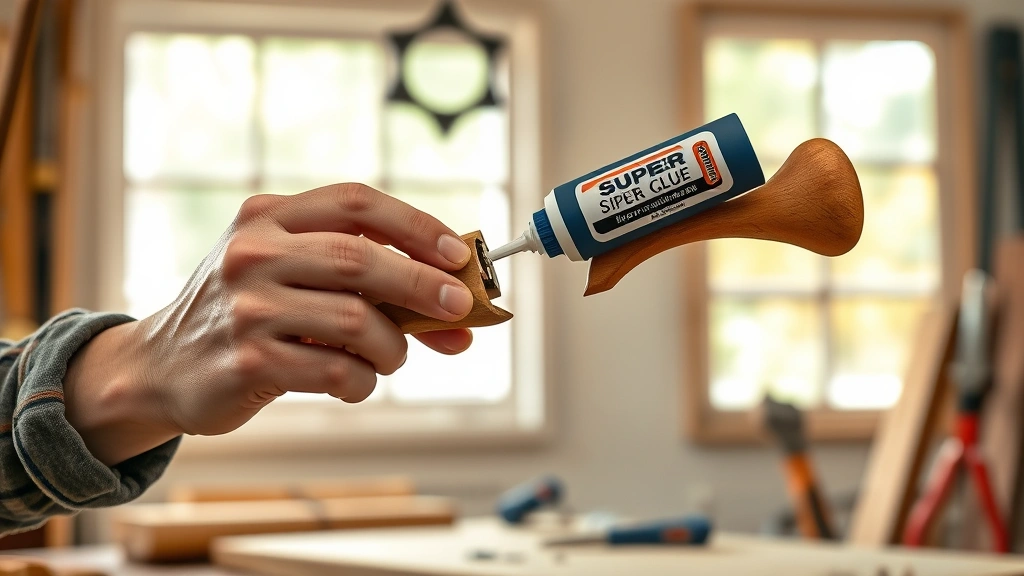
The type of materials you’re bonding matters tremendously. Porous materials like wood, paper, and fabric cure faster because they absorb moisture from the air and provide that moisture the glue needs to polymerize. Non-porous materials like metal, glass, and plastic are trickier—they dry slower because there’s less moisture available for the reaction.
The amount of glue you apply also affects drying time. A thin, even layer cures faster than a thick glob. Thick applications might actually take longer because the outer layer sets before moisture can penetrate to the center. Less is more with super glue—you want just enough to coat the joint.
The fit of your joint matters too. A tight joint with minimal gaps cures faster than a loose fit with visible gaps. Why? Tight joints have less air exposure and the moisture can work more efficiently. Loose joints have more surface area exposed to air, which can actually slow the process.
Temperature & Humidity Impact
Temperature and humidity are the silent players in the super glue game. Cold, dry conditions are the enemy of fast curing. Warm, humid conditions are your best friend.
In ideal conditions—around 70°F with 50% humidity—you get optimal curing speed. Too cold (below 50°F) and the chemical reaction slows dramatically. I’ve seen super glue take 3-4 times longer to cure in a cold garage. Too hot (above 85°F) and things get weird—the glue can cure too fast, trapping air bubbles and creating weak spots.
Humidity is even more critical. In a dry climate or air-conditioned workshop, super glue struggles because there’s not enough moisture to trigger the polymerization. This is why some people lightly mist their materials with water before gluing in dry conditions. A tiny bit of moisture speeds things up significantly.
If you’re working in winter or in a dry climate, consider moving your project to a more humid area while it cures. A bathroom with the door closed works surprisingly well. The moisture in the air helps the glue do its job faster.
Material Matters Most
Let’s get specific about different materials, because this is where most people get confused.
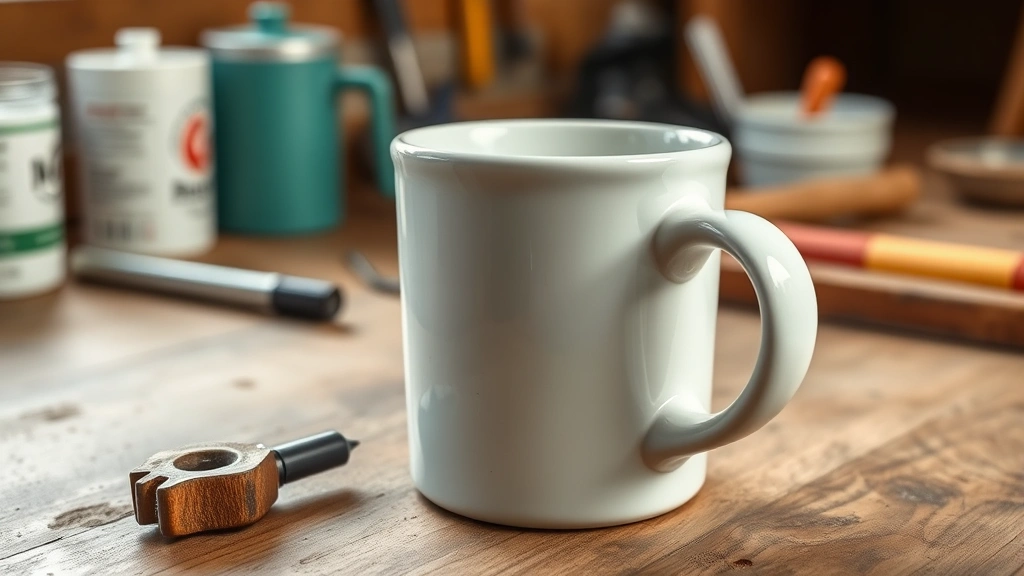
Ceramic and porcelain: These cure relatively fast—usually 30 minutes to 2 hours for handling strength. The slightly porous surface absorbs just enough moisture to trigger quick polymerization. This is why broken coffee mugs are perfect super glue projects.
Glass: Glass is the slowest. Non-porous, no moisture absorption, minimal surface texture. Expect 2-4 hours for handling strength and a full 24 hours before you trust it. You might want to clamp or tape glass repairs while they cure.
Plastic: Depends on the plastic type. Rigid plastics like ABS or acrylic cure in 1-2 hours. Flexible plastics are trickier—some super glues don’t work well on them at all. Check your glue bottle for compatibility.
Wood: Wood is super glue’s favorite. Porous surface, natural moisture content, good adhesion. You’re looking at 30 minutes to 1 hour for handling strength. This is why wood repairs are usually the fastest.
Metal: Metal cures slowly because it’s non-porous and conducts heat away from the joint. Plan on 2-3 hours for handling strength. Clean off any oils or rust first—they interfere with bonding.
How to Speed Up Drying
Want to accelerate the process? There are legitimate tricks that actually work.
Add moisture strategically: In dry conditions, lightly mist one surface with water before gluing. Not soaking—just a light mist. This gives the glue the moisture it needs without creating a wet mess. Works like a charm.
Use accelerator spray: Many manufacturers sell accelerator sprays designed specifically for super glue. These work by providing additional moisture and sometimes heat. They’re genuinely effective and worth having in your workshop. Just follow the instructions—too much accelerator can weaken the joint.
Increase humidity: If you’re in a dry climate, move your project to a bathroom or use a small humidifier. Even a bowl of water near your work area helps. Higher humidity = faster curing.
Keep it warm: Room temperature around 70°F is ideal. If it’s cold, move your project to a warmer location. Don’t use heat guns or ovens—that’s overkill and can damage some materials.
Clamp it tight: A tight joint cures faster than a loose one. Use clamps, tape, or rubber bands to hold pieces together firmly. This also ensures better contact and stronger final bond.
Here’s something I learned the hard way: proper surface preparation before gluing actually speeds up curing. Clean surfaces bond faster. Remove dust, oil, and corrosion. Your glue will thank you.
Common Drying Mistakes
I’ve made these mistakes so you don’t have to.
Mistake #1: Using too much glue. More glue doesn’t equal stronger bond. It just means longer curing time and potential weak spots. Use just enough to coat the joint.
Mistake #2: Applying glue to both surfaces. Apply to one surface only. Glue on both surfaces creates an excessive amount that takes longer to cure and can create air pockets.
Mistake #3: Not clamping while curing. Even if the glue feels set, movement during the cure process weakens the joint. Clamp or tape your repair and leave it alone for at least an hour.
Mistake #4: Testing the bond too early. I see people flex and test their repair after 10 minutes. Stop. You’re literally breaking the bond while it’s still forming. Wait at least 24 hours before stress-testing.
Mistake #5: Ignoring environmental conditions. Gluing in a cold, dry garage? That’s asking for trouble. Move your project to a warmer, more humid area while it cures. This alone can cut curing time in half.
Mistake #6: Mixing old and new glue. Old super glue that’s been open for months doesn’t work as well. It’s slower and weaker. Start fresh with a new bottle for important repairs. And yes, regular maintenance of your tools applies to adhesives too—keep that cap sealed tight.
Frequently Asked Questions
Can you speed up super glue drying with a heat gun?
Not recommended. Excessive heat can damage the materials you’re bonding and can actually weaken the glue joint. Stick to room temperature or slightly warmer. If you absolutely must use heat, keep it low and at a distance.
Does super glue dry faster on porous or non-porous surfaces?
Porous surfaces cure faster. Wood, ceramic, paper, and fabric all cure quickly because they absorb moisture. Non-porous materials like glass and metal are slower because they don’t provide the moisture the glue needs.
What happens if you move the glued pieces before it’s fully cured?
You’re weakening the bond. Movement during curing breaks the polymerization process. Even small flexing can create micro-fractures that will cause failure later. Clamp it and leave it alone.
Is 24 hours really necessary, or can you use it sooner?
For light use, you can use it after 2-3 hours. For any real stress or load, wait the full 24 hours. The glue might feel solid after an hour, but it’s not at full strength yet. Patience pays off.
Does the brand of super glue matter for drying time?
Yes. Premium brands often cure faster and stronger. Budget brands work fine but might need extra time. Thick formulations cure slower than thin ones. Read the label—it tells you the expected set time and full cure time.
Can you use super glue on wet surfaces?
A light mist of water helps. Soaking wet surfaces? No. The excess water dilutes the glue and prevents proper bonding. You want moisture present for the chemical reaction, not a water bath.
Final Thoughts
Super glue is one of the most useful tools in any DIYer’s arsenal, but you’ve got to respect the drying process. The key takeaway: initial set happens in seconds, but full cure takes 24 hours. Don’t rush it. Use the right amount, clamp your joints, keep the environment warm and slightly humid, and you’ll get repairs that actually last.
Remember, quality preparation matters in any project. Clean your surfaces, apply the right amount of glue, and give it time. The difference between a repair that fails in a month and one that lasts years comes down to patience and proper technique.
Keep a fresh bottle of super glue in your workshop, an accelerator spray nearby for when you’re in a hurry, and always—always—wait the full 24 hours before putting real stress on the joint. Your future self will thank you when that repair still holds strong a year from now.


