
Knowing how high to hang pictures is one of those DIY skills that separates a polished home from one that just feels off. Get this right, and your gallery wall becomes a design statement. Get it wrong, and even the best frame can’t save you. Let me walk you through the exact measurements, techniques, and pro tips I’ve learned from hanging hundreds of pictures over the years.
Table of Contents
The Eye-Level Rule
Here’s the golden rule I live by: hang your pictures at eye level. For most people, that’s around 57 to 60 inches from the floor to the center of the frame. This isn’t arbitrary—it’s based on average human eye height when standing comfortably in a room.
The magic happens when you position the center of your artwork at this height. It creates a natural focal point that draws the eye without forcing you to crane your neck or duck your head. Think of it as the Goldilocks zone of picture hanging—not too high, not too low, but just right.
When I’m measuring, I always measure from the floor to the center point of the frame, not the top or bottom. This keeps things consistent across multiple pieces and creates visual harmony throughout your space.
Standard Measurements Explained
The 57 to 60-inch rule is your baseline, but context matters. In rooms with higher ceilings (10 feet or more), you might bump that up to 62 to 65 inches. In cozy spaces with standard 8-foot ceilings, stick closer to 57 inches.
For smaller frames or prints, I use this approach: measure 60 inches from the floor, then position your frame’s center at that point. For larger statement pieces, 57 inches often feels more balanced because the frame’s mass commands more visual weight.
Here’s a practical tip: if you’re hanging multiple pictures of different sizes, measure to the center of each frame individually. This creates a cohesive line that feels intentional rather than haphazard. I’ve seen people try to align the tops of frames, and it always looks amateur—don’t fall into that trap.
Hanging Above Furniture
This is where things get nuanced. When you’re hanging pictures above a sofa, console table, or dresser, the 60-inch rule still applies, but you need to account for the furniture’s height and your viewing distance.
Measure 6 to 8 inches from the top of the furniture to the bottom of your frame. This creates visual breathing room—not too close, not floating awkwardly in space. If you’re hanging a large piece above a sofa, that gap might be 8 to 12 inches depending on the sofa’s height and your room’s proportions.
For a sofa that’s 32 inches high, I’d typically position the frame’s center around 52 to 54 inches from the floor, which accounts for that 6 to 8-inch gap. The furniture becomes part of the composition, not separate from it.
When hanging above a console table or dresser (usually 30 to 36 inches high), maintain that same gap principle. The frame should feel anchored to the furniture below without appearing to float or sit too heavily on it.
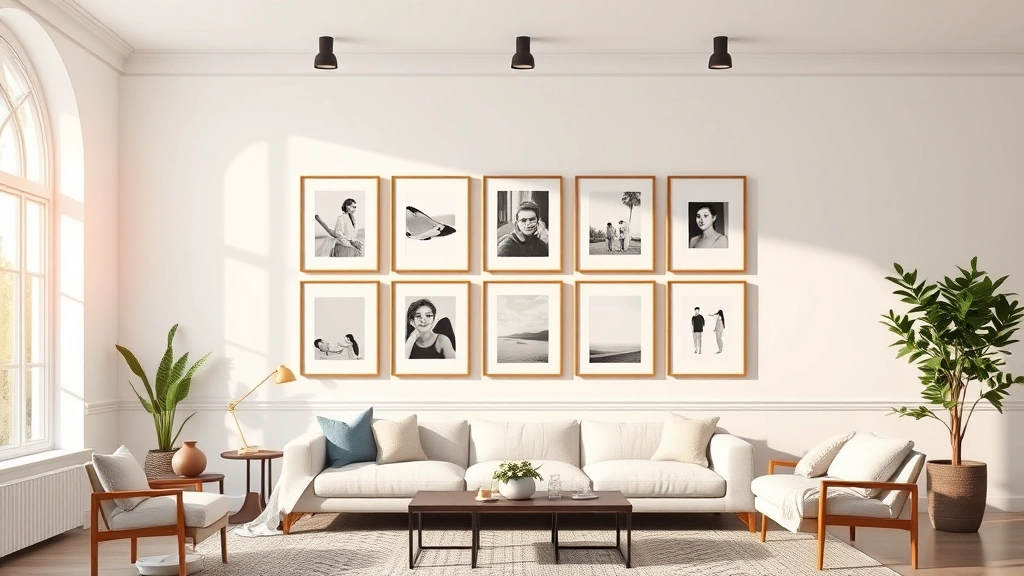
Gallery Wall Spacing
Gallery walls are where precision becomes art. Start by laying out your frames on the floor first—seriously, don’t skip this step. Arrange them in your desired configuration and measure the overall dimensions of your layout.
Find the center point of your entire gallery arrangement, then position that center at 60 inches from the floor. This keeps the entire composition balanced at eye level, even if individual frames vary in size.
For spacing between frames, I use 2 to 3 inches as my standard gap. This feels intentional without being cramped. Tighter galleries (1 to 2 inches) create a more modern, salon-style look. Looser galleries (3 to 4 inches) feel more traditional and give each piece breathing room.
Pro move: use painter’s tape to outline each frame on the wall before drilling. Measure your tape placement against your floor template to ensure accuracy. This takes an extra 15 minutes but saves you from the heartbreak of misaligned holes.
Hallway Picture Placement
Hallways present a unique challenge because you’re viewing artwork while moving through the space. I adjust my approach slightly here: position the frame center around 56 to 58 inches instead of the standard 60.

Why? Because hallways are often narrower, and you’re viewing the artwork at a slight angle as you walk past. Lowering it slightly creates a more engaging sightline without feeling cramped. You want the picture to catch your eye naturally as you move through the corridor.
For long hallway galleries, maintain consistent spacing and height throughout. This creates rhythm and flow—it’s almost musical in how it guides your eye down the hallway. Inconsistent heights feel chaotic and break the visual narrative.
Staircase Hanging Angles
Staircases are where most people panic, but it’s actually straightforward once you understand the geometry. The key is hanging pictures parallel to the staircase slope, not parallel to the wall.
Measure the angle of your staircase (usually between 30 to 40 degrees). Your frame should tilt at that same angle. I use a level with an angle finder to get this precise. The picture’s center should still sit around 60 inches from the floor at the midpoint of your staircase arrangement.
Space pictures 8 to 12 inches apart on a staircase—the slope naturally creates visual separation, so you need more gap than you would on a flat wall. Test your layout with painter’s tape before committing to holes.
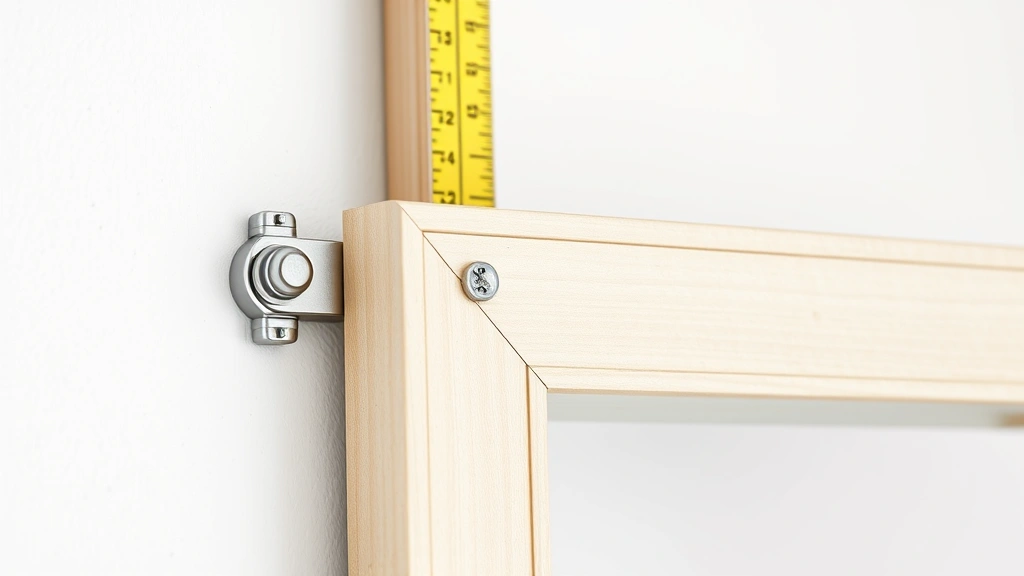
Tools and Setup
You don’t need much, but what you need should be quality. I always use a laser level or quality spirit level—not the eyeball test. A measuring tape (25-foot minimum), a stud finder, and painter’s tape are non-negotiable.
For the actual hanging, I use a combination approach: locate studs with my stud finder, then use appropriate anchors for the wall type. Drywall anchors work fine for lighter frames, but anything over 20 pounds needs wall studs or heavy-duty anchors.
Mark your center point with a pencil, then measure up and down from that point to determine where your hanging hardware goes. Most frames have two hanging points; measure the distance between them on the frame, then transfer that measurement to your wall marking.
A picture hanging template (available at hardware stores) eliminates guesswork. You tape it to the wall, drill through the marked holes, and remove the template. Perfect placement every time.
Avoiding Common Mistakes
The biggest mistake I see? Hanging pictures too high. People always overestimate—they think 60 inches feels too low, then end up with frames hovering near the ceiling. Trust the measurement. Your eyes will adjust within seconds.
Second mistake: inconsistent spacing in gallery walls. Measure everything twice. Use painter’s tape to create a full-scale template. This seems obsessive, but it’s the difference between a gallery that looks designed and one that looks accidental.
Third mistake: ignoring wall type. Plaster walls, brick, tile, and drywall all require different anchoring approaches. Know your wall before you drill. Check out how to properly hang items on different surfaces at Family Handyman’s comprehensive guide.
Fourth mistake: not accounting for the frame’s weight. A massive ornate frame needs serious anchoring, not a flimsy nail. Use a stud finder to locate studs whenever possible, or invest in heavy-duty anchors rated for your frame’s weight.
Fifth mistake: hanging pictures in isolation without considering the room’s overall composition. Step back frequently. View your work from different angles and distances. A frame that looks perfect up close might feel off when you’re sitting on the sofa.
Eye-Level Variations by Room
Different rooms call for slight adjustments. In a bedroom, you might lower pictures slightly (56 to 58 inches) since you’re often sitting on the bed. In a dining room, maintain the standard 60 inches—you’re viewing artwork while seated at the table, so the calculation changes.
For bathroom mirrors and medicine cabinets, center your artwork at 66 to 68 inches since you’re typically standing closer and looking slightly upward. The viewing distance and angle shift your ideal height.
Living rooms are your standard 60-inch zone. Kitchens can go slightly lower (56 to 58 inches) since you’re often moving through quickly. Think about how you actually use each space, then adjust accordingly.
Frequently Asked Questions
What if my ceilings are unusually high or low?
High ceilings (10+ feet) can support pictures positioned at 62 to 65 inches. Low ceilings (under 8 feet) work better at 55 to 57 inches. The goal is maintaining proportion to the room’s overall height. A 60-inch center in a 7-foot room feels too high; in a 12-foot room, it feels too low.
Should I hang pictures at the same height in every room?
Not necessarily. While 60 inches is a strong baseline, adjust for each room’s specific context. A hallway might be 58 inches, a bedroom 56 inches, and a living room 60 inches. Consistency within a room matters more than consistency across your entire home.
How do I hang pictures on sloped ceilings?
Sloped ceilings require measuring from the floor to your center point along the slope’s angle. Imagine a vertical line from the floor following the ceiling’s angle—measure 60 inches up that imaginary vertical line. This keeps pictures proportional to your actual standing height.
Can I hang pictures lower if they’re part of a gallery wall?
Yes, slightly. Gallery walls can be positioned with centers at 58 to 60 inches instead of strictly 60. The multiple pieces create a larger visual mass, so dropping it a couple inches can feel more balanced. Test with your layout first.
What’s the best way to measure for multiple frames?
Measure from the floor to the center of each frame individually. Use painter’s tape to mark your measurements on the wall. This ensures consistency even if frames are different sizes. It takes extra time but eliminates alignment disasters.
How high should pictures be above a fireplace mantel?
Position the frame center 12 to 18 inches above the mantel. This creates clear visual separation between the mantel décor and the artwork. For a standard 36-inch-high mantel, that puts your frame center around 48 to 54 inches from the floor—lower than the standard 60-inch rule but appropriate for this specific context.
Is there a formula for very large statement pieces?
Large pieces (over 4 feet wide or tall) can be positioned slightly lower—56 to 58 inches to the center. Their size commands attention, so dropping them slightly prevents the wall from feeling top-heavy. The frame’s visual weight matters as much as its actual weight.
Final Thoughts
Hanging pictures properly is about understanding basic principles and then trusting them. The 57 to 60-inch eye-level rule isn’t arbitrary—it’s based on human ergonomics and visual comfort. Stick to this foundation, adjust for specific contexts, and measure twice before drilling.
The difference between an amateur and professional result often comes down to precision and patience. Take your time with layout, use painter’s tape, and verify your measurements multiple times. It feels like overkill until you step back and see a perfectly aligned gallery that makes your entire room feel intentional and polished.
For additional insights on wall preparation and anchoring techniques, This Old House offers excellent guidance on the technical aspects. And if you’re dealing with specific wall types or unusual spaces, Bob Vila’s resource covers specialized scenarios thoroughly.
Remember: every wall is different, every room has unique proportions, but the principle remains constant. Measure from the floor to the center of your frame, aim for 60 inches as your baseline, adjust for your specific context, and verify everything before you drill. Your future self will thank you when you walk into a room and feel that satisfying sense of visual balance.


