
Villagers won’t breed on their own—and that’s the first thing most players get wrong. You need to set up the right conditions, and honestly, it’s not complicated once you know what actually triggers breeding. This guide walks you through exactly how do you get villagers to mate in minecraft, from gathering supplies to watching your first baby villagers pop into existence.
The core mechanic is simple: give adult villagers enough food and beds, and they’ll breed. But there’s more nuance than that. Population limits, bed availability, and food types all matter. Get one of these wrong, and your breeding chamber sits empty while you wonder what went sideways.
Basic Requirements for Villager Breeding
Before you even think about how do you get villagers to mate in minecraft, understand that villagers need three things to breed: food, beds, and willingness. Miss any one, and nothing happens.
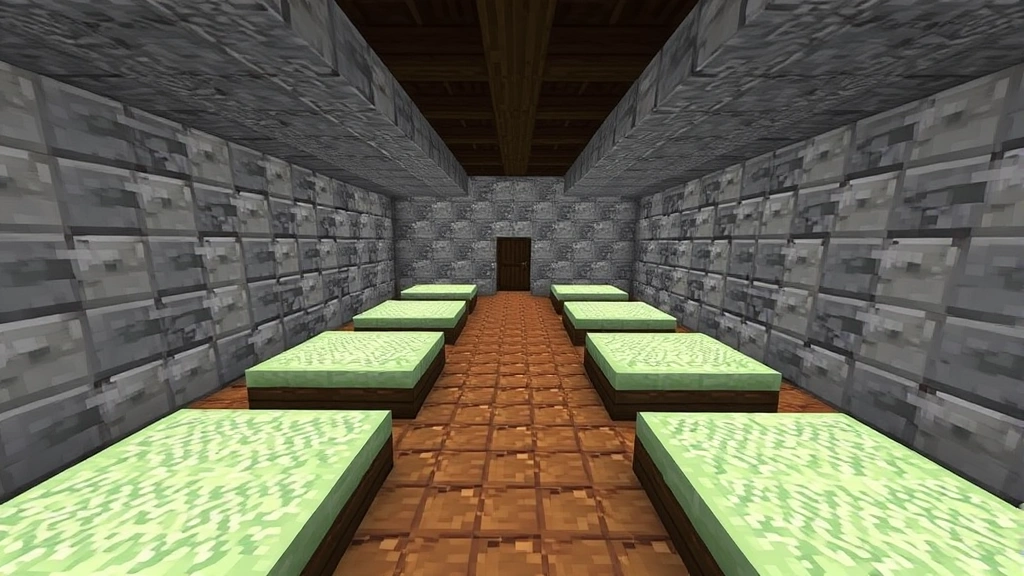
Beds are non-negotiable. Each breeding pair needs access to at least two beds (one per adult). But here’s the kicker—you also need extra beds for the baby villagers that will spawn. If you want to breed two villagers and expect five babies, you need at least seven beds total in the breeding area. Villagers scan for beds within a 48-block radius, so placement matters.
Food is the second pillar. Villagers need to have food in their inventory to enter “breeding mode.” The amount varies, but we’ll cover that in the next section. Carrots, potatoes, wheat, and beetroot all work. Bread also works but is less efficient because you need more of it.
The third requirement is less obvious: population limits. Your breeding chamber will stop producing babies once the villager population reaches a certain threshold relative to available beds. The formula is roughly: (number of beds × 0.35) = max population. So 10 beds can support about 3-4 villagers before breeding stops.
Pro Tip: If you’re planning a large-scale villager farm, you’ll want to understand your server or single-player world’s population cap. Check the official Minecraft wiki for your specific version (Java vs. Bedrock mechanics differ slightly).
Understanding Food and Breeding Mechanics
This is where most breeding attempts fail. Villagers don’t eat food like you do—they need to pick it up and hold it. You can’t just place food on the ground and expect results.
The food threshold is important: A villager needs 12 food points in their inventory to breed. Here’s the breakdown:
- Carrots and potatoes: 1 point each (need 12 total)
- Wheat: 1 point each (need 12 total)
- Beetroot: 1 point each (need 12 total)
- Bread: 4 points each (need 3 total)
This is why bread seems inefficient—you need fewer items, but bread is harder to produce at scale. For large farms, carrots and potatoes are your best friends because they’re easy to grow and harvest.
The mechanic works like this: throw food onto the ground near your villagers (or use a hopper to dispense it), they pick it up, and once they hit the threshold, they become willing to breed. You’ll see red hearts appear above their heads—that’s your visual cue that breeding is about to happen.
Timing matters too. Villagers won’t breed if they’re scared, on fire, or if it’s not during their active hours (roughly 24,000 ticks, or one full day-night cycle). In practice, this means you should breed during daytime for consistency, though it works any time technically.
One more thing: if you’re wondering about the mechanics behind this, think of it like this—the food in their inventory makes them confident enough to reproduce. No food, no confidence, no babies. It’s not romantic, but it’s how Minecraft works.
Setting Up Your Breeding Chamber
Your breeding chamber doesn’t need to be fancy, but it needs to be functional. Here’s what you’re building:
- A contained space: 9×9 blocks is a solid starting size. You want walls high enough that villagers can’t escape (at least 2 blocks high, but 3 is safer).
- Beds: Place them in a grid pattern, leaving one block of space between each. Villagers pathfind to beds, so spacing prevents them from getting stuck.
- Food dispensing system: A hopper connected to a chest or dispenser. This automates food delivery. Alternatively, you can manually throw food, but automation is cleaner for large operations.
- Lighting: Neutral or bright. Dark areas spawn mobs, which can scare villagers. Aim for light level 8 or higher.
- Access point: A door or gate to get villagers in and out. Use a boat or minecart to transport them—they can’t jump, so stairs are useless.
Here’s a simple setup for beginners:
- Build a 9×9 room with walls 3 blocks high
- Place 6-8 beds against one wall (spaced one block apart)
- Set up a hopper in the ceiling connected to a chest above
- Use a trapdoor or water stream to bring villagers inside
- Light everything with torches or lanterns
The beauty of this setup is scalability. Once you nail the mechanics, you can build multiple chambers and chain them together for exponential production.
Safety Warning: Don’t build your breeding chamber near hostile mob spawners or dark caves. Creepers and zombies will spook your villagers and prevent breeding. Also, ensure your chamber is well-lit at night—mobs spawning nearby can ruin everything.
How to Trigger Breeding

Now for the moment of truth: actually getting villagers to mate. This is the payoff section where you understand how do you get villagers to mate in minecraft in real-world terms.
Step 1: Gather your villagers. You need at least two adults of any profession (they don’t need to match). Transport them to your breeding chamber using boats or minecarts. They’re slow walkers, so patience is required.
Step 2: Verify bed availability. Before adding food, count your beds. Remember: 2 beds minimum for a breeding pair, plus extra for babies. If you have 6 beds, you can theoretically breed up to 2 pairs and expect 2-3 babies per cycle.
Step 3: Dispense food. This is the critical moment. Throw carrots, potatoes, or wheat at your villagers. Use a hopper system for consistency, or manually throw stacks. Watch their inventories—you can see what they’re holding by looking at them.
Step 4: Wait for willingness. Once they’ve picked up enough food (12+ points), red hearts will appear above their heads. This means they’re willing to breed. It usually takes 20-30 seconds after food is introduced.
Step 5: Let nature take its course. Within a few seconds of both villagers showing hearts, a baby villager will spawn. It’ll be tiny, profession-less, and will take about 20 minutes to grow into an adult.
If nothing happens after 2-3 minutes, troubleshoot:
- Are there enough beds? (Count again.)
- Is the food actually in their inventory? (Check by looking at them.)
- Are they scared? (Mobs nearby, explosions, fire—all scare them.)
- Is it nighttime? (Breed during day for best results.)
Most failures come from bed shortages or insufficient food. Those are the first things to check.
Common Breeding Problems and Fixes
Even with the right setup, things go wrong. Here’s what to do when they do.
Problem: Villagers won’t pick up food. This usually means the food is too far away or they’re distracted. Throw food directly at them, or place a hopper right next to them. Also, make sure they’re not in love-mode already—if one is already willing and the other isn’t, they won’t breed.
Problem: Babies spawn but don’t grow. This is rare but happens if your farm is too crowded. Babies need to be able to pathfind to beds. If the chamber is packed, they get stuck and don’t develop. Solution: remove some adults temporarily or expand the chamber.
Problem: Breeding stops after a few cycles. Population cap. You’ve hit the limit for your available beds. Add more beds or remove some villagers. Remember: (beds × 0.35) = max population.
Problem: Villagers keep escaping. They’re jumping over low walls or finding gaps. Raise your walls to 3+ blocks and check for holes. Also, make sure there’s no water flowing out—they’ll follow it.
Problem: Mobs are spawning in my chamber. Your lighting is too dark. Increase light level to 8 or higher everywhere. Torches every 12 blocks is a safe rule of thumb.
For more advanced troubleshooting, the Minecraft subreddit is a goldmine. People post setups and solutions constantly.
Scaling Your Operation
Once you’ve bred your first baby villager, you’ll want more. Scaling is where breeding farms become powerful.
The pyramid approach: Start with one breeding pair. Get 2-3 babies. Once they grow, breed those with the originals to get more babies. It’s exponential. Within a few cycles, you’ll have dozens of villagers.
Multi-chamber setups: Build several identical chambers and run them in parallel. Use a central hopper system to distribute food to all chambers at once. This lets you breed multiple pairs simultaneously.
Profession specialization: Once you have enough villagers, assign them to different professions by placing job blocks nearby (librarians get lecterns, farmers get composts, etc.). This lets you trade for rare items like mending books or enchanted tools.
The real power of scaling is trading. A single librarian villager can provide infinite emeralds if you have a carrot/potato farm feeding them. Those emeralds let you buy anything from other villagers. It’s a self-sustaining economy.
Pro Tip: If you’re running a large farm, consider allocating more RAM to Minecraft. More villagers = more processing power required. Learn how to give Minecraft more RAM if your farm starts lagging.
For inspiration on large-scale setups, check YouTube tutorials on villager farms. Creators like Mumbo Jumbo and Wattles have detailed walkthroughs.
Frequently Asked Questions
Do villagers need to be the same profession to breed?
– No. Any two adult villagers can breed regardless of profession. Profession doesn’t affect breeding at all. However, profession matters for trading, so you’ll want to specialize them after breeding.
How long does it take for a baby villager to grow into an adult?
– About 20 minutes of in-game time. This is roughly 1 real-world minute per in-game day, so plan accordingly if you’re building a large farm.
Can you breed villagers in the Nether or End?
– Technically yes, but it’s impractical. Beds explode in the Nether and End, so you can’t use them there. Stick to the Overworld.
What’s the maximum number of villagers you can breed?
– There’s no hard cap, but performance becomes an issue. Most servers and single-player worlds start lagging with 100+ villagers in one area. Spread them across multiple chambers or locations.
Do villagers breed faster with more food?
– No. Once they’re willing (have 12+ food points), the breeding happens at the same rate. Extra food doesn’t speed it up. However, consistent food supply ensures they stay willing for multiple breeding cycles.
Can you breed villagers without beds?
– No. Beds are mandatory. Villagers won’t enter breeding mode without available beds. This is one of the most common mistakes beginners make.
What happens if a baby villager spawns and there’s no bed for them?
– They still spawn, but they’ll wander aimlessly and won’t settle down. Eventually, they’ll despawn if they can’t find a bed. Always have extra beds ready.
Do I need to give villagers water or anything else besides food?
– No. Food and beds are the only requirements. Water is useful for your farm’s layout (moving villagers, flushing items), but they don’t need to drink it.

Why won’t my villagers breed even though I have food and beds?
– Check these in order: (1) Are there enough beds for the population? (2) Is the food actually in their inventory? (3) Are they scared (mobs nearby)? (4) Is it daytime? (5) Are they already at population cap? One of these five is almost always the culprit.
Can you speed up villager breeding with commands?
– You can’t directly speed breeding, but you can use commands to set up conditions faster (teleporting villagers, giving items, etc.). Creative mode is useful for testing setups before building in survival.


