
So you’re wondering how do I have to buy TiviMate premium—you’re in the right place. TiviMate is one of the most popular IPTV player apps out there, and upgrading to premium unlocks a ton of features that make streaming way smoother. Whether you’re using a Fire Stick, Roku, or Android device, I’ll walk you through every step of the process, from creating an account to actually getting your hands on that premium subscription.
Table of Contents
What Is TiviMate Premium?
TiviMate is an IPTV player application designed specifically for streaming live TV, movies, and shows. The free version works fine, but the premium tier is where things get interesting. With premium, you get rid of ads, unlock advanced features like catch-up TV, EPG (electronic program guide) customization, and better streaming quality overall. Think of it like upgrading from a basic cable box to a full-featured DVR system—same content, but way more control and flexibility.
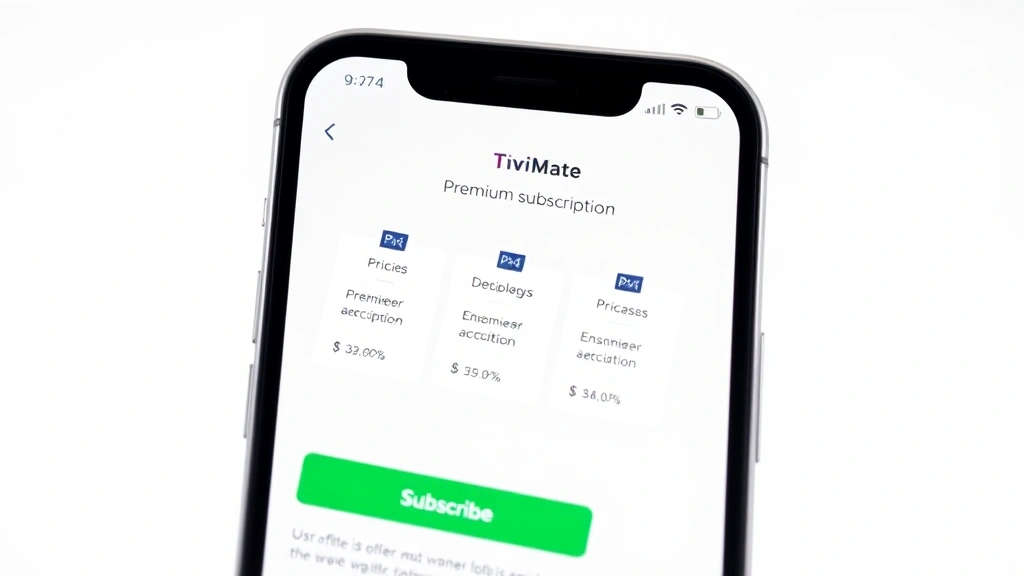
The premium subscription typically costs around $4.99 per month or $49.99 per year, depending on current pricing. It’s a one-time purchase per device, so if you’re running TiviMate on multiple devices (like pairing your Amazon Fire Stick remote to your TV and also using a phone), you might need separate subscriptions for each.
System Requirements First
Before you even think about buying premium, make sure your device can actually run TiviMate properly. The app works on Android devices (phones, tablets, Fire Sticks, Android boxes), and some smart TV platforms. You’ll need at least Android 5.0 or higher for smooth operation. If you’re using a Fire Stick, make sure it’s a Fire Stick 4K or second-generation model at minimum—older versions might struggle.
Also, you’ll want a stable internet connection. Premium features like catch-up TV and EPG updates require consistent bandwidth. If your WiFi is sketchy, upgrade that first. No point buying premium if your connection can’t handle it. Check your device storage too—TiviMate needs about 50MB of free space to install and run properly.
Creating Your TiviMate Account
Here’s where it all starts. Download TiviMate from the official source (Google Play Store for Android devices, or sideload it on Fire Sticks). Open the app and you’ll see an option to create an account or log in. Hit “Create Account” and fill in your email address and a strong password. Make sure you use an email you actually check regularly—you’ll need it for account recovery and payment confirmations.
After creating your account, verify your email by clicking the link they send you. This step is crucial. Without email verification, you won’t be able to make purchases. Some users skip this and wonder why their payment fails later. Don’t be that person. Spend two minutes verifying and save yourself a headache.
Once verified, log back into the app with your credentials. You’re now ready to explore the premium options. Your account is tied to your email, so if you ever switch devices, you can log in with the same credentials and your premium subscription follows you.
Payment Methods Explained
TiviMate accepts several payment methods, which is convenient. The most common options are credit cards (Visa, Mastercard, American Express), PayPal, and sometimes Google Play credit if you’re on an Android device. Each method has its pros and cons.
Credit Card: Fastest option. Charges immediately and you get instant access. Make sure your card details are entered correctly to avoid declined payments. The system uses encrypted payment processing, so your information stays secure.
PayPal: Slightly slower but adds an extra layer of security. PayPal acts as a middleman, so your card details never touch TiviMate’s servers directly. If you’re paranoid about online payments (and honestly, who isn’t?), this is your safest bet.
Google Play Credit: Works if you’re on Android and have balance in your Play Store account. This is handy if you’ve got gift cards lying around. Just load them into Google Play first, then use that credit for your TiviMate purchase.
Whatever method you choose, make sure your payment info is current and has sufficient funds. Declined payments can be frustrating and sometimes trigger temporary account locks.
The Actual Purchase Process
Alright, let’s get to the meat of it. Inside the TiviMate app, look for the Settings menu (usually a gear icon). Navigate to “Premium” or “Subscription” options. You’ll see pricing tiers and subscription lengths. Most people go with the monthly option first to test it out, then switch to annual if they like it.
Select your preferred subscription length and click “Buy” or “Subscribe.” The app will then prompt you to choose your payment method. Enter your payment details (or select a saved method if you’ve purchased before). Double-check everything—email address, payment amount, subscription length. Nothing worse than accidentally buying something you didn’t mean to.
Click “Confirm” and wait for the transaction to process. This usually takes 10-30 seconds, but can take longer if your connection is slow. Don’t close the app or restart your device during this time. You’ll get a confirmation message once the purchase goes through, and your premium features activate immediately.
Keep that confirmation email. It’s your proof of purchase and contains your transaction ID. If something goes wrong, you’ll need this information to contact support. Also, if you’re connecting a Roku to WiFi without a remote or dealing with any device connectivity issues, make sure those are sorted before purchasing premium—you want a stable setup.
Activating Your Premium Features
After your purchase completes, premium should activate automatically. However, sometimes you need to restart the app or your device to see all the features unlock. Close TiviMate completely and reopen it. If you’re on a Fire Stick, restart the device itself—just unplug it for 10 seconds and plug it back in.
Once activated, you’ll notice the ad banners disappear, and new menu options appear. The EPG (program guide) becomes more customizable, catch-up TV features activate, and your streaming quality improves. Spend a few minutes exploring the new settings. You can now customize channel lists, set up favorites, and adjust playback quality based on your internet speed.
If premium doesn’t activate after 30 minutes, log out and log back in. Sometimes the app needs to sync with the server. If that doesn’t work, check your email for the confirmation. If you didn’t receive one, the payment likely failed. Check your payment method’s account to see if the charge went through. If it did, contact TiviMate support with your transaction ID.
Troubleshooting Common Issues
Payment Declined: First, verify your card has sufficient funds and isn’t expired. Contact your bank—sometimes they flag streaming app purchases as suspicious. Ask them to whitelist TiviMate. Then try again with a different payment method if available.
Premium Not Activating: Clear the app cache. On Android, go to Settings > Apps > TiviMate > Storage > Clear Cache. Don’t clear data, just cache. Restart the app and try logging in again. This resolves 90% of activation issues.
Account Access Problems: Make sure you’re using the correct email and password. If you forgot your password, use the “Forgot Password” option on the login screen. You’ll get a reset link via email. Create a new password and try logging in again.
Subscription Not Showing: If you’ve purchased premium but it’s not showing in your account, check if you’re logged into the right account. Some people create multiple accounts by accident. Verify the email address you used for purchase matches your current login.
Maximizing Your Premium Experience
Now that you’ve got premium, let’s make it count. Start by customizing your EPG. Go to Settings > EPG and adjust the time zone, number of days to display, and refresh rate. A properly configured EPG makes navigating channels way easier.
Set up your favorite channels. Most IPTV playlists have hundreds of channels. You don’t need all of them cluttering your interface. Create custom lists with just the channels you watch. This makes browsing faster and cleaner. Premium gives you unlimited custom lists, so go wild.
Adjust your playback settings based on your internet speed. If you’re on a slower connection, lower the video quality to prevent buffering. If you’ve got fiber or high-speed cable, crank it up to the highest quality available. This is in Settings > Playback.

Enable catch-up TV if your IPTV provider supports it. This lets you rewind and watch shows that aired earlier. It’s one of the best premium features and works great for sports or live events you missed.
Frequently Asked Questions
Can I use my TiviMate premium subscription on multiple devices?
Your subscription is tied to your account, not your device. You can log in on different devices with the same account and premium transfers. However, some providers limit simultaneous streams. Check your IPTV provider’s terms. You might need separate subscriptions if you want to stream on multiple devices at the same time.
What happens if I cancel my premium subscription?
Your premium features stop working immediately. You revert to the free version with ads and limited features. Any custom settings or lists you created remain, but you can’t use premium-only features. You can resubscribe anytime and your settings are still there.
Is TiviMate premium safe and legal?
TiviMate itself is a legitimate app. It’s an IPTV player—basically a media player. What you stream depends on your IPTV provider. Using TiviMate with legal IPTV services is completely fine. Using it with unauthorized streaming sources is a different story. That’s on you and your provider, not the app.
How often do I get charged for premium?
If you buy monthly, you’re charged once a month on the same date. If you buy annual, you’re charged once a year. You can cancel anytime, but you won’t get a refund for unused time. Most subscriptions auto-renew, so set a calendar reminder if you want to cancel before renewal.
Can I get a refund if I’m not happy?
TiviMate typically offers a 7-day refund window. Contact support with your transaction ID and reason for refund. They’re usually pretty reasonable about it. After 7 days, refunds are unlikely unless there’s a technical issue on their end.
What’s the difference between monthly and annual pricing?
Annual is cheaper per month if you do the math. Monthly is about $4.99, annual is around $49.99—that’s basically 10 months for the price of 12. If you think you’ll use TiviMate for a year, annual saves you money. If you’re unsure, start with monthly and switch to annual later.
Do I need a VPN to buy TiviMate premium?
No. TiviMate operates legally in most countries. You don’t need a VPN to purchase or use the app. However, what you stream through TiviMate is your responsibility. If you’re using it with questionable IPTV sources, that’s a different conversation.
Final Thoughts
Buying TiviMate premium is straightforward once you know the steps. Create an account, verify your email, choose your payment method, and hit purchase. Premium activates immediately and transforms your streaming experience. You get rid of ads, unlock advanced features, and get better overall performance.
The key is making sure your device is compatible, your internet is stable, and your payment method works. If you run into issues, don’t panic—most problems are simple fixes like clearing cache or restarting the app. And remember, premium is affordable, especially if you go annual. For the price of a couple coffees per month, you get a seriously powerful IPTV player.
If you’re setting this up on a Fire Stick or other streaming device, make sure your remote is properly configured. If you’re having device connectivity issues, check out our guides on pairing your Fire Stick remote and connecting Roku to WiFi for help. Everything working smoothly? Then go ahead and upgrade. Your viewing experience will thank you.


