

A hopper recipe is your ticket to making crispy, golden Indian crepes that’ll have everyone asking for seconds. Whether you’re craving that perfect breakfast or planning an impressive brunch, mastering this South Indian classic transforms your kitchen into a street-food paradise. Let me walk you through everything you need to know to nail it every single time.
Table of Contents
What Is a Hopper?
Let’s start with the basics. A hopper is a bowl-shaped Indian crepe that comes from Kerala and other South Indian regions. Think of it as a crispy, lacy pancake with edges that shatter when you bite into them. The magic happens when you pour batter into a special hopper pan—a cast-iron mold with a long handle that you dip into hot oil. The result? A golden, delicate crepe with crispy, caramelized edges and a soft, fluffy center. It’s street food that tastes like you spent hours perfecting your craft.
Essential Ingredients You Need
Here’s what goes into an authentic hopper recipe. You’ll need rice (about 2 cups), split black lentils (1 cup), fenugreek seeds (1 teaspoon), salt to taste, and coconut milk or regular milk (1/2 cup). Some folks add a pinch of sugar or jaggery for depth. The rice and lentils are the backbone—they create that light, airy texture that makes hoppers so addictive. Don’t skip the fenugreek seeds; they add a subtle, earthy flavor that ties everything together. If you’re making a savory version, you might toss in some minced ginger, green chilies, and curry leaves.
Batter Preparation Secrets
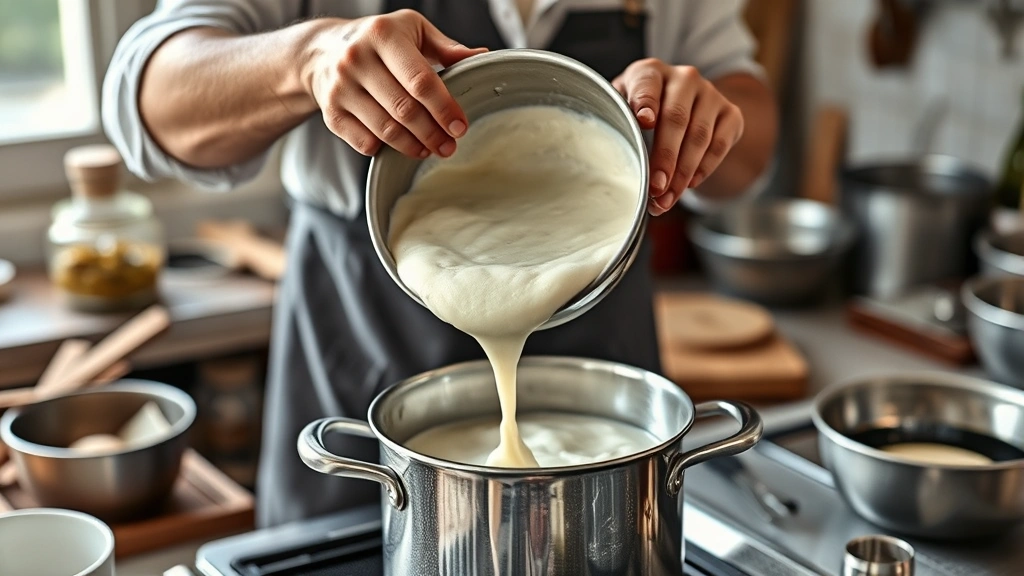
The batter is where most people stumble. Start by soaking your rice and lentils separately for at least 4 hours—overnight is better. Soak the fenugreek seeds with the lentils. After soaking, drain everything thoroughly. This step matters because wet batter won’t grind properly. Grind the soaked ingredients together with minimal water until you get a smooth, fluffy paste. The consistency should be like thick yogurt—not too runny, not too thick. Add salt at this stage. If you’re using coconut milk, fold it in gently at the end. This batter is the foundation of your hopper recipe, so take your time here.
Fermentation Process Explained
Here’s the game-changer: fermentation. Transfer your batter to a bowl, cover it loosely with a cloth, and let it sit at room temperature for 8-12 hours. During this time, natural yeasts and bacteria work their magic, creating tiny air pockets that make hoppers light and fluffy. The batter should rise slightly and develop a pleasant, tangy aroma. In cooler climates, fermentation might take longer—up to 24 hours. You’ll know it’s ready when the batter has increased in volume and smells slightly fermented. This step separates amateur hoppers from restaurant-quality ones. Don’t skip it or rush it. Think of it like making applesauce—some things just need time to develop properly.
Cooking Technique Mastery
Now for the fun part. Heat your hopper pan in hot oil (coconut oil is traditional) until it’s smoking slightly. Dip the entire pan into the hot oil for about 30 seconds to heat it thoroughly. Pour about 1/4 cup of fermented batter into the center of the pan, then immediately dip the pan back into the oil. The batter will spread and cook around the sides, creating those signature crispy edges. Keep the pan submerged for 2-3 minutes until the edges turn golden brown and crispy. Carefully lift the pan out, let excess oil drip off, and slide the hopper onto a plate. The whole process takes practice, but once you nail the timing, you’re golden.
Getting Crispy Edges Every Time
Want that restaurant-quality crunch? Here’s the secret: the oil temperature is everything. Keep it between 350-375°F (175-190°C). Too hot and the edges burn before the center cooks. Too cool and you get a greasy, soggy mess. Use a thermometer if you have one. Also, don’t be shy with the oil—the pan needs to be fully submerged. Some folks add a tiny pinch of baking soda to the batter right before cooking, which creates extra crispy edges. Another pro tip: after cooking, place your hoppers on a wire rack instead of paper towels. This prevents steam from making them soggy.
Serving Suggestions That Work
A hopper recipe shines when paired with the right accompaniments. Traditional options include coconut milk-based curries, spicy chicken stew, or simple vegetable curries. For breakfast, serve with jaggery and ghee, or make a sweet version with palm jaggery. You can also pair hoppers with sambar (a spiced lentil vegetable stew) or rasam (a tangy soup). Fresh coconut chutney or spicy green chutney adds brightness. Some people enjoy them with just a dollop of ghee and a sprinkle of salt. The beauty of hoppers is their versatility—they work for breakfast, lunch, dinner, or even as an appetizer. Similar to how steaming broccoli in the microwave opens up quick meal options, mastering hoppers gives you endless serving possibilities.
Troubleshooting Common Issues
Hoppers not rising? Your fermentation probably didn’t happen. Make sure your kitchen is warm enough (around 70-75°F is ideal). Batter too thick? Add a tablespoon of water at a time until you reach the right consistency. Edges burning but center undercooked? Lower your oil temperature and increase submersion time slightly. Hoppers turning out flat and dense? You might be over-mixing the batter or not fermenting long enough. If your batter smells off (not pleasantly tangy but genuinely sour), start over—fermentation went too far. Keep notes on what worked and what didn’t. Every kitchen is different, so your hopper recipe will evolve based on your specific conditions.
Variations You Can Try
Once you’ve nailed the basic hopper recipe, experiment with variations. Sweet hoppers use jaggery and coconut milk in the batter. Savory versions incorporate minced vegetables, ginger, and green chilies. Some regions make egg hoppers with a raw egg cracked into the center just before serving. Cheese hoppers are becoming popular—add grated cheese to the batter for a fusion twist. You can even make mini hoppers using smaller pans, perfect for appetizers. Just like knowing how long to steam carrots opens up vegetable cooking options, understanding the basic technique lets you create endless variations.
Storage and Make-Ahead Tips
Hoppers are best eaten fresh and warm, but you can make the batter ahead. Fermented batter keeps in the refrigerator for up to 3 days. Bring it to room temperature before cooking. Cooked hoppers don’t store well because they lose their crispiness, but you can refrigerate them for a day and reheat gently in a 300°F oven for a few minutes. Freezing cooked hoppers isn’t recommended—texture suffers. Your best bet is making the batter the night before, then cooking fresh hoppers in the morning. This way you get restaurant-quality results without the morning stress. Pro tip: if you’re cooking for a crowd, prep all your batter and ingredients beforehand, then cook hoppers to order.
Frequently Asked Questions
Can I make hopper batter without fermentation?
Technically yes, but you’ll miss the fluffiness and tangy flavor that fermentation brings. The batter will work, but the hoppers won’t have that signature light texture. Fermentation is worth the wait.
What’s the best oil for cooking hoppers?
Coconut oil is traditional and adds authentic flavor, but vegetable oil or groundnut oil work too. Avoid olive oil—it has too low a smoke point. Stick with neutral or tropical oils.

Do I need a special hopper pan?
Yes, a proper hopper pan (also called an appam pan) makes a huge difference. It’s a cast-iron bowl on a long handle. You can find them online or in Indian grocery stores. They’re inexpensive and last forever.
How do I know when fermentation is complete?
The batter should rise slightly, smell pleasantly tangy (like yogurt), and have visible air bubbles. Taste a tiny bit—it should have a subtle sour flavor. This usually takes 8-12 hours at room temperature.
Can I use store-bought rice flour instead of grinding rice?
It’s not ideal. Store-bought rice flour doesn’t ferment the same way because it’s already processed. For best results, grind your own rice and lentils from scratch.
Why are my hoppers coming out greasy?
Oil temperature is too low. Increase the heat and use a thermometer to maintain 350-375°F. Also, make sure you’re draining excess oil properly after cooking.
Final Thoughts on Mastering Hoppers
Mastering a hopper recipe takes patience and practice, but the results are absolutely worth it. Start with the basics, respect the fermentation process, nail your oil temperature, and you’ll be making crispy, golden hoppers that rival any street vendor. Remember, every kitchen is different—your first batch might not be perfect, and that’s okay. Keep cooking, take notes, and adjust based on what you learn. Soon enough, you’ll have the technique down so well that making hoppers becomes second nature. The beauty of this dish is that it’s simple but requires attention to detail. That’s what separates good hoppers from great ones. Now get in that kitchen and start experimenting. Your family’s going to love you for it. Check out how to make candy apples for another fun cooking project once you’ve mastered this one.


