
Making a homemade butter recipe is genuinely one of the easiest kitchen projects you can tackle—and I mean that literally. You need cream, a jar, and five minutes of shaking. No fancy equipment, no chemistry degree, just pure DIY satisfaction. I’ve been making butter this way for years, and honestly, once you taste the difference between what you make and store-bought, you’ll never look at a butter stick the same way again.
Table of Contents
Why Make Your Own Butter
Look, store-bought butter is fine. But homemade butter tastes richer, creamier, and you control exactly what goes into it. No weird additives, no mystery ingredients. Plus, there’s something deeply satisfying about shaking a jar and watching cream transform into actual butter. It’s tangible. It’s real. It’s the kind of project that makes you feel like you’ve accomplished something before breakfast.
The cost factor matters too. A pint of heavy cream costs about $2-3, and you’ll get roughly a pound of butter plus buttermilk. That’s not exactly breaking the bank, and the quality bump is noticeable. If you’re into making edible cookie dough or other homemade treats, having fresh butter on hand elevates everything.
Ingredients You Actually Need
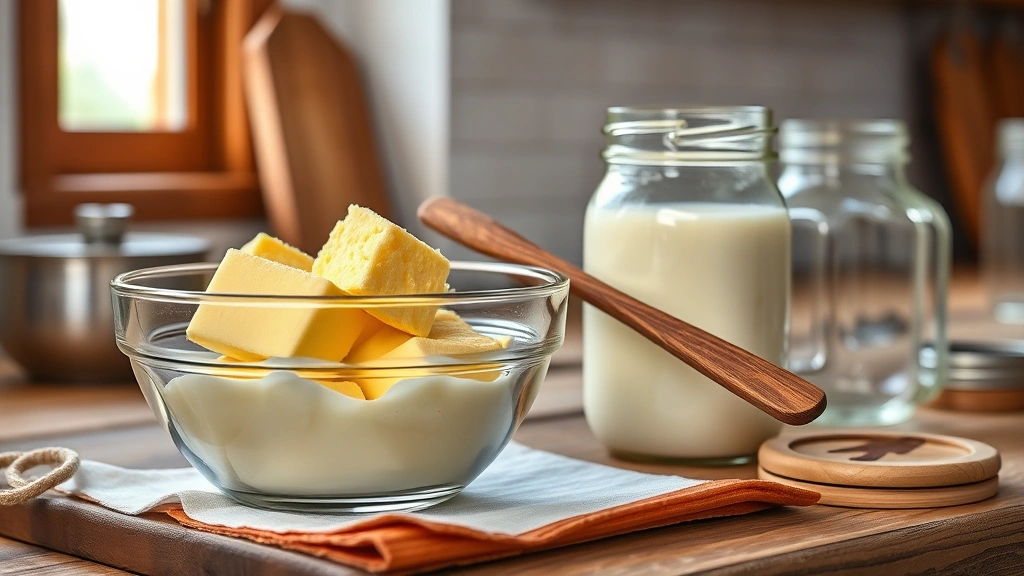
This is where the simplicity shines. For a basic homemade butter recipe, you need exactly two things:
- Heavy cream (the good stuff, not ultra-pasteurized if possible)
- Salt (optional, but recommended)
That’s it. No milk, no water, no additives. Just cream. The fresher your cream, the better your butter will taste. Room temperature cream works faster than cold cream, though cold cream will eventually get the job done—it just takes longer.
The Five-Minute Shaking Method
This is the method that changed everything for me. No equipment beyond what you already have in your kitchen.
Step 1: Pour and Fill
Fill a mason jar about halfway with heavy cream. Don’t overfill—you need room for the cream to slosh around. A quart-sized jar works perfectly for a pint of cream.
Step 2: Seal It Up
Screw the lid on tight. Seriously tight. You don’t want cream leaking everywhere because you got lazy with the lid.
Step 3: Shake Like You Mean It
Now shake. Hard. Consistent shaking for about 5-10 minutes. Your arm will get tired. That’s normal. Some people do this while watching TV or listening to music. I usually shake while standing in the kitchen thinking about what I’m making for dinner.
Step 4: Watch the Transformation
After a few minutes, you’ll notice the cream getting thicker. It’ll go from liquid to whipped cream consistency. Keep going. Around the 5-7 minute mark, you’ll hear a sudden change—the sound becomes less sloshy, more chunky. That’s your butter separating from the buttermilk.
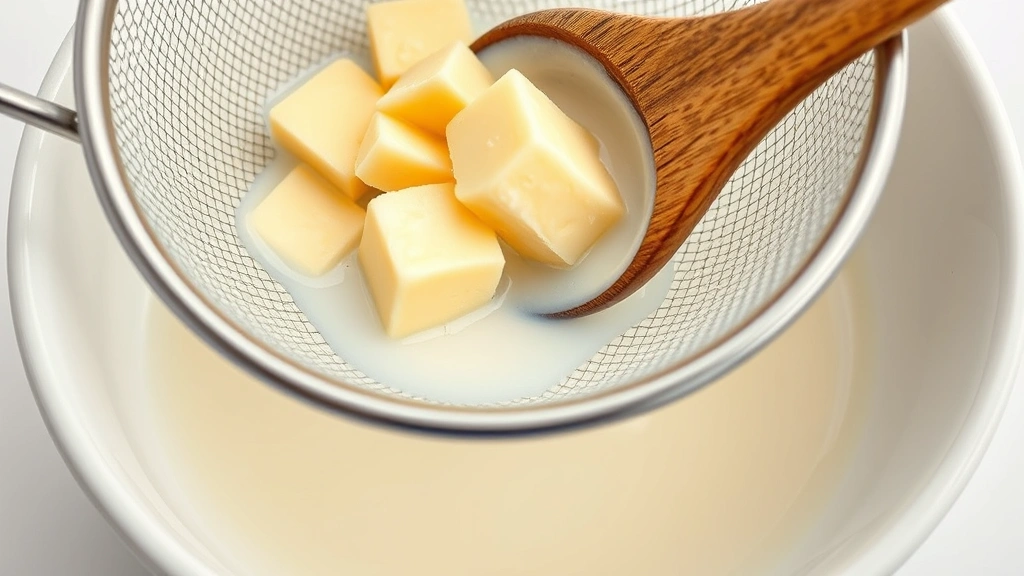
Step 5: Strain and Rinse
Pour everything through a fine-mesh strainer into a bowl. The liquid that drains off is buttermilk (save it for baking if you want). What’s left in the strainer is your butter. Rinse it under cold water while pressing it gently with a wooden spoon to remove excess buttermilk. This step matters—leftover buttermilk will make your butter go rancid faster.
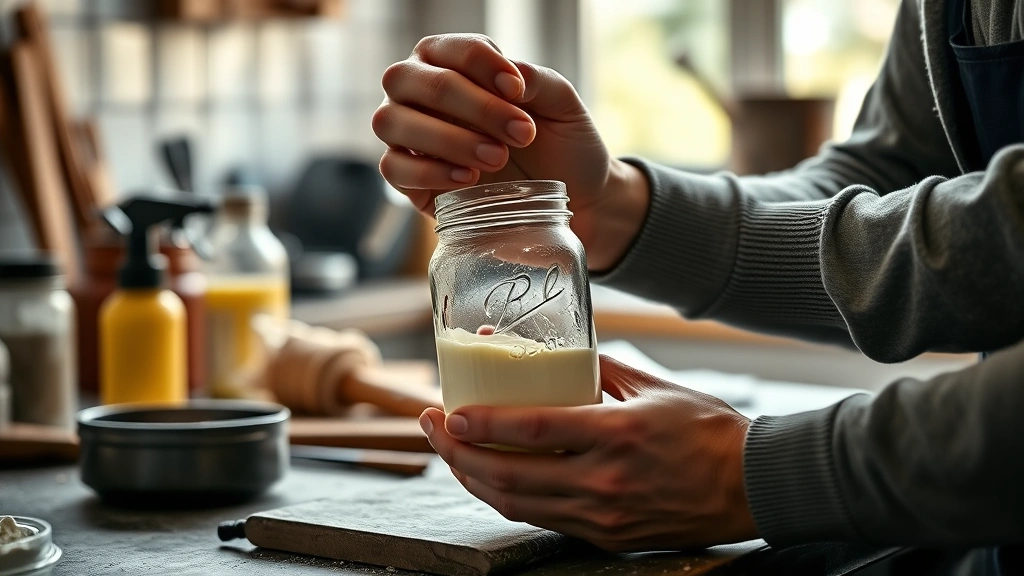
Jar Shaking Technique Breakdown
The shaking itself deserves its own section because technique actually matters here. You’re not just randomly flailing the jar around.
Hold the jar at chest height with both hands. Use firm, controlled shakes—not violent, but deliberate. The goal is to keep the cream moving constantly, allowing the fat globules to collide and merge. Think of it like you’re separating cream from liquid, which is exactly what’s happening at a molecular level.
If you have kids or roommates, this is a great task to hand off. Kids especially love the shaking part, and it’s a legitimate kitchen contribution. Just warn them their arm might get sore.
Temperature affects speed. Cold cream takes longer because the fat is more solid. Room temperature cream (around 65-70°F) separates faster. Some people even warm their cream slightly to 70-75°F for the fastest results, though this is optional.
Using a Butter Churn (Optional)
If you make butter regularly or want to go old-school, a butter churn is a solid investment. Hand-crank models cost $20-50 and eliminate the arm fatigue. Electric churns exist too, though they feel like overkill for a 5-minute process.
A churn works the same way as jar shaking—agitation separates the butterfat from the buttermilk. The advantage is consistency and less physical effort. The disadvantage is one more thing taking up cabinet space. For occasional butter making, the jar method wins. For regular production, a churn makes sense.
Storage and Shelf Life
Fresh homemade butter lasts about two weeks in the fridge if you’ve rinsed it thoroughly. The rinsing step is critical—any residual buttermilk accelerates spoilage.
For longer storage, freeze it. Homemade butter freezes beautifully and lasts 6-9 months in the freezer. Wrap it well to prevent freezer burn. I usually portion mine into smaller amounts before freezing so I’m not thawing a whole batch.
Store butter in an airtight container or wrapped tightly in parchment paper. Keep it away from strong-smelling foods—butter absorbs odors like a sponge.
Making Flavored Butter Variations
Once you’ve mastered the basic homemade butter recipe, flavored variations are where it gets fun. After rinsing and before final storage, mix in:
- Herb butter: Fresh herbs like dill, parsley, or chives (finely chopped)
- Garlic butter: Minced garlic or garlic powder
- Honey butter: A drizzle of raw honey
- Cinnamon butter: Cinnamon and a touch of sugar
- Sriracha butter: Hot sauce mixed in for spicy kick
Roll flavored butter in plastic wrap to form a log, refrigerate, and slice off pieces as needed. It’s restaurant-quality stuff that costs pennies to make. This is perfect for keeping your kitchen organized with homemade ingredients ready to go.
Common Problems and Fixes
Problem: Butter won’t form after 10 minutes
Solution: Your cream might be too cold. Let it sit at room temperature for 15-20 minutes, then try again. Or your cream might be ultra-pasteurized, which sometimes makes separation harder. Seek out regular pasteurized cream.
Problem: Butter is too soft or greasy
Solution: You didn’t rinse it enough. More rinsing under cold water while pressing out liquid is the fix. Also make sure you’re storing it in the coldest part of your fridge.
Problem: Butter tastes sour or off
Solution: Your cream was already aging or your storage wasn’t clean. Always start with fresh cream and use sterilized jars. If the taste is intentionally tangy, that’s cultured butter—totally fine and actually delicious, but different.
Problem: Takes longer than 5 minutes
Solution: Completely normal. Cold cream takes 10-15 minutes. Room temperature cream is faster. The 5-minute mark is optimistic—budget 10 minutes to be safe.
For reference on measurements and conversions, if you’re scaling up your homemade butter recipe, you might want to convert pounds to kilograms for consistency across batches.
Frequently Asked Questions
Can I use regular milk instead of cream?
No. Milk doesn’t have enough fat content to separate into butter. You need cream with at least 35% fat content. Heavy cream works perfectly.
What do I do with the buttermilk?
Save it for baking—it’s fantastic in pancakes, biscuits, and cakes. You can refrigerate it for up to two weeks or freeze it for later use.
Is homemade butter healthier than store-bought?
Nutritionally, they’re similar—both are mostly fat. The advantage is freshness, taste, and knowing exactly what’s in it. No additives or preservatives.
Can I make butter from whipped cream?
Technically yes, but whipped cream has already had air incorporated. It’ll take longer because you need to break down the air bubbles first. Start with liquid heavy cream for the fastest results.
Does the jar size matter?
Yes. Too small and you don’t have room for proper agitation. Too large and you’re shaking a half-empty container. A quart-sized mason jar is ideal for a pint of cream.
Can I use a food processor instead of shaking?
Absolutely. Pour cream into a food processor and run it for 5-10 minutes. It separates the same way, just with less arm fatigue. Watch for the moment it transitions from whipped cream to butter and liquid.
What temperature should my kitchen be?
Room temperature (65-75°F) is ideal. Cold kitchens slow the process. Warm kitchens speed it up slightly but can make butter harder to handle.
Final Thoughts
A homemade butter recipe isn’t complicated—it’s literally just cream and agitation. The fact that something so simple produces something so delicious is the whole appeal. Once you’ve made it once, you’ll see why people have been doing this for centuries without electricity or fancy equipment.
Start with the jar method. Shake it. Taste the result. Then decide if you want to invest in a churn or keep doing it the simple way. Either path leads to better butter than anything you’ll find in a supermarket.
For more DIY kitchen projects and food prep techniques, explore our guides. And if you’re curious about other preservation and storage methods, check out our other home and kitchen articles for more practical skills worth learning.


