
Making a homemade applesauce recipe is one of those kitchen projects that feels like real cooking—no fancy equipment needed, just apples, a pot, and about 20 minutes of your time. I’ve been making this stuff for years, and honestly, once you taste it fresh from your own kitchen, store-bought versions feel like cardboard by comparison. This guide walks you through the whole process, from picking your apples to storing your finished sauce.
Table of Contents
Choose the Right Apples
The foundation of any solid homemade applesauce recipe starts with apple selection. You want varieties that break down easily and have natural sweetness—Gala, Fuji, Honeycrisp, and Jonagold are my go-to picks. Granny Smiths work too if you like tartness. The key is mixing varieties. Use about 60% sweeter apples and 40% tart ones for balanced flavor without needing extra sugar.
Hit up your local farmer’s market or orchard if possible. Those apples taste noticeably better than supermarket stock that’s been sitting in cold storage for months. You’ll need roughly 2-3 pounds of apples for a basic batch—that’s about 6-8 medium fruits depending on size.
The Three-Ingredient Formula
Here’s what makes this homemade applesauce recipe genuinely simple: you need apples, water, and that’s technically it. Some folks add a pinch of salt or cinnamon, but those are optional flavor boosters. The beauty of keeping it minimal is tasting what real apples actually taste like instead of chasing a sugar rush.
- Apples: 2-3 pounds, mixed varieties
- Water: ½ cup (adjust based on apple juiciness)
- Salt: ⅛ teaspoon (brings out apple flavor)
That’s genuinely all you need. The apples release their own liquid as they cook, so you’re not making soup here—you’re just providing enough moisture to prevent sticking.
Prep Work Matters
Wash your apples thoroughly under running water. Don’t peel them yet—the skin contains pectin and nutrients. Quarter each apple and remove the core and seeds. You can use a knife or an apple corer; I prefer the knife method because it’s faster once you get the rhythm down.
Work over a bowl to catch juice. If your apples are particularly large, cut quarters into smaller chunks—you want pieces roughly 1-2 inches across so they cook evenly. Don’t stress about perfect uniformity; this isn’t plating for a restaurant.
The Cooking Process (Simple)
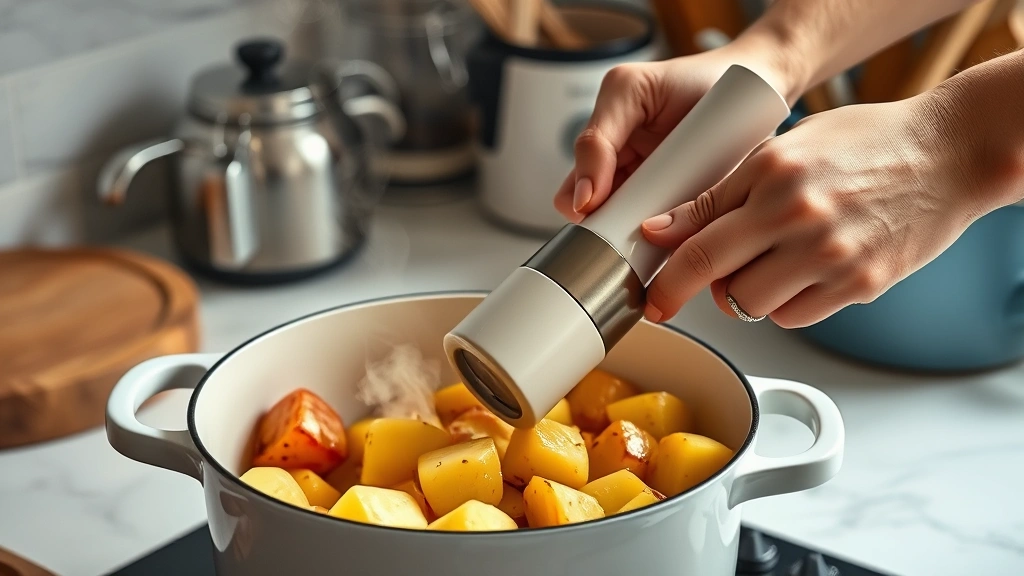
Dump your apple pieces into a heavy-bottomed pot (stainless steel or enameled cast iron work great). Pour in your water and add salt. Bring everything to a boil over medium-high heat, then reduce to medium and let it simmer. You’re looking at 15-20 minutes total, depending on how small you cut your apples.
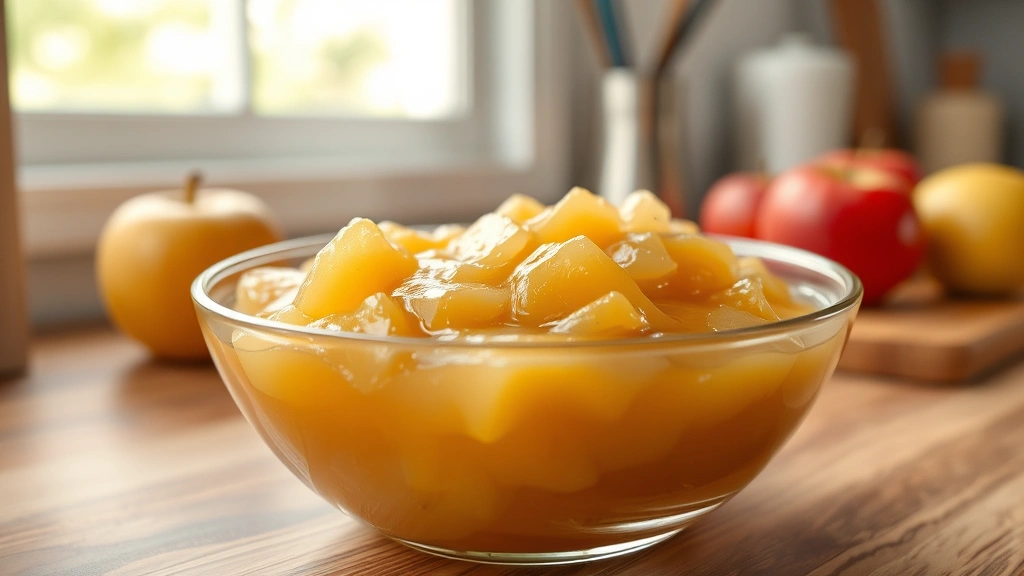
Stir occasionally—every 4-5 minutes is fine. You’ll notice the apples softening and breaking apart. When a fork easily pierces the largest chunks, you’re done cooking. The apples should look like chunky mush at this point, which is exactly what you want.
Here’s a pro tip: if you’re making a larger batch or want to preserve your applesauce long-term, check out our detailed guide on how to make apple sauce for canning instructions.
Blending for Smooth Texture
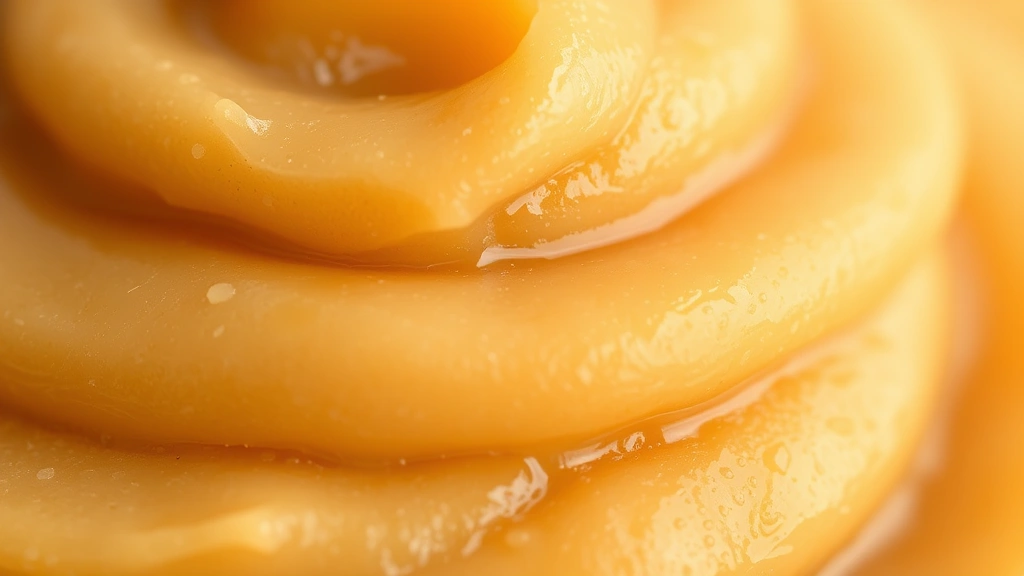
This is where your finished sauce goes from good to great. You’ve got options depending on your texture preference. For chunky sauce, mash everything with a potato masher—takes 2 minutes. For smooth sauce, use an immersion blender and pulse until you reach your desired consistency, usually 30-60 seconds of blending.
If you’re doing a large batch, a regular blender works but requires more careful handling (hot liquid, remember). Work in smaller batches and let steam escape—don’t seal the lid tight or you’ll create a pressure bomb. A food mill is another option that gives you silky texture without aerating the sauce.
The skins will still be visible as little flecks, which is fine. If you really want completely smooth sauce, press it through a fine-mesh strainer, but honestly, that’s overkill for home cooking.
Flavor Variations (Optional)
Straight apple is beautiful, but once you nail the basics, experiment. A quarter teaspoon of ground cinnamon added during cooking is classic. Vanilla extract (½ teaspoon) adds subtle depth. Some people add a squeeze of lemon juice for brightness—about 1 tablespoon per batch.
Nutmeg, allspice, or ginger work if you’re feeling adventurous. Add spices toward the end of cooking so they don’t get boiled away. Honey or maple syrup can sweeten things if your apples were particularly tart, but taste first before adding sweetener—you might not need it.
If you’re into preservation and want to can your sauce, the USDA has solid guidelines on food safety and preservation techniques that cover applesauce specifically.
Storage and Shelf Life
Let your applesauce cool completely before storing. In the refrigerator, it keeps for about 10 days in an airtight container. In the freezer, it lasts 3-4 months in freezer bags or containers—leave a little headspace because it expands slightly when frozen.
For longer storage, water-bath canning is the way to go. Sterilized jars filled with hot applesauce and processed for 15 minutes (pints) or 20 minutes (quarts) will keep for a year or more in a cool, dark cupboard. This is where that detailed applesauce guide really comes in handy if you’re new to canning.
Troubleshooting Common Issues
Sauce too watery? You added too much water or your apples were especially juicy. Simmer uncovered for another 5-10 minutes to reduce liquid. Next time, use less water.
Sauce too thick? Stir in water a tablespoon at a time until you reach the right consistency.
Tastes bland? You likely used all sweet apples. Salt brings out flavor—add a tiny pinch more. Cinnamon or lemon juice helps too.
Brown spots or discoloration? This is oxidation and happens when apples sit too long after cutting. It doesn’t affect taste, but if it bothers you, work faster or toss cut apples with a bit of lemon juice.
Sauce separates in storage? Totally normal. Just stir it back together. This happens when pectin settles.
Frequently Asked Questions
Do I need to peel the apples?
No. The skins add fiber, nutrients, and pectin. They break down during cooking and blend smoothly. If you prefer completely smooth sauce without visible skin flecks, you can peel first, but it’s extra work for minimal difference.
Can I use a slow cooker or instant pot?
Yes. Slow cooker: combine everything and cook on low for 6-8 hours, then blend. Instant Pot: use the pressure cooking function for 5 minutes on high pressure, then quick release and blend. Both work, but stovetop is faster and gives you better control.
What’s the best way to freeze applesauce?
Freezer bags are space-efficient—flatten them so they stack like files. Ice cube trays work great if you want portion-controlled servings. Thaw in the fridge overnight or reheat gently on the stovetop.
Can I add sugar to this recipe?
You can, but try it unsweetened first. Most apples have enough natural sugar. If you need sweetness, add 1-2 tablespoons of honey or brown sugar per batch, stirred in after cooking.
How do I know when apples are done cooking?
Fork test: a piece should break apart easily. The mixture should look soft and broken down, not chunky and firm. You’re aiming for about 15-20 minutes at a gentle simmer.
Is homemade applesauce cheaper than store-bought?
Usually yes, especially if you buy apples in bulk or from a farmer’s market. A 3-pound batch costs around $3-5 depending on apple prices and yields roughly 2 cups of sauce. Store-bought runs $4-6 per jar for similar quality.
Can I make this with other fruits?
Absolutely. Pears work identically. Peaches require slightly longer cooking. Berries make nice compote but need sugar since they’re tart. The basic technique translates to most fruit.


