
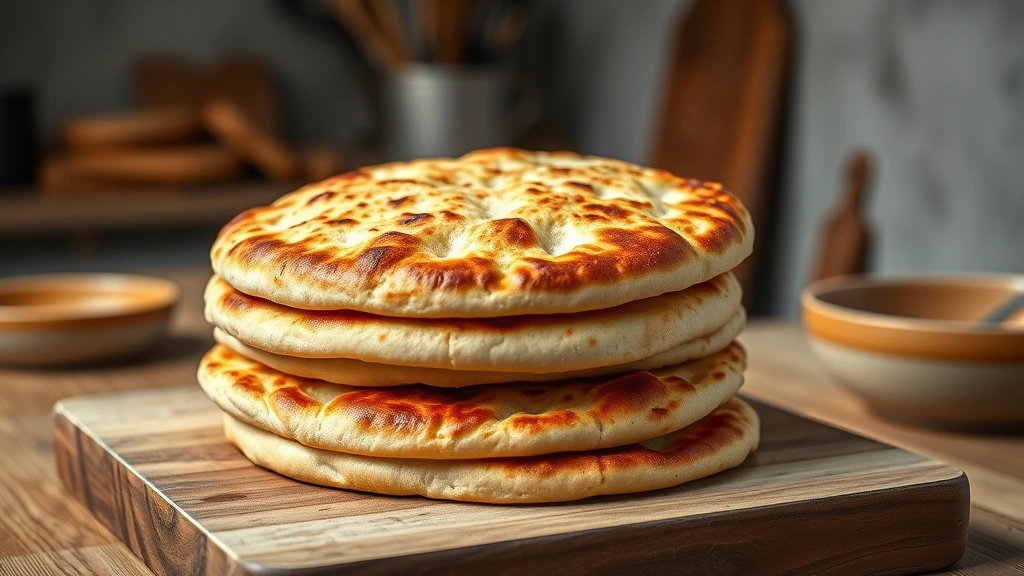
A greek pita recipe is one of those kitchen projects that looks intimidating until you realize it’s just flour, water, yeast, and time working together. I’ve been making pita bread for years, and honestly, there’s nothing quite like pulling a puffy, warm pita straight from your oven. The pocket forms naturally when you nail the temperature and technique, and suddenly you’ve got restaurant-quality bread that costs pennies to make.
Table of Contents
Ingredients You Need
Let’s keep this straightforward. You don’t need a pantry full of specialty items for an authentic greek pita recipe. Here’s what you’re working with:
- 3 cups all-purpose flour (or bread flour for extra chew)
- 1½ teaspoons instant yeast
- 1 teaspoon salt
- 1 tablespoon sugar or honey
- 1 tablespoon olive oil
- 1 cup warm water (around 110°F)
That’s it. Five ingredients plus water. The magic isn’t in exotic additions—it’s in understanding how these basics interact. The warm water activates your yeast, the salt controls fermentation speed, and the olive oil adds richness without overwhelming the dough. I usually keep olive oil on hand anyway, so this recipe fits naturally into my cooking routine.
Dough Mixing Process
Start by combining your dry ingredients in a large mixing bowl. Whisk together the flour, yeast, salt, and sugar. This distributes the yeast evenly—crucial for consistent rising. Make a small well in the center, then pour in your warm water and olive oil.
Mix with a wooden spoon until shaggy dough forms. Don’t worry about lumps at this stage. Once it comes together, switch to hand kneading. Work the dough for about 8-10 minutes until it becomes smooth and elastic. You’ll know you’re done when the dough springs back when you poke it.
The key here is patience. Rushing this step means uneven gluten development, which affects how your pitas puff up during baking. Take your time, and you’ll feel the transformation under your hands.
First Rise Timing
Oil a clean bowl lightly and place your dough inside, turning it once to coat all sides. Cover with a damp kitchen towel or plastic wrap. This prevents a dry crust from forming on top.
Let it rise in a warm spot for 1-2 hours until it roughly doubles in size. A warm kitchen corner works fine, or you can place the bowl in a turned-off oven with the light on. The temperature should stay around 75-80°F for optimal fermentation.
Don’t skip this rise. This is where flavor develops and the dough gains strength. Rushing means dense, flat pitas instead of the fluffy pockets you’re after.
Shaping Your Pitas
Punch down the dough gently—this releases excess gas but doesn’t deflate it completely. Turn it onto a lightly floured surface and divide into 8 equal pieces. I use a kitchen scale for consistency, but eyeballing works too.
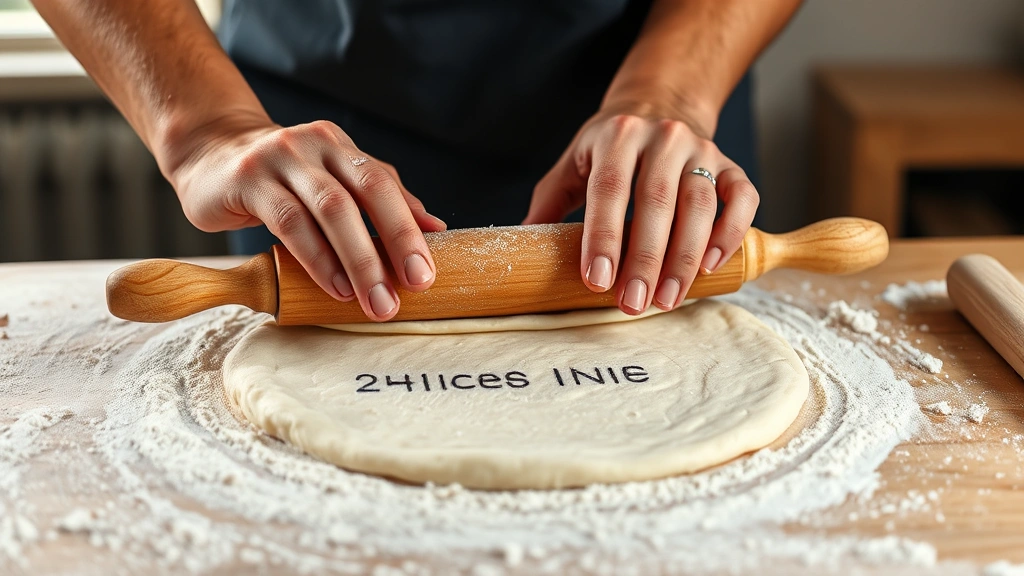
Roll each piece into a ball, then let them rest for 5 minutes. This relaxes the gluten and makes shaping easier. Then, using a rolling pin, flatten each ball into a ¼-inch thick circle, roughly 6-7 inches across.
Keep your work surface lightly floured to prevent sticking, but don’t overdo it. Too much flour gets baked into the dough and affects texture. Think of this like working with pizza dough—gentle pressure, even thickness throughout.
Second Rise Crucial
Place your shaped pitas on a parchment-lined baking sheet, leaving space between each one. Cover with a damp towel and let them rise for 30-45 minutes at room temperature. This second rise is where the magic happens—the dough develops the structure needed to puff dramatically in the oven.
You’ll notice the dough becomes slightly puffy and jiggles when you gently shake the pan. That’s your signal they’re ready. If they rise too long, they’ll spread instead of puff. If they don’t rise enough, you’ll get dense, flatbread instead of proper pita.
Baking Temperature Matters
This is the non-negotiable part of your greek pita recipe. Preheat your oven to 475°F (245°C) for at least 20 minutes. Many home ovens run cool, so consider using an oven thermometer to verify actual temperature.
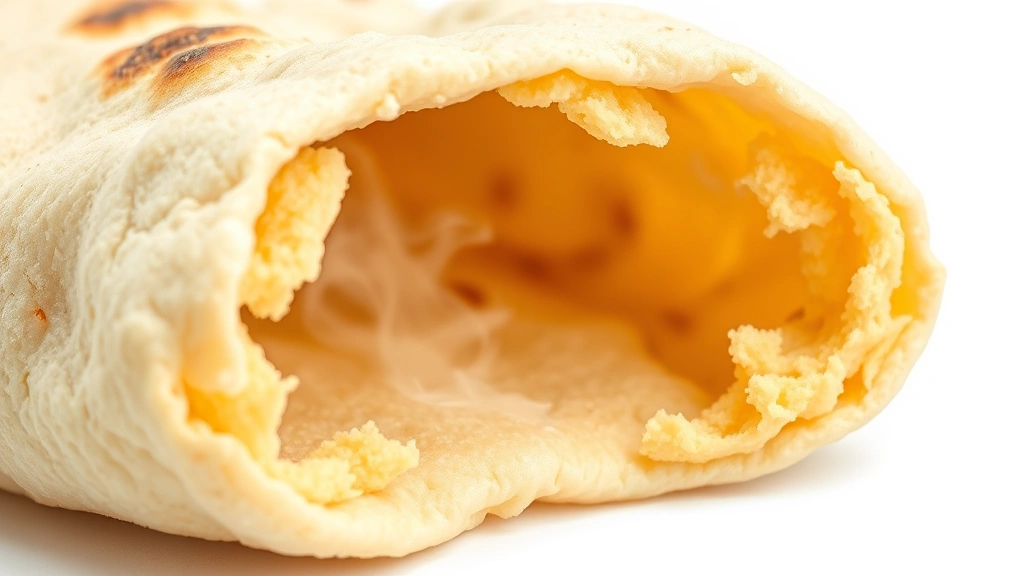
Place a pizza stone on the lowest rack if you have one, or just use your baking sheet. The high heat creates steam inside the dough, which causes it to puff into a pocket. Without sufficient heat, you just get bread.
Bake for 5-8 minutes. Yes, that’s short. You’re not looking for color—you want the dough to puff and set before it browns. The pitas will look pale and puffy when done. Let them cool on a wire rack for at least 5 minutes before opening.
Cooling and Storage
This step separates good pitas from great ones. As they cool, the steam condenses and the pocket stays intact. If you cut into them while hot, you’ll release steam and collapse the structure.
Once completely cooled, store them in an airtight container or freezer bag. They keep for 3-4 days at room temperature, or freeze for up to 3 months. To reheat, wrap in foil and warm in a 350°F oven for 5 minutes, or use a dry skillet over medium heat.
I usually make a double batch and freeze half. Fresh pita on demand beats any store-bought option, and you control every ingredient.
Troubleshooting Common Issues
Pitas won’t puff: Your oven isn’t hot enough. Get that thermometer and verify 475°F minimum. Also check that your second rise was adequate—they should jiggle when the pan moves.
Dense, gummy interior: Either underbaked or the dough was overproofed. Cut baking time to 6 minutes and watch the clock. Also reduce second rise time if your kitchen is warm.
Pitas are too brown: Lower your oven temperature slightly and watch them closely. They brown fast at high heat, so don’t step away.
No pocket forming: This usually means insufficient heat or the dough dried out during rising. Cover them properly and ensure your oven temperature is accurate.
Keep notes on what works in your kitchen. Every oven behaves differently, and after 2-3 batches you’ll dial in the exact timing.
Serving Suggestions
Fresh pita is perfect for Mediterranean-style meals. Stuff them with avocado mayo, grilled chicken, tomatoes, and cucumber for quick sandwiches. Or try coleslaw with feta cheese and olives.
They’re also excellent for dipping into hummus, tzatziki, or olive tapenade. The pocket structure makes them ideal for scooping. Serve them warm, and your guests will think you’re a professional baker.
For meal prep, pair this with dutch oven recipes like slow-cooked lamb or stews. The bread soaks up sauce beautifully. Or use them as the base for focaccia bread variations by adding herbs before baking.
Frequently Asked Questions
Can I use whole wheat flour in a greek pita recipe?
Yes, but replace only 25-30% of the all-purpose flour with whole wheat. Whole wheat absorbs more water and has less gluten, so 100% whole wheat pitas won’t puff properly. Start with 75% all-purpose and 25% whole wheat, then adjust based on results.
What if I don’t have instant yeast?
Active dry yeast works fine—use the same amount. Dissolve it in the warm water first and let it sit for 5 minutes to activate. Avoid rapid-rise yeast for this recipe, as it ferments too quickly and you lose flavor development.
How do I know if my water is the right temperature?
Use a kitchen thermometer. Aim for 110°F. If it’s too hot (above 120°F), it kills the yeast. Too cold and fermentation stalls. It should feel warm but not hot to your wrist.
Can I make the dough ahead of time?
Absolutely. Mix the dough, let it rise for 1 hour, then refrigerate for up to 24 hours. The cold fermentation actually improves flavor. Shape and bake directly from the fridge, adding 5-10 minutes to the second rise since they start cold.
Why did my pitas come out flat?
Most likely causes: oven temperature too low, insufficient second rise, or over-floured dough. Check your oven temperature first, then ensure the shaped pitas are puffy before baking. Dust off excess flour before baking.
Can I freeze the dough?
Yes. After the first rise, divide into portions, wrap tightly in plastic wrap, and freeze for up to 3 months. Thaw overnight in the fridge, shape, do a second rise, then bake normally.
What’s the difference between pita and naan?
Pita relies on steam and high heat to create the pocket. Naan is thicker, richer (with yogurt and butter), and cooked in a tandoor. A greek pita recipe is simpler and less rich than naan, with a thinner, more delicate crumb.
How do I reheat pita without drying it out?
Wrap in foil and warm in a 350°F oven for 5 minutes. Or place directly on a gas flame for 10 seconds per side to char slightly and soften. Avoid the microwave—it makes them rubbery and tough.
Final Thoughts
Making a greek pita recipe at home is simpler than you think, and the payoff is immediate. Your kitchen fills with the smell of fresh bread, your family gathers around, and suddenly you’re not just cooking—you’re creating something memorable. Start with this recipe, make notes on what works in your kitchen, and after a few batches you’ll be making pitas automatically.
The secret isn’t complicated techniques or rare ingredients. It’s understanding that bread is patient. Give it time, respect the temperature, and it rewards you with fluffy, perfect pockets every single time. Now get in that kitchen and prove it to yourself.


