
A great northern beans recipe is one of those kitchen staples that’ll save your bacon when you need something hearty, nutritious, and dead simple to pull together. Whether you’re a seasoned home cook or someone who just wants to throw dinner on the table without fussing around, these creamy white beans are your secret weapon. I’ve spent years tinkering with different approaches, and I’m here to walk you through five foolproof methods that actually taste fantastic.
Table of Contents
Why Great Northern Beans Matter
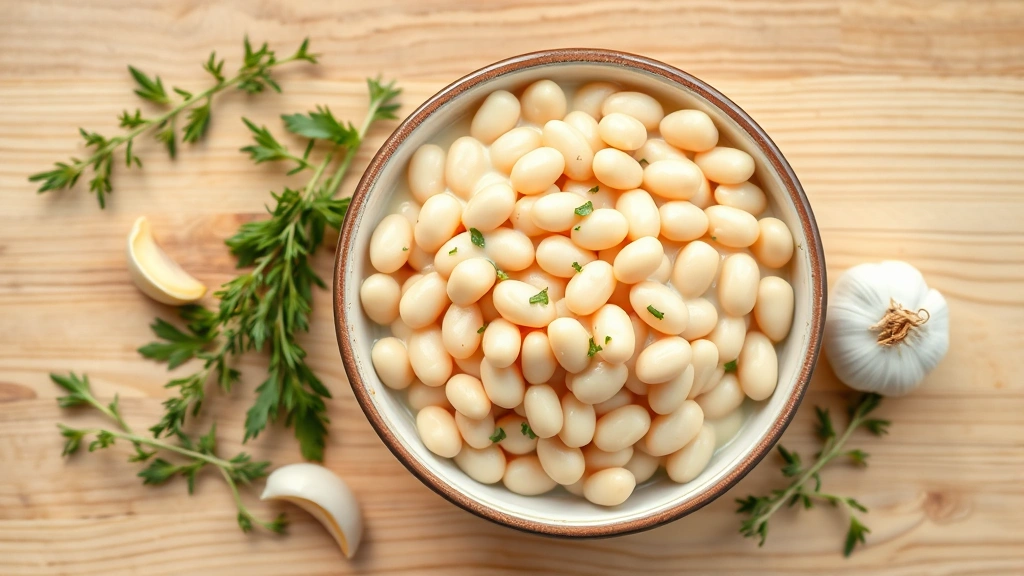
Great northern beans are the unsung heroes of the bean world. They’ve got a mild, slightly nutty flavor that doesn’t overpower your other ingredients, and they hold their shape beautifully when cooked. Unlike some beans that turn to mush if you so much as look at them wrong, these guys are forgiving. They’re packed with fiber, protein, and folate, making them a smart choice if you care about nutrition without sacrificing taste.
I’ve found that these beans work equally well in soups, stews, salads, or as a standalone side dish. The texture is creamy on the inside with just enough structure to keep them from falling apart during cooking. That’s why they’re perfect for building a solid great northern beans recipe foundation.
Prep and Soaking Basics
Before you dive into any cooking method, you need to handle the prep work. Start by spreading your dried beans on a clean surface and picking through them—you’d be surprised how often a small stone or shriveled bean sneaks into the bag. Rinse them thoroughly under cold running water until the water runs clear.
Now, soaking. You’ve got two options: the traditional overnight soak or the quick-soak method. For overnight soaking, dump your beans in a large bowl, cover them with water (about three times the bean volume), and let them sit for 8-12 hours. For quick-soaking, bring beans and water to a boil for two minutes, then let them soak for an hour off the heat. Either way, drain and rinse before cooking. Soaking reduces cooking time and helps minimize digestive discomfort.
Classic Slow Cooker Method
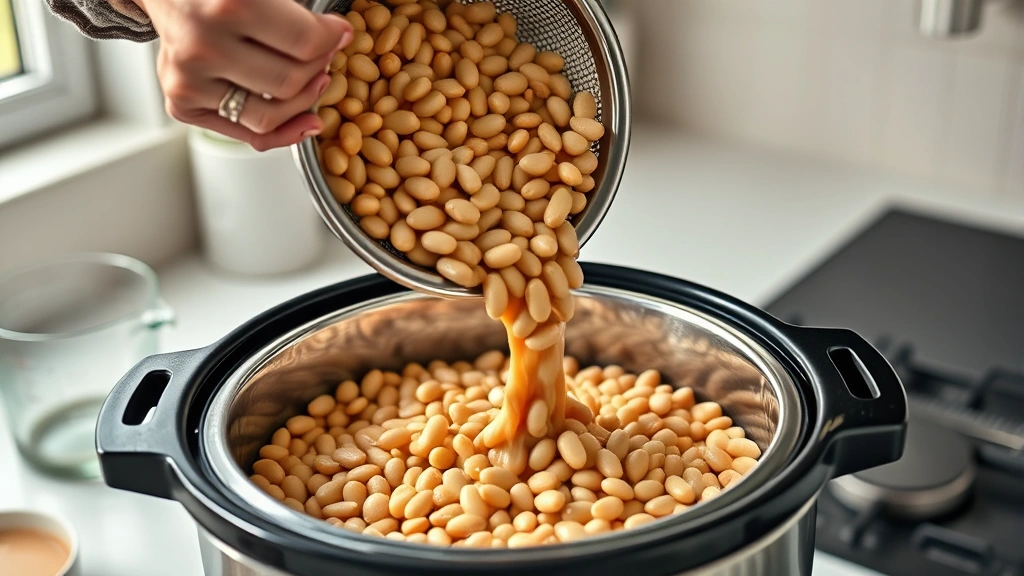
This is my go-to when I want zero fuss. After soaking and draining your beans, toss them into a slow cooker with fresh water (about 6 cups per pound of dried beans). Add your aromatics: one diced onion, three minced garlic cloves, and a couple of bay leaves. If you want to get fancy, throw in some diced carrots and celery—they’ll add depth without demanding attention.
Set your slow cooker on low for 6-8 hours, or high for 3-4 hours. The beans should be tender but not mushy. About 30 minutes before they’re done, season with salt and pepper. The beauty of this method is that you can walk away. No stirring, no babysitting. Just let time and gentle heat do the work.
For extra flavor, consider adding a ham hock or bacon if you’re not vegetarian. A splash of apple cider vinegar at the end brightens everything up. This pairs beautifully with complementary dishes like adobo sauce recipe for a more complex meal.
Instant Pot Version
If you’re in a hurry, the Instant Pot is your best friend. Add your soaked and drained beans to the pot with 4 cups of water, one diced onion, and your seasonings. Close the lid, set the valve to sealing, and cook on high pressure for 25 minutes. Let the pressure release naturally for 10 minutes, then quick-release any remaining pressure.
The Instant Pot method cuts cooking time roughly in half compared to the slow cooker. The beans come out creamy and perfectly cooked. If you want them firmer, reduce the cooking time to 20 minutes. If you prefer them softer, add 5 minutes. This method gives you control without the guesswork.
Pro tip: Don’t salt the beans until after they’re cooked. Salt can interfere with the cooking process and make the beans take longer to soften. I learned this the hard way after a batch took forever.
Stovetop Approach
The traditional stovetop method is straightforward and gives you the most control. After soaking, place your beans in a large pot and cover with fresh water. Bring to a boil, then reduce heat and simmer. Skim off any foam that rises to the surface during the first few minutes—this helps reduce gas-producing compounds.
Simmer for 1.5 to 2 hours, depending on how old your beans are and how soft you like them. Older beans take longer, so don’t be surprised if a vintage bag from the back of your pantry needs extra time. Add water as needed to keep the beans covered. About 15 minutes before they’re done, add salt and any additional seasonings.
The advantage here is that you can taste and adjust as you go. You’re right there, so you can pull out a bean every 20 minutes and test the texture. It’s hands-on cooking at its finest, and there’s something satisfying about watching the transformation happen.
Creamy Soup Style
Turn your cooked beans into a silky, warming soup. Start by sautéing diced onion, celery, and carrots in a large pot with a bit of olive oil. Add minced garlic and cook until fragrant. Pour in your cooked great northern beans (about 4 cups) along with 6 cups of vegetable or chicken broth.
Bring to a simmer and add your seasonings: thyme, rosemary, salt, and pepper. Let it bubble away for 20 minutes to let flavors meld. If you want a creamier texture, use an immersion blender to puree about half the soup, leaving some beans whole for texture. Finish with a splash of heavy cream or a drizzle of good olive oil.
This soup pairs wonderfully with crusty bread and a simple salad. It also freezes beautifully, so make a double batch. For a lighter option, try pairing this with something fresh like aglio olio recipe for a complete Italian-inspired meal.
Baked Casserole Style
This method transforms your beans into a rich, savory baked dish. Preheat your oven to 325°F. In a large Dutch oven or baking dish, combine 4 cups of cooked beans with 2 cups of broth, one diced onion, 4 slices of chopped bacon, 2 tablespoons of brown sugar, 1 tablespoon of mustard, and a splash of apple cider vinegar.
Cover and bake for 1.5 hours, stirring occasionally. The longer, slower baking develops deeper flavors that you can’t get from quick cooking methods. The beans absorb the liquid and become incredibly creamy. About 30 minutes before they’re done, uncover to let some liquid reduce and the top brown slightly.
This baked version is perfect for potlucks or holiday meals. It’s substantial enough to be a main course for vegetarians, or serve it alongside roasted meats. The depth of flavor rivals anything you’d get from a canned version.
Storage and Freezing Tips
Cooked great northern beans keep in the refrigerator for up to five days in an airtight container. For longer storage, freeze them in portions. I like using ice cube trays for small amounts or freezer bags for larger quantities. They’ll keep for up to three months in the freezer without any quality loss.

When freezing, leave a tiny bit of the cooking liquid with the beans—it prevents them from drying out. Label everything with the date so you know what you’ve got. Thaw overnight in the refrigerator before reheating, or reheat directly from frozen on the stovetop with a splash of water.
Canned beans are convenient, but once you’ve made your own, you’ll notice the difference in texture and flavor. Plus, you control the sodium level. Store dried beans in a cool, dark place in airtight containers. They’ll last for years, though older beans take longer to cook.
Frequently Asked Questions
Do I have to soak great northern beans before cooking?
Soaking isn’t absolutely required, but it’s highly recommended. Soaking reduces cooking time by about 25-30% and helps eliminate some of the compounds that cause digestive discomfort. If you’re in a real pinch, you can cook unsoaked beans—just add an extra 45 minutes to the cooking time.
Why are my beans still hard after cooking?
Hard beans after cooking usually means one of three things: your beans are old (check the packaging date), you added salt too early (salt slows the softening process), or you didn’t cook them long enough. Very old beans can take significantly longer. If this happens, just keep cooking and be patient.
Can I use canned beans instead of dried?
Absolutely. One pound of dried beans yields about 6-7 cups of cooked beans. So if a recipe calls for 4 cups of cooked beans, use three 15-ounce cans, drained and rinsed. Canned beans are already cooked, so you’re just incorporating them into your dish. The texture won’t be quite as nice as home-cooked, but the convenience is worth it sometimes.
What’s the best way to reduce gas from beans?
Soaking and draining removes a lot of the problematic compounds. Rinsing the soaked beans thoroughly helps too. During cooking, skim off any foam that rises to the surface in the first few minutes. Adding a pinch of baking soda to the soaking water (about 1/4 teaspoon per cup of water) also helps, though rinse thoroughly afterward.
Can I add beans to dishes mid-cooking?
Yes, but timing matters. If you’re making a stew or soup, add your cooked beans about 20-30 minutes before serving. This gives them time to absorb flavors without falling apart. If you add them too early, they’ll get mushy and lose their texture.
Final Thoughts
Mastering a great northern beans recipe opens up endless possibilities in your kitchen. Whether you choose the slow cooker for hands-off convenience, the Instant Pot for speed, or the stovetop for control, you’re working with beans that reward your effort with creamy, delicious results. These five methods cover everything from weeknight dinners to weekend cooking projects.
The key is finding what works for your schedule and cooking style. Make a big batch, freeze portions, and you’ll have a nutritious base ready for quick meals. Pair your beans with complementary recipes like how to cook swordfish for a protein-rich meal, or build around them with fresh vegetables and grains. Once you start cooking great northern beans from scratch, you’ll never look back.
For morning inspiration after your cooking project, check out how to use a French press coffee maker to pair with your bean-based breakfast. And if you want to explore more seafood options, air fryer tilapia recipe offers a quick, healthy alternative for other meals.


