
Making a gluten free sourdough bread recipe at home might seem intimidating, but I’m here to tell you it’s absolutely doable—and honestly, way more rewarding than buying a sad, expensive loaf from the store. The tangy flavor, chewy crumb, and crispy crust you’ll achieve rival anything a bakery can produce. Whether you’re avoiding gluten for health reasons or just curious about the process, this guide walks you through every step with the confidence of someone who’s baked dozens of these loaves.
Table of Contents
Building Your Sourdough Starter
The foundation of any sourdough is a healthy, active starter—think of it as your bread’s living engine. For gluten free sourdough bread, you’ll want a starter that’s specifically built with gluten-free flour blends. Start with a 1:1:1 ratio: one part starter, one part gluten-free flour, one part filtered water. I recommend using a blend that includes brown rice flour, tapioca starch, and potato starch for the best flavor and rise.
Feed your starter daily at the same time each day for about 7-10 days until it consistently doubles in size within 4-8 hours of feeding. You’ll know it’s ready when it has a pleasant sour smell and shows lots of bubbles throughout. This is your sign that the wild yeast and bacteria are colonized and strong enough to leaven your bread. Keep it at room temperature (around 70°F) for best results.
Essential Ingredients & Setup
Here’s what you’ll need for a single loaf of quality gluten free sourdough bread recipe results:
- 300g active gluten-free flour blend (with xanthan gum already mixed in)
- 180ml filtered water (room temperature)
- 100g bubbly sourdough starter (freshly fed, at peak)
- 8g sea salt
- Psyllium husk powder (optional, but highly recommended—2 tablespoons)
The psyllium husk is a game-changer for gluten-free baking. It absorbs moisture and creates structure that mimics gluten’s elasticity. You can find it at health food stores or online. Before you start mixing, gather your tools: a large mixing bowl, a kitchen scale (essential for accuracy), a dough scraper, a banneton or proofing basket, and a Dutch oven for baking.
Mixing & Autolyse Method
Unlike traditional bread, gluten-free dough needs a slightly different approach. Start by mixing your flour, water, and psyllium husk together—skip the starter for now. Let this mixture rest for 30 minutes. This “autolyse” period allows the flour to fully hydrate and the psyllium to begin its magic, creating a more cohesive dough structure without any kneading.
After the rest, add your active starter and salt to the mixture. Using your hands or a sturdy spoon, fold the dough together for about 2-3 minutes until everything is well combined. The dough will feel sticky and loose—this is normal and exactly what you want. Don’t try to knead it like traditional bread; gluten-free dough develops structure differently, primarily through time and fermentation rather than mechanical manipulation.
Bulk Fermentation Mastery
This is where patience becomes your best friend. Place your mixed dough in a lightly oiled bowl and cover it loosely with a damp kitchen towel. The bulk fermentation for a gluten free sourdough bread recipe typically lasts 4-6 hours at room temperature, though cold fermentation overnight in the fridge works beautifully too.
Every 30 minutes for the first 2 hours, perform a “stretch and fold.” Wet your hand slightly, grab one side of the dough, stretch it up and fold it over the top. Rotate the bowl 90 degrees and repeat four times. This builds strength without aggressive kneading. You’ll notice the dough gradually becoming smoother and more cohesive. By the end of bulk fermentation, it should be noticeably puffier and jiggly when you gently shake the bowl.
Temperature matters significantly. If your kitchen is cool (below 65°F), extend fermentation time. If it’s warm (above 75°F), reduce it. The goal is visible rise and a pleasant sour aroma, not a specific time.

Shaping & Scoring Your Loaf
Gently turn your fermented dough onto a lightly floured surface. With wet hands, carefully shape it into a round or oval loaf by pulling the edges toward the center, creating surface tension. Work gently—you don’t want to deflate all those beautiful air bubbles you’ve developed. Place it seam-side up into your floured banneton basket.
At this point, you have two options. For same-day baking, let it proof at room temperature for 1-2 hours until a gentle poke leaves a slight indentation that slowly springs back halfway. For deeper flavor and easier handling, cover it and refrigerate overnight. Cold dough is much easier to score and handle.
When you’re ready to bake, preheat your Dutch oven in a 475°F oven for 45 minutes. Turn your dough out onto parchment paper and score the top with a sharp knife or lame blade—a single slash or cross pattern works great. This controls where the bread expands during baking and creates that signature “ear.”
Baking for Perfect Crust
Carefully transfer your scored loaf (still on parchment) into the screaming hot Dutch oven. Cover it with the lid and bake for 30 minutes. This traps steam, which is crucial for developing a crispy, caramelized crust. Remove the lid and bake for another 20-25 minutes until the crust is deep golden brown.
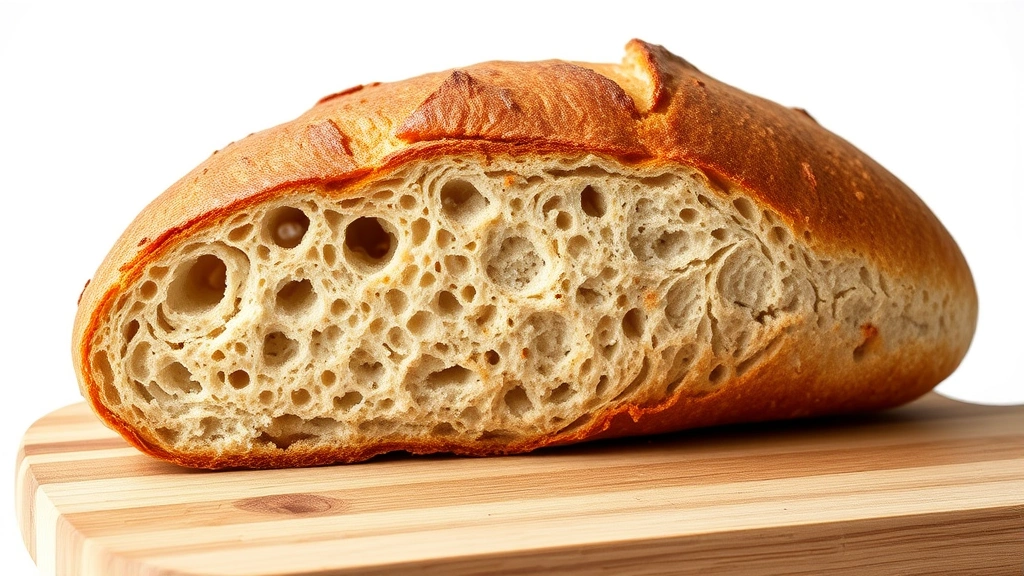
The internal temperature should reach 205-210°F when measured with an instant-read thermometer inserted into the center. This ensures the crumb is fully set and not gummy. Let it cool completely on a wire rack before slicing—I know it’s tempting, but cutting into warm bread collapses the structure and ruins the texture.
Common Problems & Solutions
Dense, gummy crumb? Your fermentation was too short or your oven temperature too low. Add 30 minutes to bulk fermentation next time and verify your oven temperature with an oven thermometer. Bread spread sideways instead of up? Your dough was overproofed. Reduce bulk fermentation by 30 minutes or use cold overnight fermentation to slow things down.
Crust too thick or hard? You’re baking too long or your oven is too hot. Reduce oven temperature by 25°F and check doneness earlier. No sour flavor? Feed your starter more regularly to build strength, and extend cold fermentation time—flavor develops during slow, cool fermentation. Starter won’t rise? Make sure you’re using filtered water (chlorine kills wild yeast) and feed at consistent times in a warm spot.
Storing Your Bread Right
Once completely cool, store your gluten free sourdough bread recipe creation in a paper bag at room temperature for up to 3 days. Paper allows the crust to breathe while protecting the loaf. Plastic bags trap moisture and soften the crust quickly.
For longer storage, slice the loaf and freeze individual pieces in a freezer bag for up to 3 months. Toast directly from frozen for a quick breakfast. Avoid the fridge—it accelerates staling. Sourdough’s natural acidity actually preserves it well at room temperature longer than regular bread.
Frequently Asked Questions
Can I use regular flour in this gluten free sourdough bread recipe?
No—the whole point is it’s gluten-free. Using regular wheat flour defeats the purpose and requires completely different fermentation times and techniques. Stick with quality gluten-free blends that include xanthan gum.
How long does a sourdough starter take to be ready?
Plan for 7-10 days of daily feeding before your starter is strong enough to leaven bread reliably. Some starters need up to two weeks. Patience here saves frustration later.
Can I skip the psyllium husk?
Technically yes, but I wouldn’t recommend it for beginners. Psyllium husk adds structure and moisture retention that gluten-free dough desperately needs. Your bread will be denser and drier without it.
What’s the best gluten-free flour blend for sourdough?
Look for blends specifically designed for bread baking that include brown rice flour, tapioca starch, and potato starch in balanced ratios. Bob’s Red Mill 1-to-1 or King Arthur Baking Company’s gluten-free blend are reliable choices.
Why is my starter not bubbling?
Check your water—chlorinated tap water kills wild yeast. Switch to filtered water. Also ensure your kitchen is warm enough (70°F minimum) and you’re feeding consistently at the same time daily.
How do I know when bulk fermentation is done?
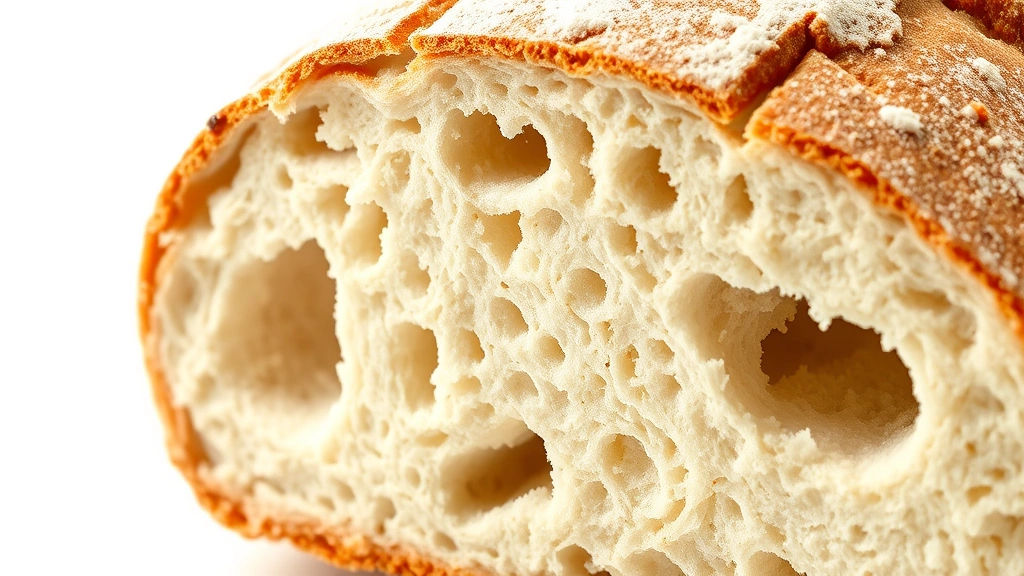
Look for visual cues: the dough should increase in volume by 50-75%, feel noticeably lighter and airier, and have visible bubbles on the surface. A gentle poke should leave a slight indentation.
For more creative ways to use your fresh bread, check out our easy vegan dinner recipes that pair beautifully with homemade sourdough. If you’re interested in batch cooking, our crockpot recipes guide offers complementary meal ideas. You can also explore campfire recipes for outdoor entertaining, or try canning salsa recipe techniques to preserve fresh ingredients alongside your bread baking hobby. For those with specific dietary needs, our bariatric recipes section offers additional gluten-free options.
Final Thoughts
Mastering a gluten free sourdough bread recipe is genuinely achievable with practice and attention to detail. Your first loaf might not be perfect—mine certainly wasn’t—but each bake teaches you something valuable about fermentation, hydration, and your specific kitchen environment. The flavor and texture you’ll develop over a few attempts rival anything commercial bakeries produce, and the satisfaction of pulling a golden, crusty loaf from your own oven is absolutely unbeatable. Start today, trust the process, and enjoy the journey.


