
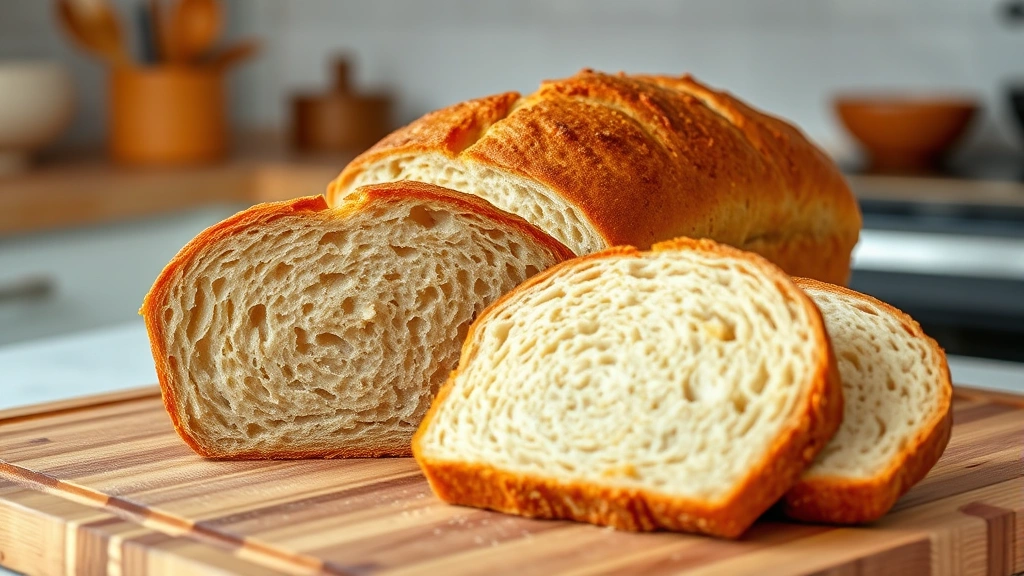
A gluten free bread recipe doesn’t have to mean dense, crumbly disappointment—I’ve baked enough loaves to know that the right approach yields a tender crumb and genuine flavor that rivals traditional bread. Whether you’ve got celiac disease, gluten sensitivity, or you’re just exploring what’s possible in your kitchen, this guide walks you through creating a proper loaf from scratch in five straightforward steps.
Table of Contents
Why Gluten-Free Baking Matters
Gluten gives traditional bread its structure—that elastic network that traps gas bubbles and creates an open crumb. Without it, you need a different strategy. For years, gluten-free bread meant rubbery, gummy results that tasted like cardboard. The game changed when home bakers started understanding how starches, binders, and moisture work together. Today’s approach relies on science rather than guesswork, and the results prove it works.
The challenge isn’t that gluten-free flour is inferior; it’s that it behaves differently. Gluten-free doughs need more hydration, different rising times, and often require binders like xanthan gum to replicate gluten’s elasticity. Once you understand these fundamentals, baking becomes predictable and rewarding.
Understanding Flour Blends
The foundation of any successful gluten free bread recipe is choosing the right flour blend. Pre-mixed blends save time and usually include starches, protein, and binders balanced for bread-making. Brands like Bob’s Red Mill, King Arthur, and Anthony’s have formulated blends specifically for bread rather than general baking.
You can also build your own blend: combine 40% brown rice flour, 30% tapioca starch, 20% potato starch, and 10% sweet rice flour. This ratio provides structure, elasticity, and the right crumb texture. If your blend doesn’t include xanthan gum, add 1 teaspoon per cup of flour. The xanthan gum acts as gluten’s substitute, creating the binding network your dough needs.
For deeper flavor options, explore coconut flour recipes which can add richness to your bread when combined with your primary blend.
Essential Ingredients You’ll Need
Here’s what goes into a reliable loaf:
- Gluten-free flour blend: 3 cups (use a blend with xanthan gum, or add it separately)
- Warm water: 1.5 cups (110°F is ideal for yeast activation)
- Active dry yeast: 2.25 teaspoons (one standard packet)
- Salt: 1.5 teaspoons (don’t skip this—it strengthens dough and controls fermentation)
- Sugar: 1 tablespoon (feeds the yeast and adds slight sweetness)
- Oil: 2 tablespoons (vegetable or olive oil adds moisture and tenderness)
- Psyllium husk powder: 1 tablespoon (optional but recommended for better crumb structure)
Quality matters here. Use fresh yeast—old yeast won’t rise properly. Filtered water is better than tap water if you have heavily chlorinated supply. Good salt enhances flavor without overpowering.
Step-by-Step Baking Process
The five-step method breaks down into manageable stages that fit into a typical baking afternoon. Each step builds on the previous one, so don’t rush or skip ahead.
Step 1: Activate Your Yeast Pour 1.5 cups warm water into a bowl (110°F—test with a thermometer; too hot kills yeast, too cold won’t activate it). Sprinkle yeast and sugar over the water. Let it sit for 5-10 minutes until foamy. This foam tells you the yeast is alive and ready to work. If it doesn’t foam, your yeast is dead and you need fresh packets.
Step 2: Combine Dry Ingredients In a large mixing bowl, whisk together your gluten-free flour blend, salt, and psyllium husk powder if using. Whisk thoroughly—this aerates the flour and distributes salt evenly. Don’t skip the whisking; it makes a real difference in final texture.
Mixing and Kneading Technique
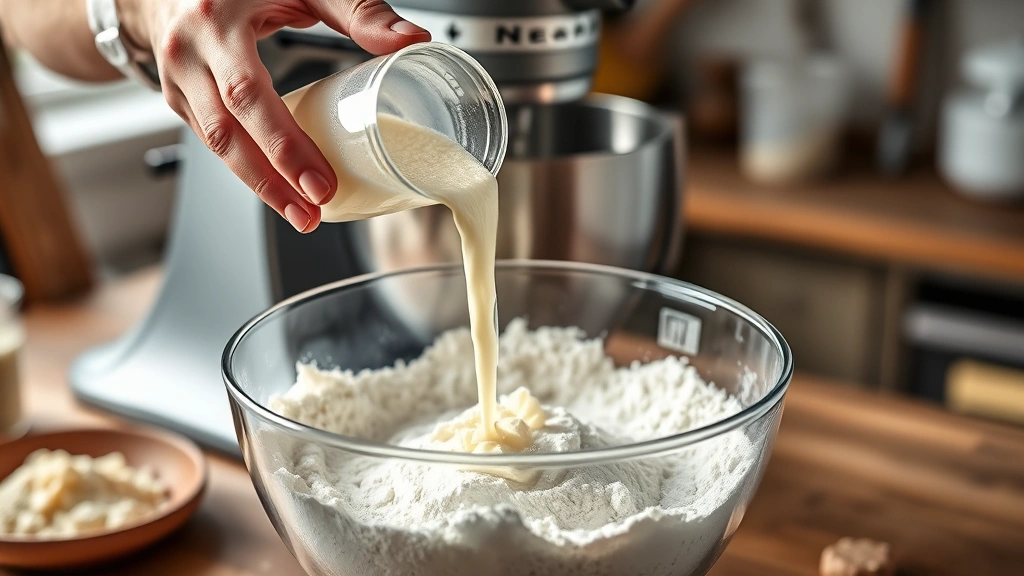
Pour the activated yeast mixture and oil into your dry ingredients. Use a sturdy spoon or stand mixer fitted with the paddle attachment. Mix on medium speed for 2-3 minutes until everything is incorporated. The dough will be thick and sticky—thicker than traditional bread dough but looser than cookie dough.
Here’s the critical difference: you won’t knead gluten-free dough the traditional way. Instead, beat it vigorously for 3-4 minutes. This develops the xanthan gum network and creates the structure gluten would normally provide. Use a stand mixer if possible—hand-beating this dough is genuinely tiring and less effective.
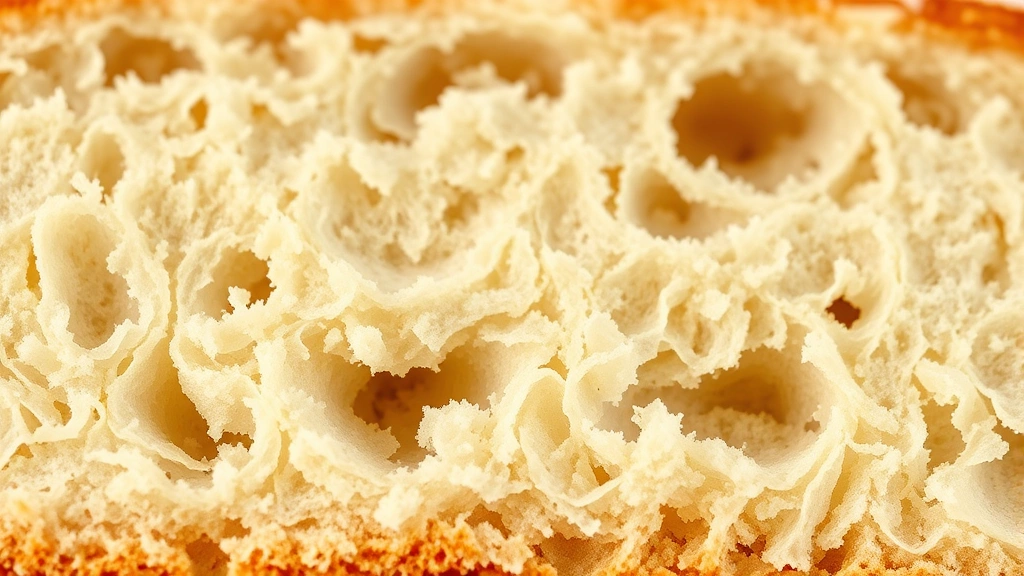
The finished dough should pull away from the bowl sides slightly but stick to the bottom. It’ll look shaggy and slightly wet. That’s correct. Resist the urge to add more flour—extra flour dries out the crumb.
Rising and Shaping Your Loaf
Oil a loaf pan generously. Spoon the dough into it—don’t try to knead and shape it like wheat bread. Use wet hands or a wet spatula to smooth the top. Cover with plastic wrap or a damp towel.
Let it rise in a warm place (75-80°F is ideal) for 60-90 minutes. Gluten-free dough rises more slowly than wheat dough. You’re looking for the dough to roughly double in volume and reach near the top of the pan. A kitchen counter away from drafts, or an oven with the light on, works well.
Poke the dough gently with a floured finger. If the indent springs back slowly and leaves a slight impression, it’s ready to bake. If it springs back immediately, it needs more time. If it doesn’t spring back at all, it’s slightly overproofed—bake it anyway; it’ll still taste good.
Baking the Perfect Loaf
Preheat your oven to 375°F. Place a small pan of water on the bottom rack—steam helps develop a better crust and crumb structure. Bake the loaf for 45-55 minutes until the top is golden brown and a thermometer inserted into the center reads 205-210°F.
The internal temperature is crucial. Gluten-free bread needs to bake longer than wheat bread to fully set the crumb. Underbaked gluten-free bread feels gummy inside even when the crust looks done.
During the last 5 minutes, if the top is browning too quickly, loosely tent it with foil. Remove the loaf from the pan and tap the bottom—it should sound hollow. Cool completely on a wire rack before slicing. This cooling period is essential; the crumb continues to set as it cools.
Troubleshooting Common Issues
Dense, Heavy Crumb: You likely added too much flour or didn’t beat the dough enough during mixing. Measure flour by spooning into a cup and leveling, not scooping directly from the bag. Beat the dough for the full 3-4 minutes with a mixer.
Gummy Center: The bread wasn’t baked long enough. Use an instant-read thermometer and aim for 205-210°F internal temperature. Gluten-free bread takes longer than it looks.
Collapsed or Sunken Top: Overproofing. Reduce rising time by 10-15 minutes next batch. The dough should reach the top of the pan but not overflow.
Crumbly, Dry Texture: Too much flour in the dough or overbaking. Start with slightly less flour next time and check temperature at 40 minutes instead of 45.
Flat Loaf: Weak yeast or dough didn’t rise enough. Use fresh yeast, proof it properly in warm water, and ensure your kitchen is warm enough for rising.
Storage and Freshness Tips
Gluten-free bread stales faster than wheat bread due to its moisture content. Store cooled loaves in an airtight container or wrapped tightly in plastic wrap at room temperature for up to 2 days. After that, quality declines noticeably.
Freeze sliced loaves in a freezer bag for up to 3 months. Toast slices directly from frozen—they thaw and warm in the toaster. Freezing is genuinely your best option for extending shelf life without compromising quality.
Don’t refrigerate bread; cold temperatures accelerate staling. Room temperature storage or freezing are your only good options.
Frequently Asked Questions
Can I use all-purpose gluten-free flour instead of a blend?
All-purpose gluten-free flour works but produces denser results. It lacks the starch balance that bread-specific blends have. If you only have all-purpose, add 2 tablespoons of tapioca starch per cup of flour to improve texture.
What if I don’t have psyllium husk powder?
The bread works without it, but psyllium husk genuinely improves crumb structure and moisture retention. It’s inexpensive and worth ordering online. If you absolutely can’t get it, increase xanthan gum by 0.5 teaspoon instead.
Why is my dough too wet to handle?
That’s normal for gluten-free dough. You’re not meant to knead and shape it like wheat bread. Use wet hands and a wet spatula to work with it. The wetness is what creates a tender crumb.
Can I make this recipe with a different yeast?
Active dry yeast works best for this recipe. Instant yeast (bread machine yeast) is finer and ferments slightly faster—reduce rising time by 10-15 minutes if using it. Fresh cake yeast works but requires adjustments I’d skip for simplicity.
How do I know when the bread is fully baked?
Use a thermometer. 205-210°F internal temperature is the reliable indicator. Visual cues like browning aren’t enough for gluten-free bread because the exterior can look done while the inside remains gummy.
Can I add seeds or mix-ins?
Absolutely. Add up to 0.5 cup of seeds, nuts, or dried fruit to the dry ingredients. Avoid wet additions like fresh berries—they add moisture that throws off the recipe balance.
Is this recipe dairy-free?
Yes, as written. The oil replaces butter, and there’s no milk or cheese. It’s naturally dairy-free.
Why does my bread have a gritty texture?
Inadequate mixing or insufficient rising. Beat the dough for the full time and let it rise until it doubles. The rise develops the flour structure and improves texture significantly.
Creating a solid gluten free bread recipe you can rely on transforms home baking from frustration to genuine accomplishment. The science is straightforward once you understand how gluten-free ingredients behave. Follow these steps precisely for your first loaf, then adjust based on your oven and climate. Most bakers nail it by their third or fourth attempt. The payoff—warm, homemade bread that actually tastes good—makes every bit of attention to detail worthwhile. You’ve got this.


