
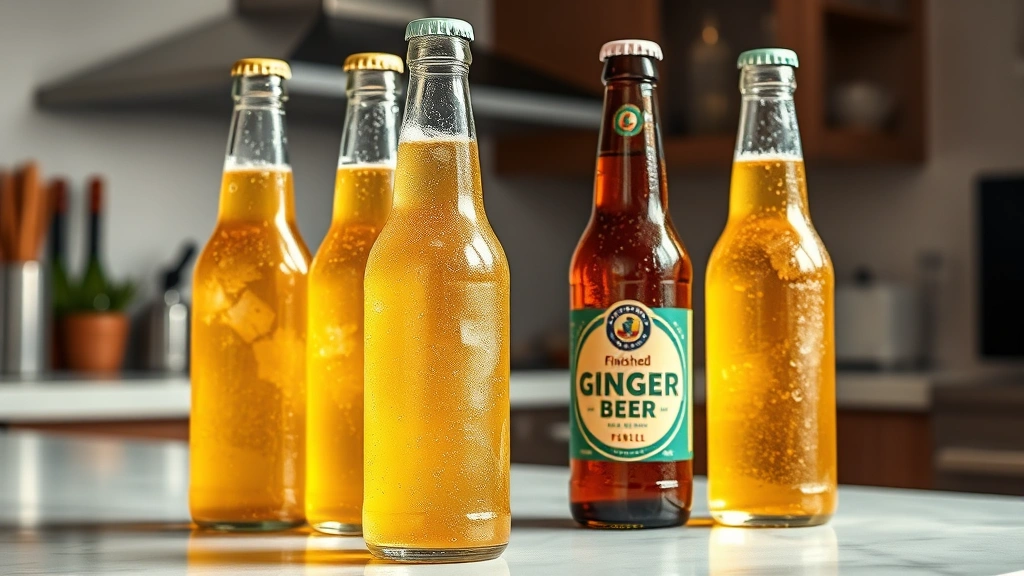
Making a ginger beer recipe at home is easier than you’d think, and the results blow store-bought versions out of the water. Whether you’re mixing cocktails, crafting mocktails, or just want a spicy, refreshing drink on hand, this straightforward method gets you there in five simple steps with ingredients you probably already have in your kitchen.
Table of Contents
What Is Ginger Beer?
Ginger beer isn’t actually beer—it’s a fizzy, spiced beverage that packs serious ginger punch. Traditionally, it was made through fermentation, which gave it a slight alcohol content, but modern versions are typically non-alcoholic or very lightly alcoholic. The key difference between ginger beer and ginger ale is the intensity: ginger beer has a bolder, spicier kick that makes it perfect for mixing into Christmas cocktail recipes or enjoying straight up.
What makes homemade ginger beer special is that you control the ginger intensity, sweetness, and carbonation level. Store-bought versions often use artificial flavoring and excessive sweeteners, but your kitchen version will taste fresher and more complex.
Gather Your Ingredients
Before you start, assemble everything you’ll need. This ginger beer recipe keeps the ingredient list intentionally simple so you can focus on technique rather than hunting down specialty items.
Core Ingredients:
- 2 pounds fresh ginger root (unpeeled)
- 2 cups white sugar (or 1.5 cups honey for a different profile)
- 1 tablespoon cream of tartar
- ½ teaspoon active dry yeast or ginger beer plant starter
- 2 lemons (zest and juice)
- 1 teaspoon whole cloves
- ½ teaspoon turmeric (optional but recommended)
- 2 gallons filtered water
The cream of tartar is crucial—it feeds the fermentation and adds tartness that balances the sweetness. Fresh ginger is non-negotiable; dried ginger won’t give you the same vibrant flavor.
Step-by-Step Process
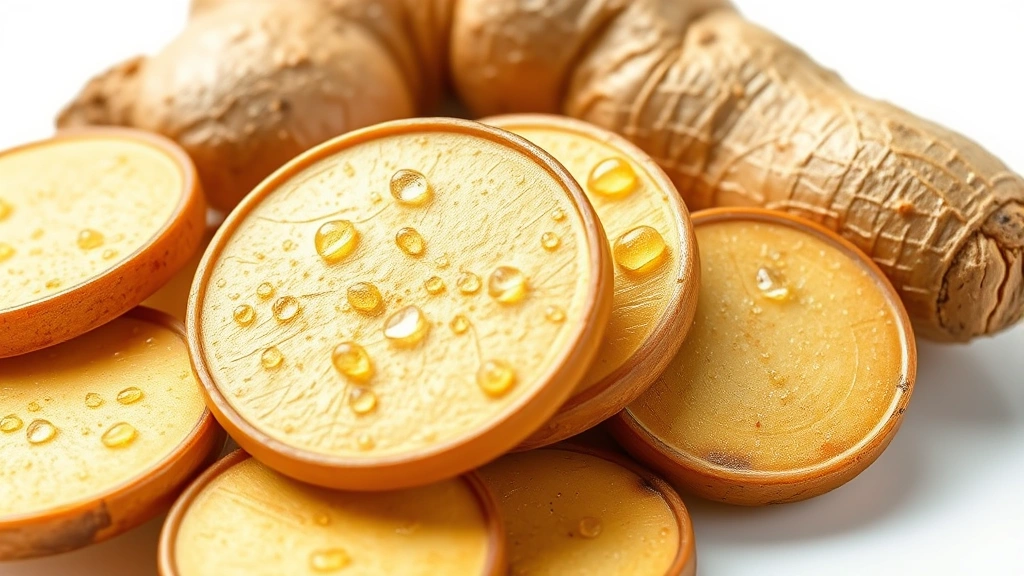
Step 1: Prepare Your Ginger
Scrub the ginger root under cold water to remove dirt, but don’t peel it—the skin contains flavor compounds you want. Slice it into thin coins, about ¼ inch thick. You’re aiming for maximum surface area to extract flavor quickly. Measure out 2 pounds; this usually translates to a chunk roughly the size of your fist.
Step 2: Create the Base Mixture
In a large stainless steel pot (avoid aluminum or reactive metals), combine 2 gallons of filtered water with your sliced ginger, lemon zest, cloves, and turmeric. Bring this to a boil, then reduce heat and simmer for 30 minutes. The kitchen will smell incredible—you’ll know you’re doing it right when that spicy aroma fills the air. This infusion is where all the flavor magic happens.
Step 3: Add Sweetener and Acid
Remove the pot from heat and let it cool to about 110°F (43°C)—warm to the touch but not hot. Stir in your sugar and cream of tartar until fully dissolved. The cream of tartar lowers the pH, creating an environment where beneficial fermentation can happen while preventing bad bacteria from taking hold. Add the fresh lemon juice now as well.
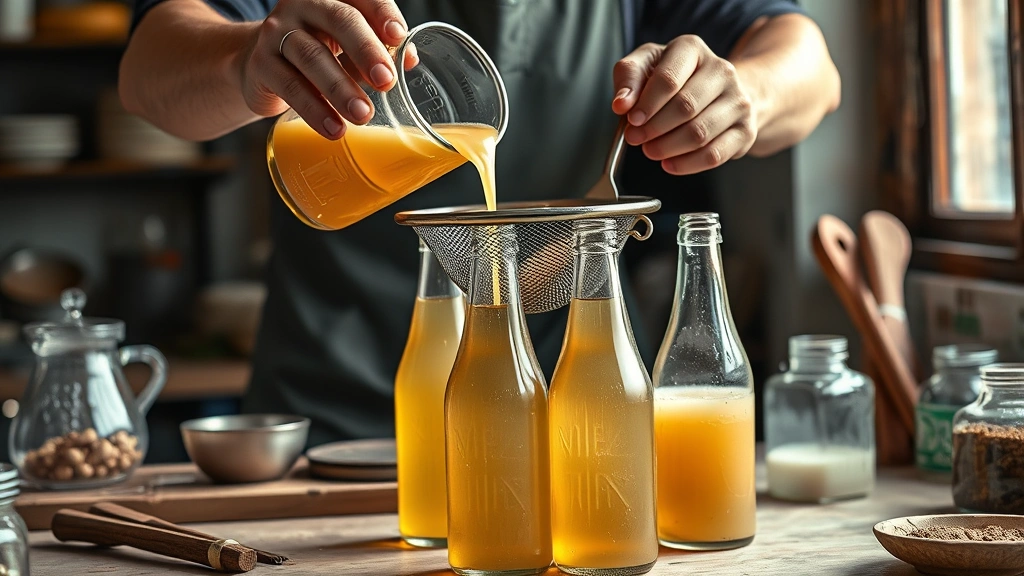
Step 4: Introduce Fermentation
Once the mixture cools to about 70°F (21°C), strain out the ginger solids using cheesecloth or a fine mesh strainer. Pour the liquid into a clean glass carboy or large jar. Sprinkle your yeast or ginger beer plant starter across the surface. If you’re using active dry yeast, rehydrate it in a small cup of warm water first. Cover the jar loosely with a cloth to allow gas to escape while keeping dust out—fermentation produces CO2, and you need a way for it to vent.
Step 5: Monitor and Bottle
Place the jar in a cool, dark spot (65-72°F is ideal) and let it sit for 3-7 days. You’ll see bubbles rising and the liquid becoming slightly cloudy—this is exactly what you want. When fermentation slows noticeably (fewer bubbles), it’s time to bottle. This is when your ginger beer recipe becomes carbonated.
Fermentation Timeline
Understanding the fermentation process helps you know when your batch is ready. Here’s what to expect:
Days 1-2: Initial fermentation kicks off with vigorous bubbling. The yeast is eating the sugar and producing alcohol and CO2. Don’t worry if it’s a bit cloudy—that’s normal.
Days 3-4: Activity remains steady. The flavor deepens as fermentation continues. Taste a small sample if you’re curious about progress.
Days 5-7: Fermentation slows down significantly. Bubbling becomes occasional rather than constant. This is your signal that it’s time to bottle.
Temperature matters more than you’d think. Cooler environments (65°F) ferment slower but produce cleaner flavors. Warmer spots (75°F+) ferment faster but can develop off-flavors. Aim for consistency rather than speed.
Bottling and Storage
Bottling is where your ginger beer gets its signature fizz. Use clean glass bottles with tight-sealing caps—flip-top bottles are ideal. Siphon the liquid carefully from your fermentation jar into bottles, leaving about an inch of headspace at the top. This space is crucial; it allows for secondary fermentation and carbonation without risking bottle explosions.
Cap the bottles and store them at room temperature for 2-3 days. During this time, residual yeast produces additional CO2, creating carbonation. After that, refrigerate your bottles to slow fermentation and preserve your ginger beer. It’ll keep for 2-3 weeks in the fridge, though it rarely lasts that long once friends discover what you’ve made.
Pro tip: Use a bottle opener to crack open a cap slightly after a day of room-temperature storage to check carbonation levels. If it hisses and feels pressurized, you’re on track.
Flavor Variations
Once you’ve nailed the basic ginger beer recipe, experimenting becomes fun. Try adding a cinnamon stick during the initial boil for warmth, or swap half your lemon juice for lime juice for a tropical twist. Some people add a small piece of star anise or a few cardamom pods for complexity.
If you want to use your ginger beer in cocktails like a cranberry margarita recipe, you might dial back the ginger intensity slightly and increase the sugar. For an aviation cocktail recipe, a spicier version works beautifully as a modifier.
You can also experiment with different sweeteners. Honey creates a rounder, softer profile. Brown sugar adds molasses notes. Coconut sugar brings subtle caramel undertones. Each changes the final flavor slightly.
Troubleshooting Common Issues
Flat Ginger Beer: This usually means your fermentation didn’t progress far enough before bottling, or your bottles weren’t sealed tightly. Next batch, wait until fermentation really slows before bottling, and invest in quality caps.
Vinegary Taste: You’ve let it ferment too long or at too warm a temperature. Acetobacter bacteria took over and converted the alcohol to acetic acid. Start fresh and keep your fermentation jar in a cooler spot.
Cloudiness: This is fine and actually normal in naturally fermented ginger beer. It’s yeast and beneficial bacteria. If it bothers you aesthetically, let bottles sit undisturbed in the fridge for a few days and the sediment will settle to the bottom.
Excessive Fizz or Bottle Pressure: Your fermentation went too far or you left too little headspace. When opening bottles, do it slowly and carefully. For future batches, refrigerate sooner to slow fermentation.
Serving Suggestions
The beauty of homemade ginger beer is versatility. Serve it ice-cold straight from the fridge as a refreshing mocktail with fresh mint and lime. Mix it into rum or bourbon for a classic Dark and Stormy. Use it as the base for Christmas cocktail recipes that need spice and complexity.
For non-alcoholic applications, combine it with fresh fruit juices, use it in marinades for grilled chicken or fish, or even add a splash to ice cream floats for a grown-up treat. The carbonation and spice make it surprisingly versatile in the kitchen.
Temperature matters for serving. Ginger beer tastes best when it’s very cold—the carbonation is more pronounced and the spice feels fresher. Keep bottles in the coldest part of your fridge, and serve over plenty of ice.
Frequently Asked Questions
Can I make ginger beer without fermentation?
Yes, you can make a quick version by boiling ginger with sugar and spices, then adding carbonated water once cooled. However, it won’t have the same depth of flavor or natural fizz. The fermentation process develops complexity that’s hard to replicate any other way. If you’re in a hurry, the quick method works, but fermented is superior.
Is homemade ginger beer alcoholic?
Traditional fermented ginger beer produces trace amounts of alcohol, typically less than 0.5% ABV—similar to kombucha. It’s not enough to intoxicate, but it’s there. If you need it completely alcohol-free, use pasteurized ginger beer plant starter or skip fermentation entirely and use carbonated water instead.
How long does homemade ginger beer keep?
Refrigerated, it lasts 2-3 weeks. The carbonation gradually decreases over time, and the flavor mellows. Some people actually prefer it after a week or two when the spice has mellowed slightly. For longer storage, you can freeze it in ice cube trays and use the cubes in drinks.
What’s the difference between ginger beer and ginger ale?
Ginger beer is spicier, more intense, and traditionally fermented. Ginger ale is milder, sweeter, and usually carbonated without fermentation. Think of ginger beer as the bold cousin and ginger ale as the refined one. Your homemade version will taste more like traditional ginger beer.
Can I reuse my ginger beer plant?
If you used a ginger beer plant starter (a living culture), you can keep it alive and use it for future batches. Store it in a jar with sugar water in the fridge between uses. Feed it weekly with a teaspoon of sugar and a bit of ginger juice. It’s like a sourdough starter for ginger beer.
What if my ginger beer tastes too sweet?
You used too much sugar or didn’t let fermentation progress long enough. Fermentation consumes sugar and creates tartness. Next time, reduce sugar slightly or extend fermentation by a day or two. You can also add a pinch more cream of tartar for additional tartness.
Final Thoughts
Making a ginger beer recipe at home transforms you from a consumer into a craftsperson. You control every variable—ginger intensity, sweetness, spice profile, carbonation level. The first batch might not be perfect, but that’s part of the learning process. By the third or fourth batch, you’ll have dialed in exactly what you like.
The five-step process is straightforward enough for beginners but offers enough room for experimentation to keep experienced makers engaged. Share bottles with friends and family, use your creation in cocktails, or simply enjoy it as a sophisticated alternative to store-bought beverages. Once you’ve made homemade ginger beer, going back to commercial versions feels like settling.


