
Making a garlic hummus recipe no tahini is one of those kitchen projects that feels fancy but honestly takes less time than brewing coffee. I’ve been whipping up batch after batch for years, and I’m going to walk you through exactly how to nail it without any tahini holding you back.
Table of Contents
Why Skip the Tahini?
Look, tahini can be expensive, hard to find, and honestly—some people just don’t like the flavor. That’s completely valid. The beauty of this no-tahini approach is that you get all the creamy, luxurious texture without relying on sesame paste. Instead, we’re using olive oil and the natural creaminess of chickpeas themselves. This also makes your hummus more accessible if you have sesame allergies in the family, which is becoming increasingly common.
The result? A lighter, brighter hummus that lets the garlic shine through. You’re not fighting against tahini’s earthy notes—you’re celebrating pure chickpea goodness with punchy garlic flavor.
Gather Your Ingredients
Here’s what you actually need. Don’t overthink this—quality matters more than quantity here:
- 1 can (15 oz) chickpeas – drained and rinsed really well
- 4-5 cloves fresh garlic – peeled and roughly chopped
- 3 tablespoons extra virgin olive oil – good stuff, not the cheap bottle
- 2 tablespoons fresh lemon juice – squeeze it yourself if possible
- 1/2 teaspoon cumin – optional but recommended
- Salt and pepper to taste
- 2-3 tablespoons water – for consistency adjustment
- Paprika – just for finishing
That’s genuinely it. No weird ingredients. No hunting through specialty stores. This is pantry-friendly hummus that works with what you’ve got.
Prep the Garlic Right
This is where people mess up. Raw garlic can be absolutely brutal if you don’t handle it correctly. You want to chop your cloves roughly first—this matters because it helps the food processor break them down evenly. If you throw whole cloves in, you’ll end up with chunks of raw garlic that’ll make your eyes water.
Here’s my trick: I mince the garlic first by hand, then let it sit for about two minutes. This actually mellows it slightly and helps distribute the flavor more evenly through the hummus. Some folks roast their garlic first, which is fantastic if you want a sweeter, softer garlic flavor. That takes about 20 minutes at 400°F, but this is supposed to be quick, so we’re going fresh.
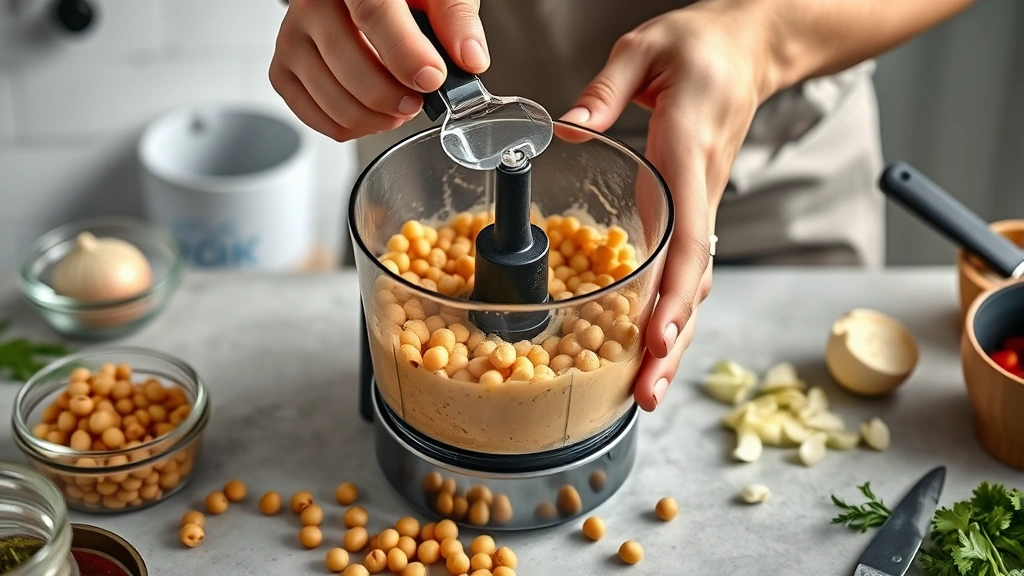
The Blend Technique
Dump your drained chickpeas into a food processor first. Pulse them alone for about 30 seconds—this breaks them down and starts releasing their natural oils. Then add your minced garlic, lemon juice, and olive oil. Here’s the key: blend in stages. Don’t just hit the button and walk away.
Start with a 20-second blend, then scrape down the sides. Blend another 20 seconds. You’re looking for that moment when it goes from chunky to creamy—it happens fast, and it’s easy to overshoot. The whole process should take about 2 minutes of actual blending time, spread across 4-5 intervals. This prevents overheating your food processor and gives you better control over texture.
Add your cumin and salt during the final blend cycle. This helps distribute the spices evenly instead of having pockets of concentrated flavor.
Getting Texture Perfect
This is where the water comes in. After your final blend, you’re probably looking at something pretty thick—thicker than store-bought hummus, actually. That’s normal. Add your water one tablespoon at a time, blending for 10 seconds between additions. You’re looking for that silky, spreadable consistency—not soup, not paste.
The texture should fall off a spoon in a smooth, glossy wave. If it’s still chunky, you need more blending time, not more water. If it’s too thick, add water gradually. If it’s somehow too thin (unlikely, but it happens), just blend in a few more chickpeas from a second can.
Pro move: chill it for 30 minutes before serving. The flavor deepens and the texture becomes even creamier as it sits.
Flavor Adjustments Matter
Taste it before you declare victory. Seriously. This is the moment where you make it yours. Not enough garlic? Blend in one more minced clove. Needs brightness? Hit it with another squeeze of lemon. Too salty? Add a splash more water and a few more chickpeas to balance it out.
Some people like to add a tiny pinch of cayenne for heat, or a tablespoon of Greek yogurt for extra creaminess. Both work beautifully in a tahini-free situation. I’ve also experimented with roasted red peppers (about 2 tablespoons) and it transforms the whole vibe—sweeter, slightly smoky, absolutely delicious.
The beauty of making hummus at home is that you control every single element. Store-bought versions are locked into their formula. Yours can evolve based on your mood.
Storage and Shelf Life
Your no-tahini hummus will keep in an airtight container for about 4 days in the fridge. The olive oil on top will solidify slightly when cold—that’s completely normal and actually helps preserve it. Just stir it back in when you’re ready to eat.
If you want it to last longer, freeze it. It’ll keep for up to 3 months in the freezer. The texture might be slightly different when thawed (a hair grainier), but the flavor stays strong. Thaw it in the fridge overnight, not on the counter.
One thing: don’t store it in a clear container in direct sunlight. The olive oil can go rancid if exposed to light for too long. Keep it in the back of your fridge, in an opaque container if possible.
Serving Ideas
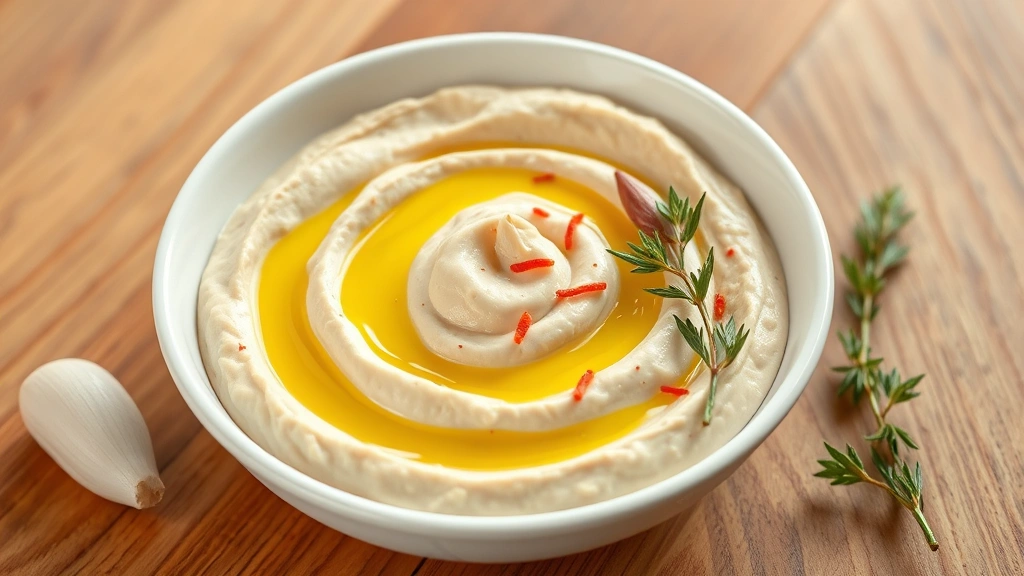
Okay, you’ve made this beautiful garlic hummus. Now what? Obviously, pita chips and fresh veggies are the classics. But here’s where it gets fun: spread it on toast with a drizzle of good olive oil and fresh herbs. Use it as a base for grain bowls. Dollop it on roasted vegetables. Swirl it into soups for creaminess.
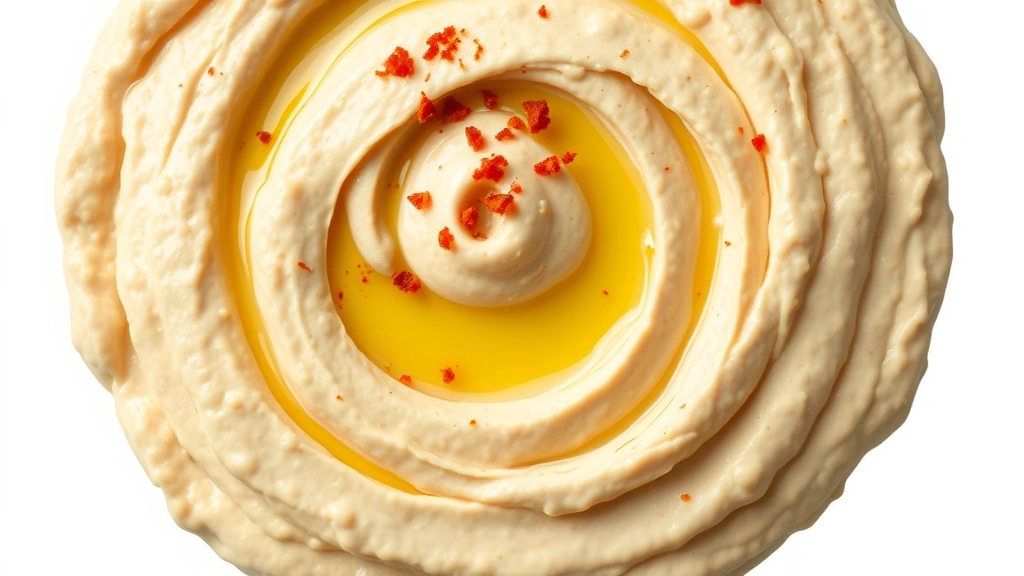
I’ve used it as a sandwich spread, a dip for homemade snacks, and even thinned it out with a bit more lemon juice to use as a salad dressing. It works as an appetizer at dinner parties—just make sure to drizzle it with good olive oil and a sprinkle of paprika for that restaurant look.
If you’re exploring Mediterranean-inspired cooking, check out our recipe collection for pairing ideas and flavor inspiration. The versatility is honestly what makes homemade hummus so worth the effort.
Frequently Asked Questions
Can I use frozen chickpeas instead of canned?
Absolutely. Thaw them completely and drain them well. The texture might be slightly different—frozen chickpeas can be a touch softer—but it works fine. You might need a tiny bit less water since frozen chickpeas release more liquid.
What if my hummus is too gritty?
Keep blending. Seriously, just let it go for another 2-3 minutes. The longer you blend, the creamier it becomes as the chickpea starches break down and the oils emulsify. If it’s still gritty after 5 minutes of total blending time, your food processor might not be powerful enough—consider upgrading or using an immersion blender with a chopping attachment.
How much garlic is too much?
I’ve gone up to 8 cloves and it was still delicious, but that’s aggressive. Start with 4, taste, and add more if you want. Raw garlic is potent, so remember that the flavor will intensify slightly as it sits in the fridge.
Can I make this without a food processor?
Technically yes, but it’s rough. An immersion blender works okay—just blend longer and in smaller batches. A regular blender works too, though you might need to add more water to get things moving. Hand-mashing will give you a chunky dip, which some people actually prefer, but it won’t be traditional hummus texture.
Is this actually faster than store-bought?
From start to finish, including cleanup? Not really. But the actual hands-on time is about 5 minutes. The rest is blending and sitting. Plus, it costs about a third of what you’d pay for quality hummus at the store, and it tastes fresher.
What’s a good substitute if I don’t have lemon juice?
Lime works great for a different flavor profile. White vinegar in a pinch, though use only 1 tablespoon since it’s stronger. Red wine vinegar is too assertive for hummus. Fresh lemon is really the gold standard though—it’s worth squeezing if you’ve got a lemon on hand.
Final Thoughts
Making a garlic hummus recipe no tahini removes the barrier to entry for a lot of home cooks. You’re not hunting for specialty ingredients or spending a fortune on sesame paste. You’re just combining chickpeas, garlic, lemon, and olive oil into something that tastes like you spent way more effort than you actually did.
The best part? Once you’ve made it once, you’ll understand the formula well enough to improvise. Want it spicier? Add cayenne. Want it earthier? Throw in some roasted beets. The foundation is solid enough to support whatever direction you want to take it.
Start with the basic recipe, nail the technique, and then play around. That’s how you develop real kitchen confidence. This isn’t just a hummus recipe—it’s a gateway to understanding how flavor and texture work together in dips and spreads.


