
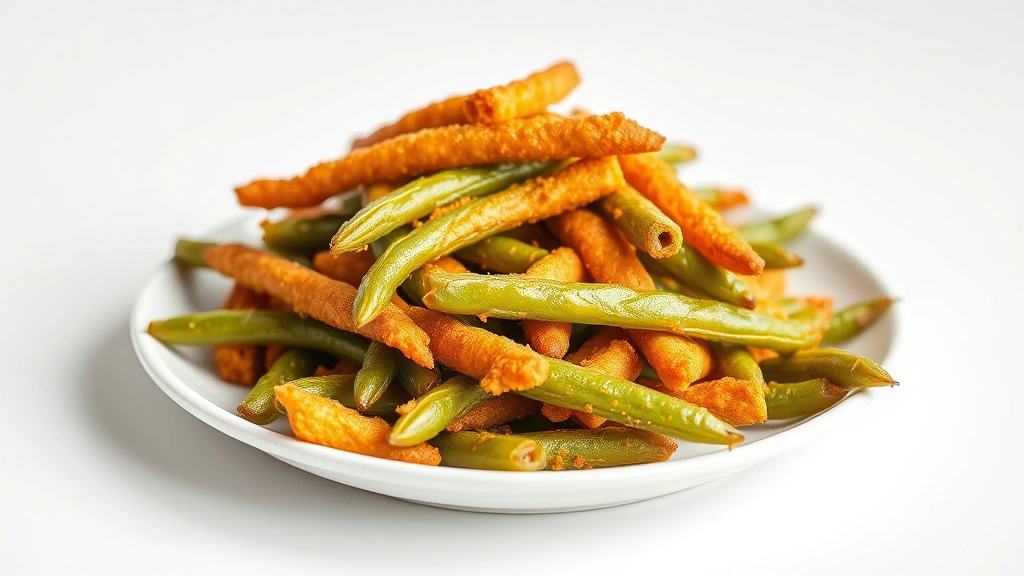
A fried green beans recipe is one of those kitchen staples that’ll have folks coming back for seconds—crispy on the outside, tender on the inside, and ready in just 15 minutes. Whether you’re prepping a weeknight dinner or bringing a crowd-pleaser to a potluck, this method delivers restaurant-quality results without the fuss. I’ve tested this technique dozens of times, and it never fails to impress.
Table of Contents
Why Fry Green Beans?
Frying green beans transforms them into something magical. The high heat creates a golden, crispy exterior while keeping the interior snappy and fresh-tasting. Unlike boiling, which can turn them mushy and bland, frying locks in flavor and texture. This cooking method works because the brief exposure to hot oil creates a Maillard reaction—that delicious browning that adds depth to the taste. You’re not making them unhealthy; you’re making them irresistible.
Gathering Your Ingredients
For this fried green beans recipe, you’ll need just a handful of basics. Start with one pound of fresh green beans, trimmed and patted completely dry. You’ll want vegetable oil or peanut oil for frying—about two cups should do it. For seasoning, grab salt, black pepper, garlic powder, and optional paprika or cayenne if you like a kick. Some folks add a light coating of cornstarch or all-purpose flour for extra crispness, though it’s not required. The beauty of this dish is its simplicity.
Quality matters here. Fresh green beans make all the difference. Look for beans that snap when you bend them—that’s your signal they’re crisp and tender. Avoid any that look wilted or have soft spots. If you’re picking them from your garden, even better. The fresher they are, the better your results will be.
Prep Work Matters
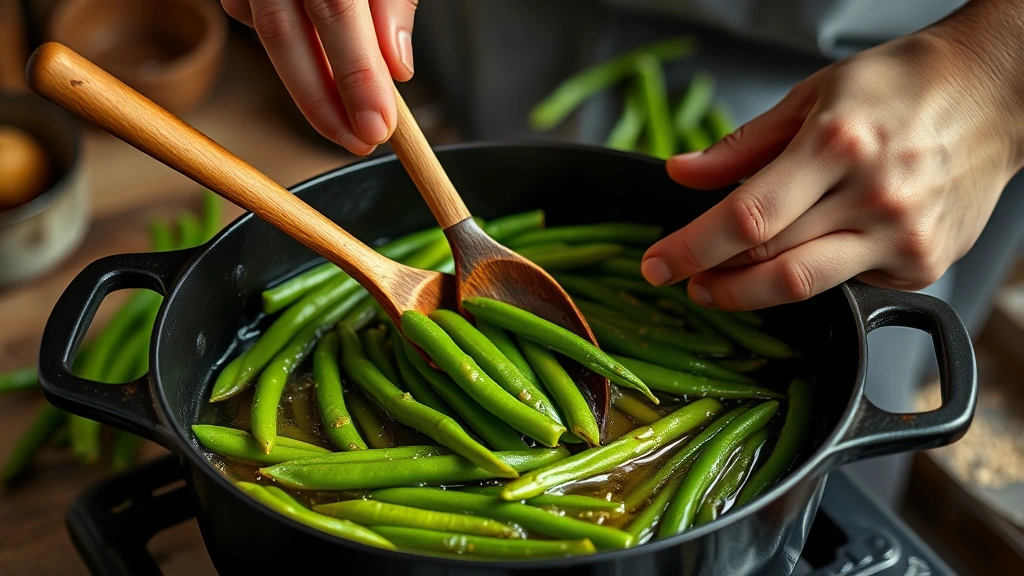
This step separates good fried green beans from great ones. Trim both ends off each bean using a sharp knife or kitchen shears. Rinse them under cold water and pat them completely dry with paper towels. Moisture is the enemy of crispiness—any water clinging to the beans will cause splattering and prevent proper browning. Take your time here; it’s worth it. Some folks like to cut longer beans in half for more even cooking, and that’s a smart move if you’ve got particularly long ones.
Once they’re dry, you can toss them lightly with cornstarch if you want extra crispness, or skip this step if you prefer them lighter. A one-to-one ratio of cornstarch to salt works well if you go this route. Similar to how you’d prepare bhindi masala recipe requires careful preparation, the groundwork here sets up your success.
Oil Temperature Is Key
Here’s where most home cooks stumble. Your oil needs to reach 350°F (175°C) before the beans hit the pan. Use a reliable kitchen thermometer—don’t guess. This temperature is hot enough to create that crispy exterior without burning the coating or leaving the beans greasy. If your oil isn’t hot enough, the beans will absorb oil and turn soggy. Too hot, and the outside burns before the inside cooks through.
Use a heavy-bottomed pot or Dutch oven, filling it about three inches deep with oil. Let it heat for at least five minutes once it reaches temperature. A wooden spoon handle dipped in the oil should produce vigorous bubbles immediately. Cast iron works beautifully for this task and distributes heat evenly. Much like timing matters when you’re learning how long to steam carrots, nailing the oil temperature is non-negotiable.
The Frying Technique
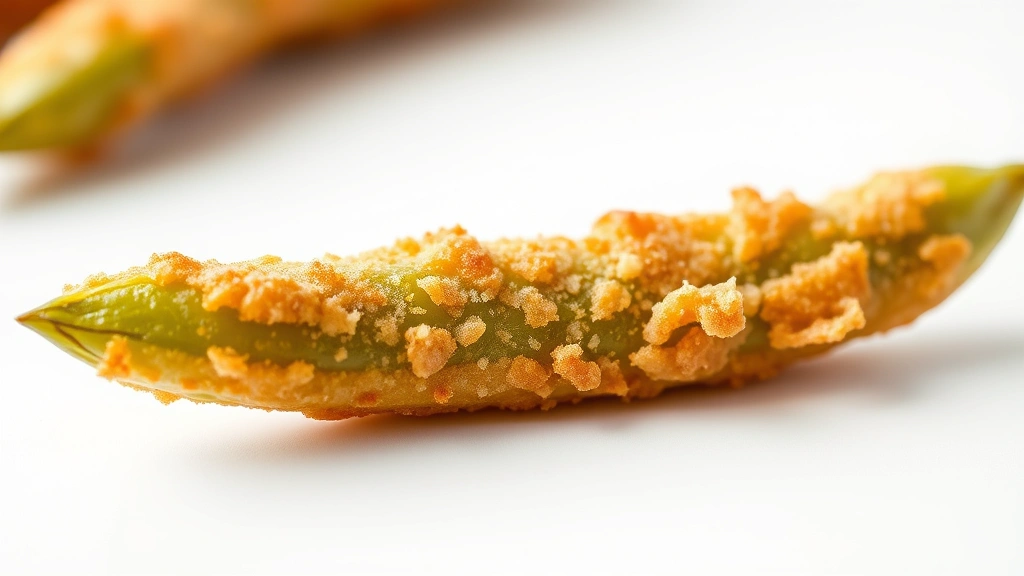
Working in batches is crucial—never overcrowd the pan. Add about a third of your beans at a time. The oil temperature will drop when you add cold beans, but it should recover within 30 seconds. Fry for three to four minutes, stirring occasionally with a slotted spoon or wooden spoon to ensure even cooking. You’re looking for a golden-brown color all over. The beans should sound crispy when you stir them.
Don’t walk away from the stove. This is a quick process, and timing matters. Once they hit that golden-brown stage, pull them out immediately. They’ll continue cooking slightly from residual heat, so slightly underdone is better than overdone. Transfer them to a paper towel-lined plate to drain excess oil. Repeat with remaining batches, letting the oil return to temperature between batches.
Seasoning Strategy
Season your beans while they’re still hot and on the paper towels—this is when they’ll absorb flavors best. A generous pinch of sea salt and freshly cracked black pepper is the classic approach. Add garlic powder for depth, or try smoked paprika for a subtle smokiness. Some folks love a pinch of cayenne for heat, or a sprinkle of Parmesan cheese for richness. Don’t be shy; hot food needs bolder seasoning than you might think.
You can also toss them with a light drizzle of sesame oil and a sprinkle of sesame seeds for an Asian twist. Or go the ranch route with a touch of ranch seasoning powder. The fried green beans recipe is your canvas—customize it to match your preferences. Just remember that you’re seasoning after cooking, so taste as you go and adjust.
Draining and Serving
Proper draining prevents them from becoming greasy. The paper towels will absorb excess oil in the first minute or two. If you want to take it further, transfer them to a wire rack set over a baking sheet—gravity does the work. Serve them immediately while they’re still crispy. Cold fried green beans lose their appeal quickly, though they’re still edible if you reheat them properly later.
Presentation matters too. Pile them in a bowl or on a platter, garnish with fresh herbs like parsley or chives if you’re feeling fancy, and serve alongside your main dish. They pair beautifully with grilled chicken, fish, or steak. Think of them as a side dish that steals the show. You might even find yourself making extra just to have leftovers.
Variations and Upgrades
Once you’ve mastered the basic technique, experiment. Try coating the beans in a light batter before frying—a simple mix of flour, cornstarch, water, and seasonings creates an extra-crispy shell. Some recipes call for a touch of baking powder in the batter for lightness. You could also bread them like you would chicken tenders, using panko breadcrumbs for maximum crunch.
Flavor combinations are endless. Go Cajun with cayenne and garlic. Try an Italian approach with oregano and a touch of Parmesan. Make them Vietnamese-style with a sprinkle of fish sauce powder and fresh herbs. Or keep it simple with just salt and pepper—sometimes the best recipes are the ones that let the ingredient shine. If you enjoy exploring bean-based dishes, check out charro beans recipe for another fantastic option, or explore chickpeas garbanzo beans recipe for variety.
Storage and Reheating
Fried green beans are best eaten fresh, but you can store leftovers in an airtight container in the refrigerator for up to three days. They’ll lose some crispness, but they’re still tasty. To reheat, spread them on a baking sheet and warm in a 350°F oven for about five minutes, or use an air fryer at 350°F for three minutes. The oven method works better than microwaving, which tends to make them soggy.
You can also freeze them for up to two months. Let them cool completely, spread them on a baking sheet to freeze individually, then transfer to a freezer bag. Reheat from frozen using the oven method, adding a couple extra minutes. They won’t be quite as crispy as fresh, but they’re still a solid option for meal prep.
Frequently Asked Questions
Can I use frozen green beans for this recipe?
You can, but fresh beans produce better results. If you must use frozen, thaw them completely and pat them very dry before frying. They tend to be softer than fresh beans, so watch them carefully to avoid overcooking.
What oil temperature should I use?
Stick with 350°F (175°C). This temperature is the sweet spot for crispy exteriors without greasiness. Use a kitchen thermometer for accuracy—it’s worth the investment.
How do I prevent splattering?
Make sure your beans are completely dry before they hit the oil. Use a splatter screen if you have one, or simply keep a safe distance from the pot. Never add wet beans to hot oil.
Can I make a batter for these beans?
Absolutely. Mix flour, cornstarch, water, salt, and your favorite seasonings into a light batter. Dip the beans and fry as directed. Baking powder in the batter adds extra lightness.
How long do fried green beans stay crispy?
They’re crispiest right after frying. They’ll start losing crispness after 15-20 minutes at room temperature. Store in an airtight container and reheat in the oven for best results.
What’s the difference between this and other fried vegetable recipes?
Green beans have a natural snap and sweetness that fries beautifully. The quick cooking time—just three to four minutes—preserves their tender interior while creating a crispy exterior. Similar techniques work for blackstone fried rice recipe cooking methods, where high heat and quick timing are essential.
Can I use an air fryer instead?
Yes. Preheat to 400°F, toss beans lightly with oil, and air fry for eight to ten minutes, shaking the basket halfway through. They won’t be quite as crispy as deep-fried, but they’re a healthier alternative.
What pairs well with fried green beans?
They’re versatile. Serve with grilled meats, fish, pasta dishes, or as part of a vegetable medley. They also work as an appetizer with dipping sauces like ranch, sriracha mayo, or garlic aioli.


