
A focaccia sourdough recipe combines two of baking’s most rewarding techniques into one show-stopping bread that’ll have your kitchen smelling like an Italian bakery. This isn’t your grandmother’s focaccia—we’re talking about that perfect marriage of tangy sourdough complexity with crispy, dimpled, olive-oil-laden flatbread texture. If you’ve been intimidated by sourdough starters or fancy bread-making, this guide strips away the mystique and gets you baking real, delicious focaccia in your own kitchen.
Table of Contents
Getting Your Starter Ready
Before you even think about mixing your focaccia sourdough recipe, your starter needs to be in peak condition. You want a sourdough starter that’s at least 5-7 days old, but ideally 2-3 weeks. Feed it regularly—once or twice daily depending on your kitchen temperature—until it doubles reliably within 4-8 hours of feeding.
The key is using your starter at its peak activity, right when it’s doubled and showing lots of bubbles but before it starts to collapse. This is when the yeast and bacteria are most active and will give you the best rise and flavor. If your starter is sluggish, give it a few extra feedings over 2-3 days. A weak starter means weak bread, and that’s not what we’re after here.
For this recipe, you’ll need about 150 grams of active starter at peak. If you’re measuring by volume, that’s roughly ¾ cup. Temperature matters too—keep your kitchen around 70-75°F if possible. Cold kitchens slow everything down, and you’ll be waiting forever.
Mixing and Building Flavor
Here’s the ingredient list for a solid focaccia sourdough recipe that feeds about 4-6 people:
- 150g active sourdough starter (at peak)
- 300g warm water (around 75°F)
- 500g bread flour or all-purpose flour
- 10g salt
- 30ml olive oil (plus extra for the pan)
- Optional: 5g instant yeast (if you want faster rise)
Mix your water and starter together first, letting them combine for a minute. Add your flour and mix until everything’s incorporated—you’re looking for a shaggy dough with no dry flour bits. Let this rest for 30 minutes (this is called autolyse, and it helps gluten development). After the rest, add your salt and olive oil, mixing until fully incorporated. The dough will feel sticky and alive in your hands.
This is where patience separates good focaccia from great focaccia. Don’t add extra flour to make it easier to handle. That sticky dough is your friend—it’ll give you those open, airy crumbs and that crispy crust everyone loves.
Bulk Fermentation Secrets
Bulk fermentation is where your sourdough develops its character and tang. You’re looking at 4-6 hours at room temperature (70-75°F), or up to 12-16 hours in a cooler kitchen or overnight in the fridge. This is the beauty of sourdough—it’s flexible around your schedule.
During bulk fermentation, perform a series of stretch-and-folds every 30 minutes for the first 2 hours. Wet your hand, grab one side of the dough, stretch it up and fold it over the center. Rotate the bowl 90 degrees and repeat. Do this 4 times per fold session. You’re building gluten strength without aggressive kneading.
You’ll know bulk fermentation is done when the dough has increased about 50-75% in volume and shows visible bubbles throughout. It should feel puffy and alive. Poke it gently—if the indent springs back slowly, you’re there. If it springs back immediately, give it more time. If it doesn’t spring back at all, you’ve overproofed it (not the end of the world, but the crumb structure suffers).
Shaping Your Focaccia
Transfer your bulk-fermented dough onto a lightly oiled 9×13 inch baking pan (or similar size). Don’t flip it—keep the top that developed during bulk fermentation facing up. This is important for texture.
Now comes the gentle part. Using oiled hands (not floured—oil won’t tighten the dough), gently press and stretch the dough to fill the pan. Don’t fight it. If it springs back, let it rest for 5 minutes and try again. You want an even thickness, roughly ½ to ¾ inch thick. Thinner and you lose that pillowy crumb; thicker and the inside stays gummy.
Drizzle another tablespoon of olive oil over the top and let it rest for 10 minutes. This gives the gluten a chance to relax so you can shape without tearing.
Final Proof and Dimpling
Your shaped focaccia needs 1-3 hours of final proofing, depending on temperature. You’re looking for the dough to puff up noticeably and feel airy when you gently press it. In a warm kitchen, this might be 1-1.5 hours. In a cool kitchen, 2-3 hours.
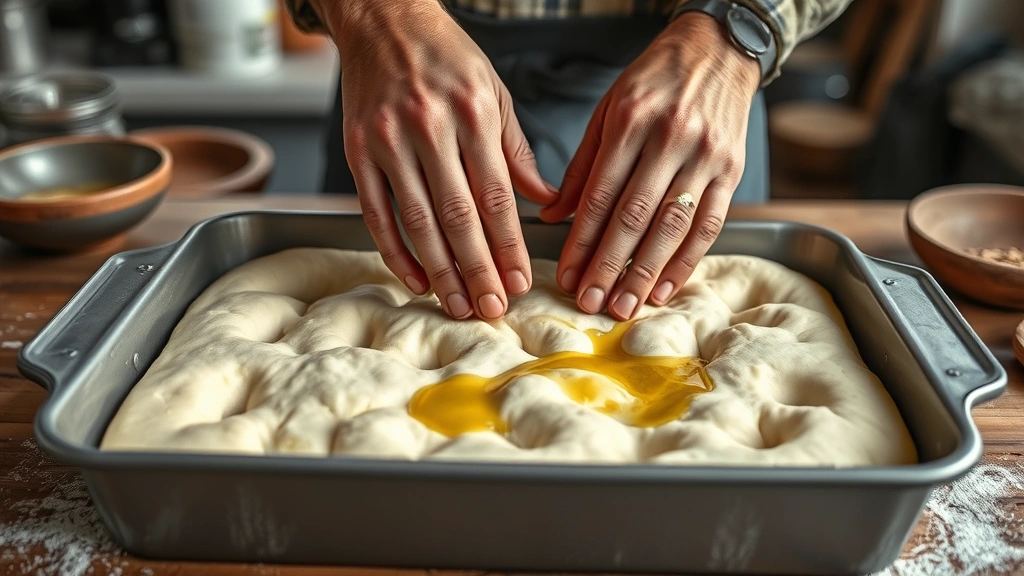
Here’s where focaccia gets its signature look: the dimples. About 30 minutes before baking, start dimpling the surface with your fingertips (or the handle of a wooden spoon). Press down firmly, creating little indentations all over. These dimples aren’t just pretty—they’re functional. They trap olive oil and seasonings, creating flavor pockets.
After dimpling, drizzle generously with more olive oil. Sprinkle with fleur de sel or coarse sea salt. This is the moment to get creative with toppings—fresh rosemary, cracked black pepper, minced garlic, caramelized onions. Whatever you choose, go heavy-handed. Focaccia can take it.
Baking to Golden Perfection
Preheat your oven to 425°F for at least 30 minutes. You want that oven hot and ready. If you have a baking stone, put it in there to preheat as well.
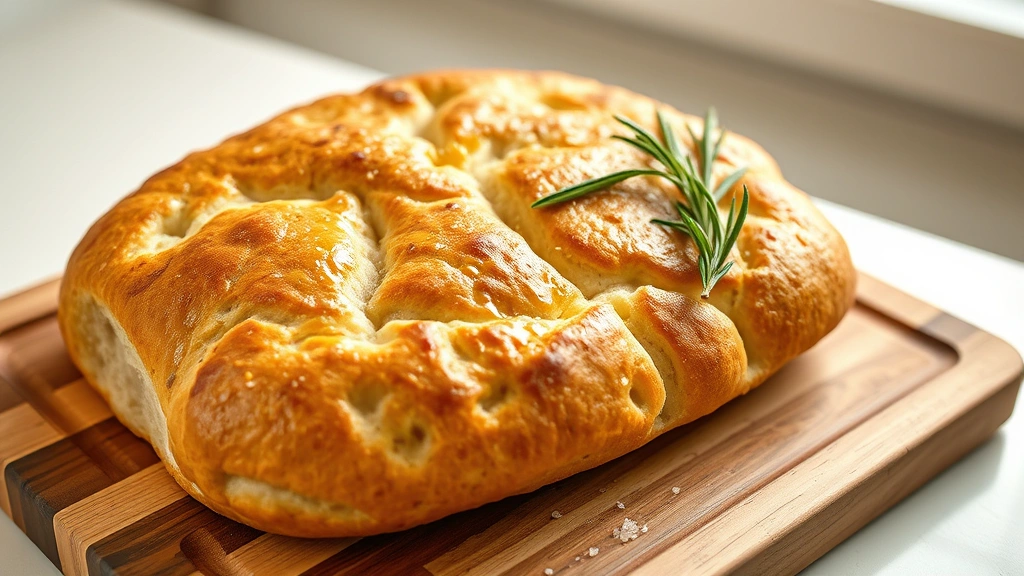
Bake your focaccia for 20-25 minutes, until the top is deep golden brown and the edges are crispy and caramelized. You should see the olive oil bubbling around the edges. The bottom should sound hollow when you tap it.
Remove from the oven and let it cool on the pan for 5 minutes, then transfer to a wire rack. Resist the urge to eat it immediately (I know, it’s torture). Let it cool for at least 10 minutes so the structure sets. Eat it warm with a little extra olive oil for dipping, or slice it for sandwiches once it’s cooled completely.
Toppings and Flavor Variations
The beauty of a focaccia sourdough recipe is its versatility. Once you master the base, you can get creative. Try these combinations:
- Classic Rosemary: Fresh rosemary sprigs, coarse salt, cracked pepper, and plenty of olive oil
- Caramelized Onion: Top with slowly cooked onions, thyme, and a sprinkle of fleur de sel
- Everything Bagel: Sesame seeds, poppy seeds, garlic flakes, onion flakes, and salt
- Olive Tapenade: Spread a thin layer of tapenade before final proof, then dimple and oil
- Herb Garden: Mix fresh herbs (oregano, thyme, basil) directly into the dough during mixing
You can also make sweet focaccia by reducing salt slightly and topping with honey, cinnamon, and coarse sugar before baking. The sourdough tang plays beautifully against sweet toppings.
Storage and Keeping Fresh
Fresh focaccia is best eaten the day you make it, but it keeps well for 2-3 days wrapped in a kitchen towel at room temperature. After that, it starts drying out.
To revive day-old focaccia, wrap it in foil and warm it in a 350°F oven for 5-10 minutes. This restores some of the crust crispness. You can also slice it, brush lightly with olive oil, and toast it in a hot skillet for a few seconds per side.
Focaccia freezes beautifully for up to 3 months. Wrap it tightly in plastic wrap and then foil, and freeze immediately after it cools. Thaw at room temperature and refresh in the oven before serving. If you want to make ahead, you can also freeze the shaped, proofed dough before baking. Just add 5-10 minutes to the bake time when baking from frozen.
Common Issues and Fixes
Dense, gummy crumb? Your dough was either overproofed or your oven wasn’t hot enough. Check that your oven thermometer is accurate (many are off by 25-50 degrees). Also, make sure you’re not adding extra flour during shaping—that tight dough won’t rise properly.
Flat focaccia with no oven spring? Your final proof might be too long, or your starter wasn’t active enough. Use starter at peak activity, and watch your proofing times carefully. In warm kitchens, 1-1.5 hours is usually enough.
Crust too thick or too dark? Lower your oven temperature by 25°F and bake a few minutes longer. Every oven is different, so some experimentation is normal.

Not enough tang? Extend your bulk fermentation time, especially in a cool environment. Cold fermentation develops more complex flavors. You can also use a bit less water (reduce to 280g) to create a stiffer dough that ferments slower and develops more sour notes.
Frequently Asked Questions
Can I use all-purpose flour instead of bread flour?
Absolutely. All-purpose flour works fine and will give you a slightly softer crumb. Bread flour has more protein, which creates a chewier texture and better oven spring, but all-purpose is totally acceptable. Just know your focaccia might be slightly less pillowy.
What if I don’t have a sourdough starter?
You can make a quick starter in 5-7 days with equal parts flour and water, fed daily. Or, you can substitute the 150g starter with 5g of instant yeast mixed into your water. You’ll lose the sourdough tang, but the focaccia will still be delicious. Add the yeast to your water before mixing with flour.
How do I know if my starter is ready?
Your starter should double in volume within 4-8 hours of feeding at room temperature. It should smell pleasantly sour (not like nail polish remover—that’s too young). When you stir it, it should show lots of bubbles throughout. If you’re unsure, do the float test: drop a small spoonful of starter into water. If it floats, it’s ready.
Can I make this on a schedule?
Yes. After shaping, you can refrigerate the focaccia for up to 16 hours before final proofing and baking. This is called cold retard and actually improves flavor. Just pull it from the fridge, let it come to room temperature (about 1-2 hours), dimple and top it, then bake as normal.
Why is my focaccia oily on the bottom?
That’s actually correct! Focaccia should have a thin layer of oil on the bottom. If it’s excessively oily, use slightly less oil in the pan (about 2 tablespoons instead of 3). If it’s not oily enough, add more. This is about personal preference.
Can I make this without a stand mixer?
Completely. Mix by hand in a bowl—it takes about 5-10 minutes of stirring to fully incorporate everything. The stretch-and-fold technique during bulk fermentation actually works better by hand because you get a feel for the dough development. No special equipment needed.
What’s the difference between focaccia and focaccia al olio?
Focaccia al olio is the simple version—just dough, salt, and olive oil. Our focaccia sourdough recipe is more robust with additional toppings. Both are delicious. Start with focaccia al olio to master the technique, then experiment with variations.
How do I get those perfect dimples?
Use your fingertips or the handle of a wooden spoon. Press firmly, creating indentations about ¼ inch deep. Don’t be shy—they should be obvious. Dimple about 30 minutes before baking, after the final proof is mostly complete. If you dimple too early, they’ll fill in as the dough proofs.
External Resources: For more detailed information on sourdough techniques, check out Family Handyman’s baking section, This Old House’s kitchen guides, and Bob Vila’s home and kitchen resources.
Related Recipes: Once you master focaccia, try pairing it with Aglio Olio Recipe for dipping, or use sliced focaccia as the base for gourmet sandwiches. You might also enjoy exploring Al Pastor Recipe for interesting flavor combinations. For something sweet, check out Banana Bread Recipe to expand your baking repertoire.


